Free Shipping on Domestic Orders $75+

Lenovo ThinkPad L590 Lower Case Replacement

What you need

  1. Lenovo ThinkPad L590 Lower Case Replacement, Lower Case: step 1, image 1 of 1
    • Shut down your ThinkPad L590 before beginning; do not put it to sleep or hibernate. Disconnect the AC adapter and any peripheral devices (USB drives, external monitors, etc.).

    • Set the computer down with the lower case facing up.

    • Use a Phillips screwdriver to remove the following screws securing the lower case:

    • Six 10 mm screws

    • Three 5.5 mm screws

    Ask FixBot

    Add Comment

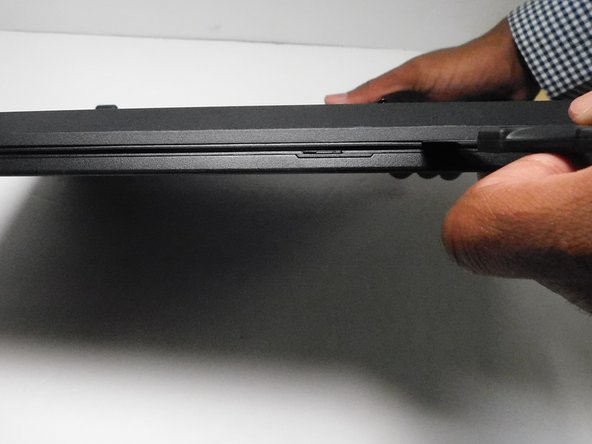
  2. Lenovo ThinkPad L590 Lower Case Replacement: step 2, image 1 of 2 Lenovo ThinkPad L590 Lower Case Replacement: step 2, image 2 of 2
    • Insert an opening pick into the gap between the lower case and chassis.

    • Gently pry around the entire perimeter of the laptop until all of the retaining clips fully release.

    Ask FixBot

    Add Comment

  3. Lenovo ThinkPad L590 Lower Case Replacement: step 3, image 1 of 1
    • Lift off the lower case.

    Ask FixBot

    Add Comment

Conclusion

To reassemble your device, follow these instructions in reverse order.

Cancel: I did not complete this guide.

Connor Bassolino

Member since: 03/29/22

24,885 Reputation

125 Guides authored

Team

iFixit Member of iFixit

Staff

122 Members

26,617 Guides authored

0 Guide Comments

Add Comment

View Statistics:

Past 24 Hours: 1

Past 7 Days: 6

Past 30 Days: 26

All Time: 399