
Lenovo ThinkPad L390 LCD Screen Replacement

David J and 4 other contributors
Last updated on Dec 18, 2024
Views: 1.2K
View statistics:
- Past 24 Hours:
- 4
- Past 7 Days:
- 40
- Past 30 Days:
- 136
- All Time:
- 1,172
Comments: 1
1 guide comment.
Go to guide commentsCompleted: 4 5
4 people have marked this guide "completed." Will you be next?
5 people have marked this guide "completed." Including you — great job!
Favorites: 0 1
No one has favorited (and subscribed to) this guide. Will you be the first?
1 person has favorited (and subscribed to) this guide — and that's you!
Introduction
Go to step 1 ↓A working LCD screen should properly display bright, clear images and colors on screen using electrical current to control liquid crystals that control the amount of light passing through from a backlight.
If your Lenovo ThinkPad L390's LCD screen is not working you may see common symptoms such as fading colors, black spots and/or black lines appearing on the LCD screen, distorted images, or have a flickering screen. If you are experiencing these symptoms with your Lenovo ThinkPad L390, look into replacing its LCD screen using these guide steps bellow.
This guide instructs you on how to detach the LCD screen from the Lenovo ThinkPad L390. If your display is shattered, follow this guide to reinforce your screen to avoid injury until you replace the display.
Note:
- Before beginning this guide, make sure to power off your laptop completely and disconnect from any external power source.
- When following the steps of this guide keep in mind that the cover and connection cables may break if mishandled, so be cautious in order to not to damage your device.
What you need
Parts

Tools


-
-
-
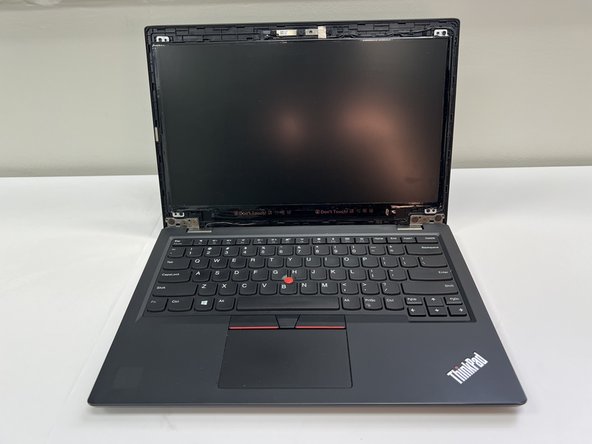
Open up the laptop lid.
-
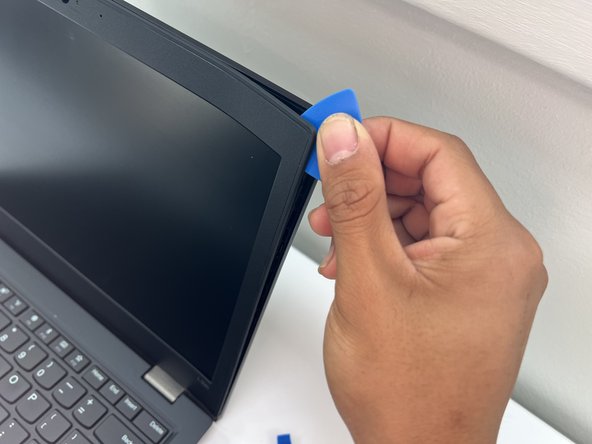
Insert an opening pick under the bezel.
-
Slide the opening pick around the perimeter of the bezel until it fully releases.
-
Remove the bezel.
 Ask FixBot
-
-
-
Remove the four 3 mm screws that secure the screen with a Phillips #00 screwdriver.
-
Slightly lift the screen and set it face down on top of the keyboard.
-
-
-
-
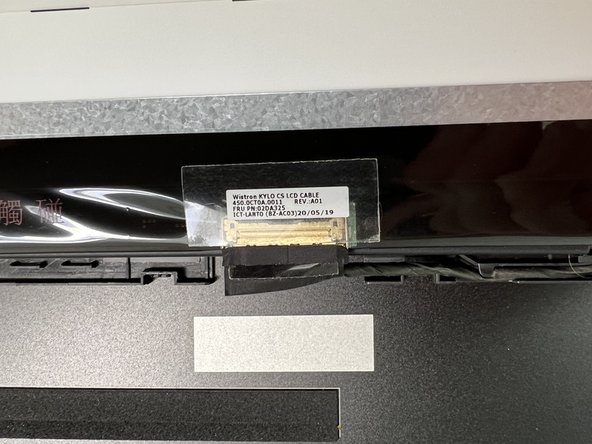
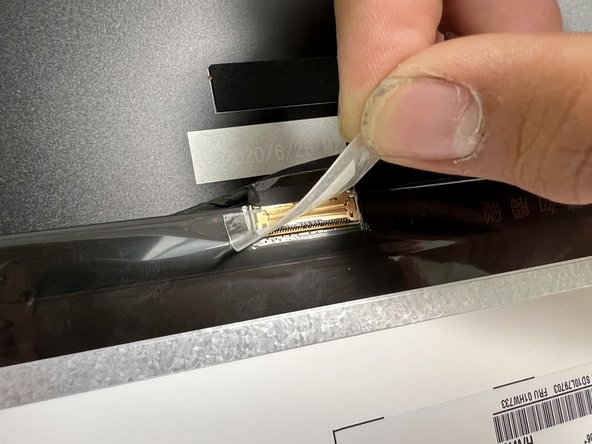
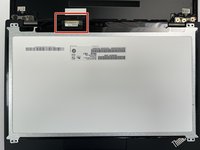
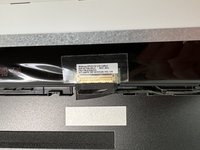
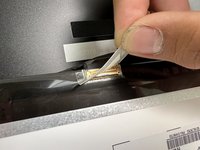
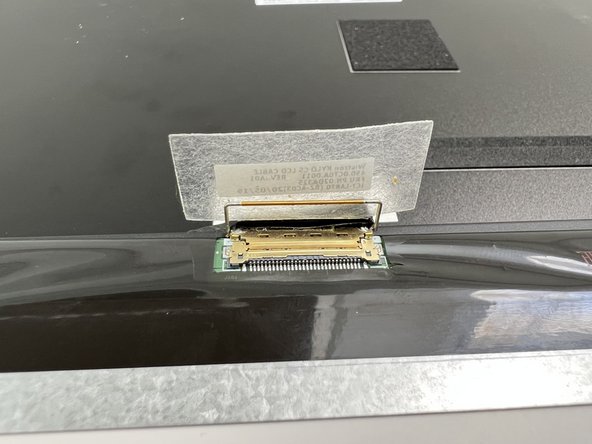
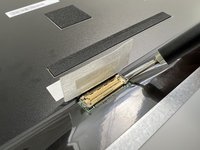
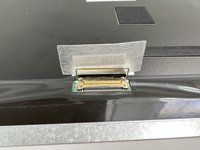
When the bar is clear of the connector and the screen, gently disconnect the display cable connector.
-
Remove the screen.
-
-





To reassemble your device, follow the above steps in reverse order.
Take your e-waste to an R2 or e-Stewards certified recycler.
Cancel: I did not complete this guide.
4 other people completed this guide.

Team

University of North Texas, Team 5-4, Kilpatrick Fall 2024 Member of University of North Texas, Team 5-4, Kilpatrick Fall 2024
UNT-KILPATRICK-F24S5G4
4 Members
60 Guides authored
