Introduction
To Replace the LCD Please Ensure that the Battery of the computer is disconnected. This will maintain the computers life and prevent any long-term damages.
Follow to Pre Requisite guides to disconnect the battery and proceed to the LCD guide to remove the screen.
What you need
-
Tool used on this step:Phillips #1 Screwdriver$5.49
-
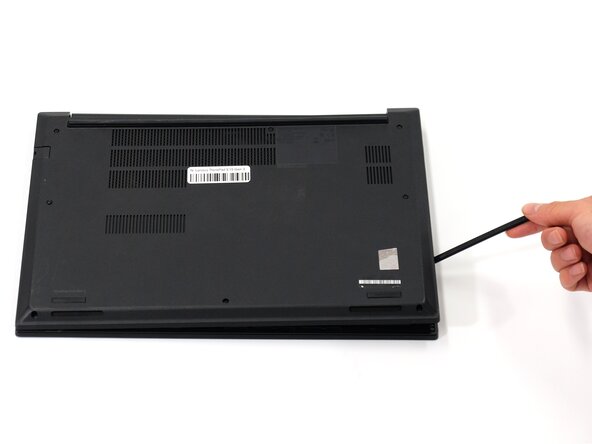
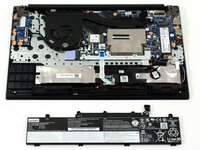
Loosen the eight PH1 screws on the back panel using the Phillips #1 screwdriver.
 Ask FixBot
-
-
Tool used on this step:iFixit Opening Tool$1.99
-
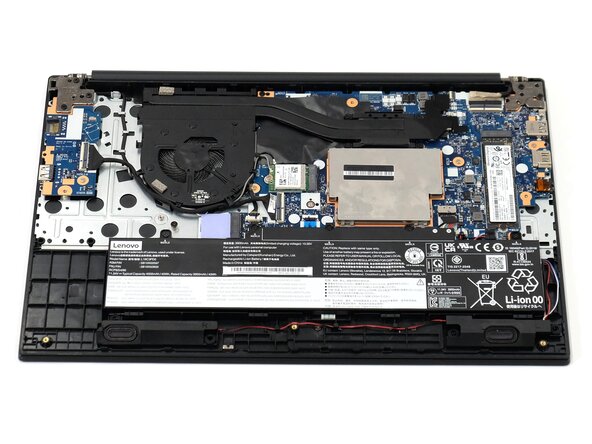
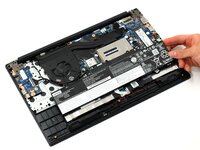
Remove back panel using a plastic opening tool or a spudger.
-
-
-
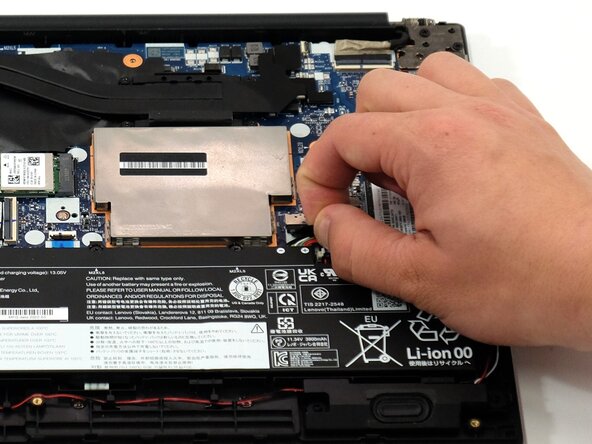
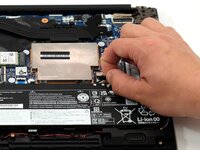
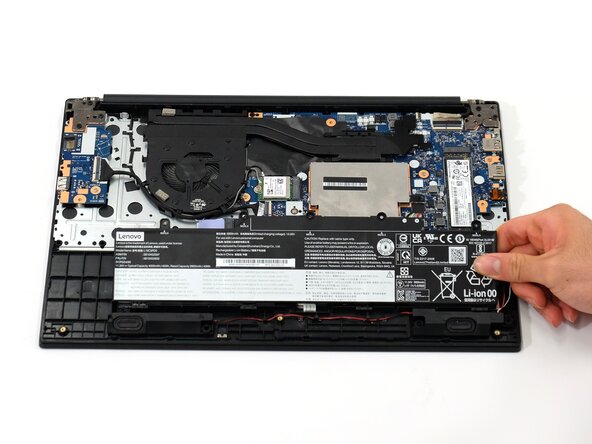
Gently disconnect the battery from the motherboard by pulling on the fabric tab attached to the connector.
-
-
-
-
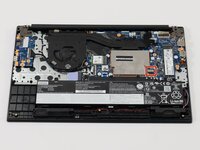
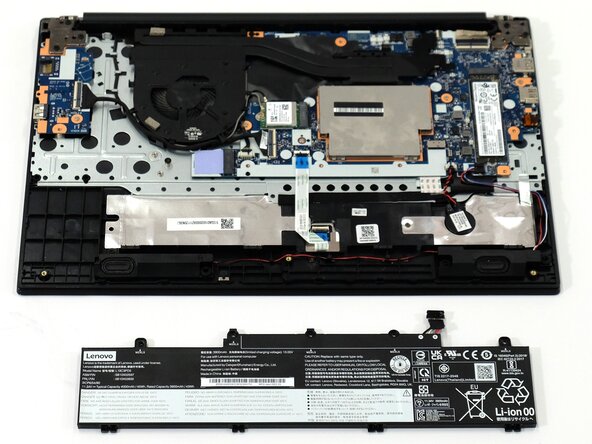
Remove the battery by gently lifting the top of the battery out from the frame and then pull towards the motherboard.
-
-
-
"Walk" the CMOS battery connector directly out of its socket.
-
Remove the CMOS battery.
-
-
Tool used on this step:Jimmy$7.95
-
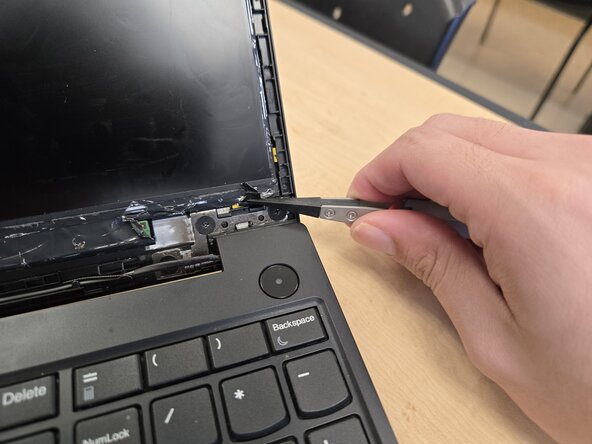
Slide a Jimmy right underneath the plastic cover of the screen.
-
Slide the Jimmy Across the cover in a clockwise motion.
-
Press the Laptop down and pull the plastic piece upwards until it un-clicks.
-
-
-
To remove the LCD connector panel, peel of the tape holding it down.
-
Flip up the gate and pull the connector panel away from the display.
-
Align the connector panel with the new LCD Display, pushing it into place.
-
Flip down the gate on the connector panel and reattach a new set of tape to keep it securely connected to the LCD Display.
-
-
-
The adhesive Strips you have removed should still be able to be placed into the 4 strip cut outs on the laptop.
-
Line up the new LCD Display with the adhesive strips and press it into place maintaining pressure to ensure security.
-
In the case the Strips do not stick anymore please ensure you are replacing them with the proper strips to ensure best performance and quality within your computer. ( 5T10N79887, Double Sided 3M Tape)
-


After Replacing the LCD
Repeat the Steps 1-2 To place the plastic cover back into place.

Team

Austin Community College, Team 2-2, Tijerina Spring 2026 Member of Austin Community College, Team 2-2, Tijerina Spring 2026
AUSTINCC-TIJERINA-S26S2G2
4 Members
3 Guides authored