
Free Shipping on Domestic Orders $75+

Lenovo ThinkCentre M900 Tiny RAM Replacement

What you need

  1. Lenovo ThinkCentre M900 Tiny RAM Replacement, RAM: step 1, image 1 of 2 Lenovo ThinkCentre M900 Tiny RAM Replacement, RAM: step 1, image 2 of 2
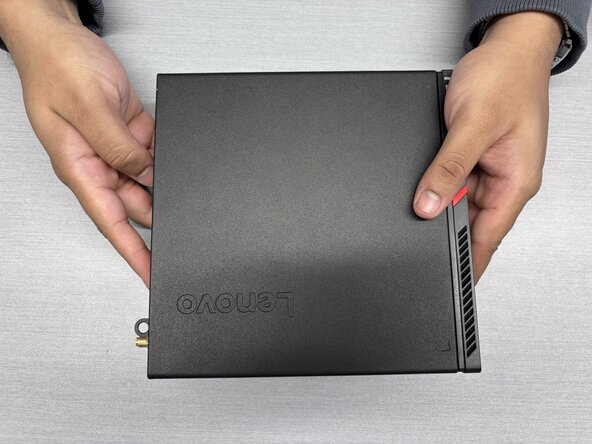
    • Remove all cables, locks, wireless receivers, and disc drive shrouds from the device.

  2. Lenovo ThinkCentre M900 Tiny RAM Replacement: step 2, image 1 of 2 Lenovo ThinkCentre M900 Tiny RAM Replacement: step 2, image 2 of 2
    • Unscrew the single Phillips #1 screw on the rear side of the device.

  3. Lenovo ThinkCentre M900 Tiny RAM Replacement: step 3, image 1 of 3 Lenovo ThinkCentre M900 Tiny RAM Replacement: step 3, image 2 of 3 Lenovo ThinkCentre M900 Tiny RAM Replacement: step 3, image 3 of 3
    • Slide the cover towards the front of the device to remove.

  4. Lenovo ThinkCentre M900 Tiny RAM Replacement: step 4, image 1 of 2 Lenovo ThinkCentre M900 Tiny RAM Replacement: step 4, image 2 of 2
    • Use a Phillips #1 screwdriver to remove the single screw securing the 2.5” drive tray in place.

  5. Lenovo ThinkCentre M900 Tiny RAM Replacement: step 5, image 1 of 3 Lenovo ThinkCentre M900 Tiny RAM Replacement: step 5, image 2 of 3 Lenovo ThinkCentre M900 Tiny RAM Replacement: step 5, image 3 of 3
    • Pull the 2.5” drive tray out horizontally to remove.

    • If there is a drive in the tray, it can remain mounted to the tray.

  6. Lenovo ThinkCentre M900 Tiny RAM Replacement: step 6, image 1 of 3 Lenovo ThinkCentre M900 Tiny RAM Replacement: step 6, image 2 of 3 Lenovo ThinkCentre M900 Tiny RAM Replacement: step 6, image 3 of 3
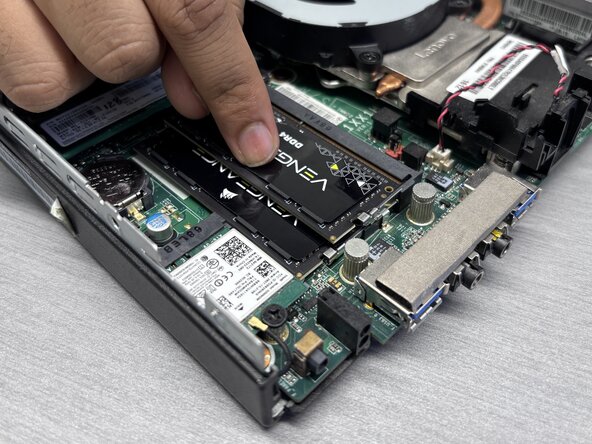
    • Gently push the silver latches on both sides of the RAM stick outward until the module pops up.

    • Slide the RAM out from the slot.

    • There should be little to no resistance when removing the modules.

  7. Lenovo ThinkCentre M900 Tiny RAM Replacement: step 7, image 1 of 3 Lenovo ThinkCentre M900 Tiny RAM Replacement: step 7, image 2 of 3 Lenovo ThinkCentre M900 Tiny RAM Replacement: step 7, image 3 of 3
    • Align the gold pins on the new RAM stick with the slot on the board and insert it at the same angle as the original RAM module was installed.

    • Gently press downwards on the RAM modules until the latches engage, holding the RAM modules in place.

    • Repeat steps 2-5 in reverse order to reassemble the device.

Conclusion

To reassemble your device, follow these instructions in reverse order. Take your e-waste to an R2 or e-Stewards certified recycler.

Adam Ghafoor

Member since: 01/27/26

145 Reputation

1 Guide authored

0 Guide Comments

Add Comment

View Statistics:

Past 24 Hours: 3

Past 7 Days: 20

Past 30 Days: 56

All Time: 73