
Lenovo Ideatab A1107 Front Camera Replacement

Katherine Enders and 3 other contributors
Last updated on May 7, 2024
Views: 563
View statistics:
- Past 24 Hours:
- 2
- Past 7 Days:
- 18
- Past 30 Days:
- 97
- All Time:
- 563
Comments: 0
No one has left comments on this guide. Will you be first?
Go to guide commentsCompleted: 1 2
1 person has marked this guide "completed." Will you be next?
2 people have marked this guide "completed." Including you — great job!
Favorites: 0 1
No one has favorited (and subscribed to) this guide. Will you be the first?
1 person has favorited (and subscribed to) this guide — and that's you!
Missing Steps
Oops! This guide is currently missing one or more important steps.
Introduction
Go to step 1 ↓The Lenovo Ideatab A1107 Front Camera Replacement guide will show users how to safely remove the front camera component from the Lenovo Ideatab A1107. Included in the guide are the proper tools needed to complete the replacement, as well as photos with mark-ups.
What you need
Tools
-
×2
-
×2
-
×2


-
-
-
Insert a plastic opener in-between the black back panel and the silver body of the tablet.
-
Use the plastic opener to pry the back panel off by moving the plastic opener around the outside edge of the device.
 Ask FixBot
-
-
-
-
Tool used on this step:Tweezers$4.99
-
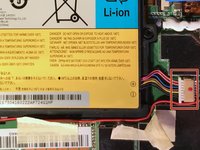
Use tweezers to remove the tape covering the battery's wiring.
-
-
-
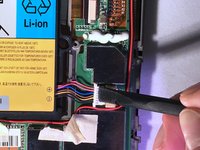
Use a plastic spudger tool to push the battery's wire harness and disconnect it from the device.
-
-
-
Wedge a plastic opening tool in between the battery and the internal components of the device.
-
Use the plastic opener tool to remove the battery from its casing.
-
-
-
-
-
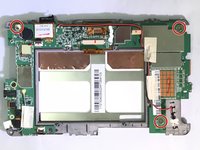
Remove the three screws that are 2.0 mm in length and have a 5.25 mm head width with a Phillips #00 screwdriver.
-
-
-
Tool used on this step:Tweezers$4.99
-
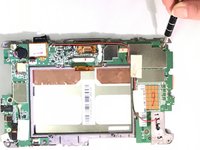
Use a spudger to remove the plastic piece securing the zero insertion force (ZIF) cable connector.
-
Use tweezers to grasp the ribbon cable, then pull the cable to disconnect it from the device.
-
-
-
Locate the black electrical tape strip on the side of the device.
-
Gently remove the tape from the device using the tweezers.
-
-
-
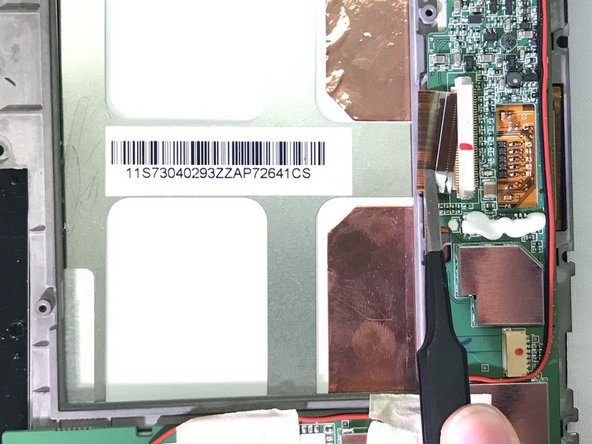
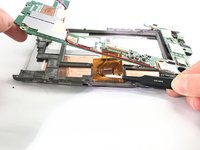
After removing the electric tape, gently lift up the green control panel.
-
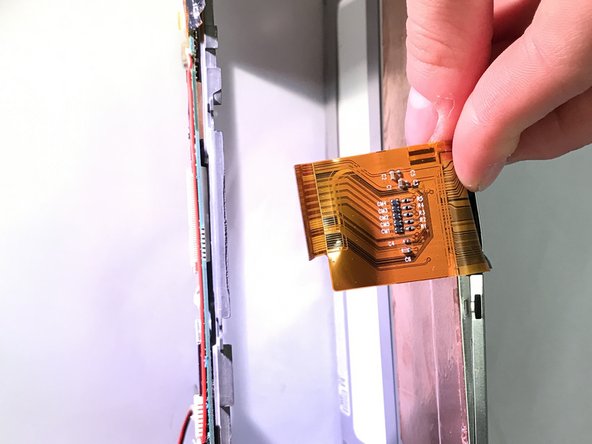
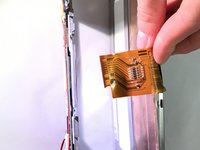
Taking the tweezers, remove the ribbon cable from the control panel.
-
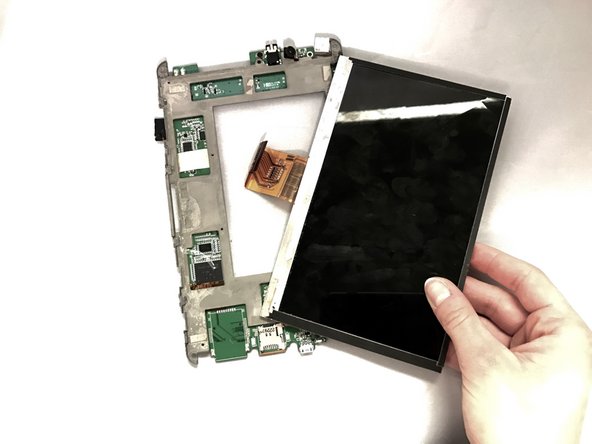
Once the ribbon cable is removed from the panel, the display should separate with ease.
-
-
-
Tool used on this step:Tweezers$4.99
-
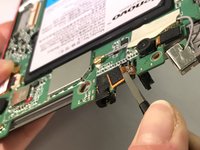
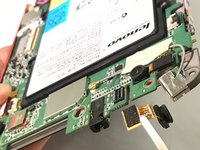
Using the tweezers, pull and remove the front camera component.
-
-









To reassemble your device, follow these instructions in reverse order.
Cancel: I did not complete this guide.
One other person completed this guide.

Team

Eastern Washington University, Team 2-2, Crane Winter 2017 Member of Eastern Washington University, Team 2-2, Crane Winter 2017
EWU-CRANE-W17S2G2
3 Members
60 Guides authored
