
Lenovo Ideapad S415 Touch RAM Replacement

Alexandria and 2 other contributors
Last updated on Jun 14, 2019
Views: 1.3K
View statistics:
- Past 24 Hours:
- 2
- Past 7 Days:
- 13
- Past 30 Days:
- 71
- All Time:
- 1,262
Comments: 0
No one has left comments on this guide. Will you be first?
Go to guide commentsCompleted: 1 2
1 person has marked this guide "completed." Will you be next?
2 people have marked this guide "completed." Including you — great job!
Favorites: 0 1
No one has favorited (and subscribed to) this guide. Will you be the first?
1 person has favorited (and subscribed to) this guide — and that's you!
Introduction
Go to step 1 ↓If your laptop is running out of space and starts getting slow, there may be a problem with your RAM. This guide will help replace the RAM in your laptop.
In order to replace the RAM you will first need to remove the battery. Make sure you have a Phillips #0 screw bit or screwdriver on hand. Be careful when dealing with the RAM. When removing it, take extra care not to touch the yellow strip on top of the RAM because the oil from fingers can damage the piece.
What you need
Tools


-
-
-
Flip laptop over bottom side up.
-
Locate the two battery release switches.
 Ask FixBot
-
-
-
Use your finger to push the battery release switch labeled "1." The red indicates that the switch is unlocked.
-
-
-
-
-
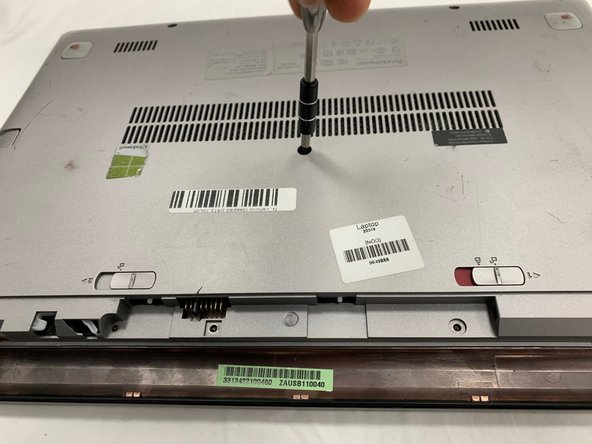
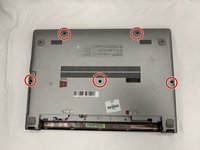
Locate the five 6mm black screws on the bottom.
-
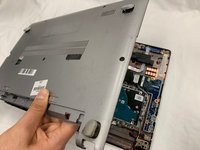
Using a Phillips #0 screwdriver, remove all five screws.
-
-
-
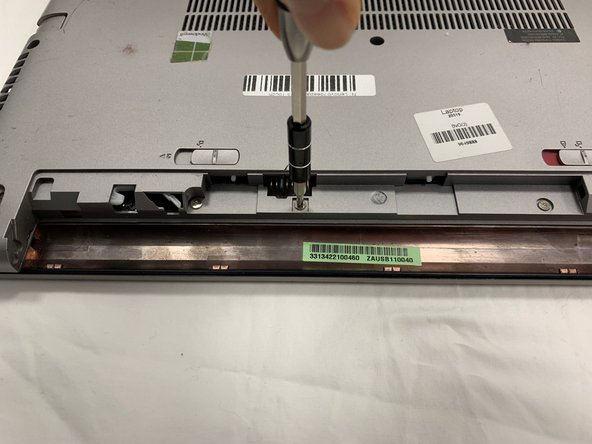
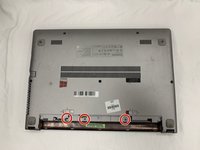
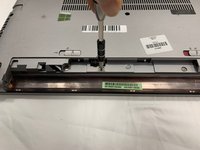
Locate the three 4mm silver screws on the bottom area where the battery was removed.
-
Use the Phillips #0 screwdriver to remove all three screws.
-
-
-
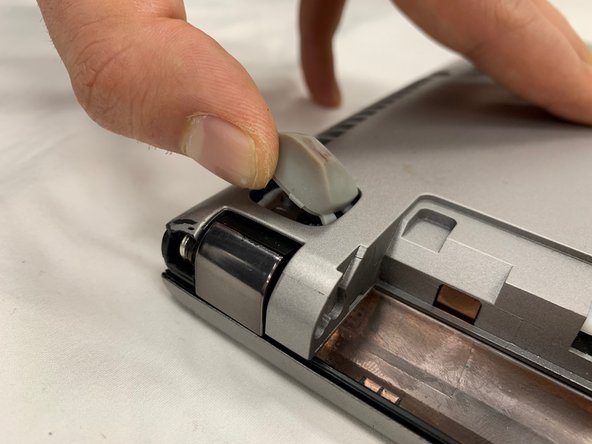
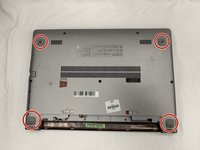
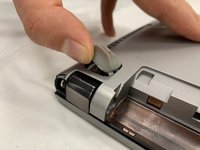
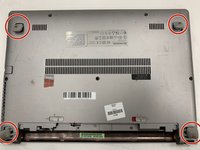
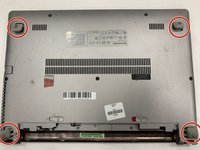
Locate the four rubber stoppers near each corner of the laptop.
-
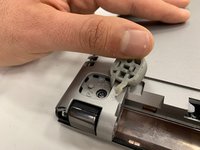
Open up the stoppers by lifting each with your hands.
-
-
-
-
Under each of the four stoppers, there will be a 6mm screw.
-
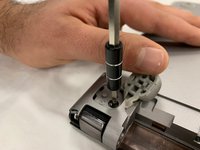
Use the Phillips #0 screwdriver to remove all four screws.
-
-
-
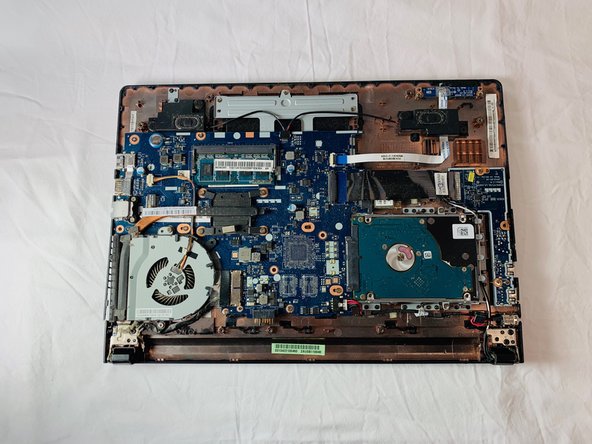
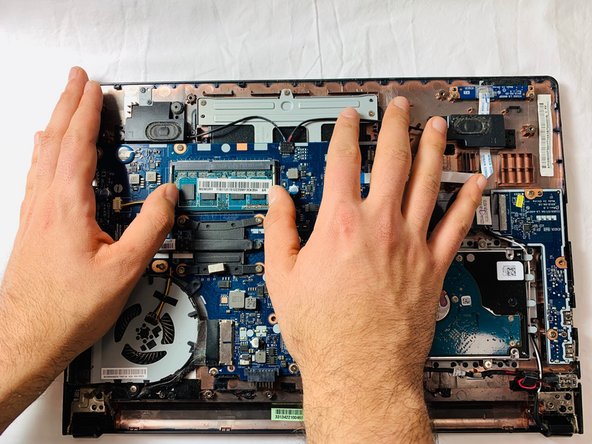
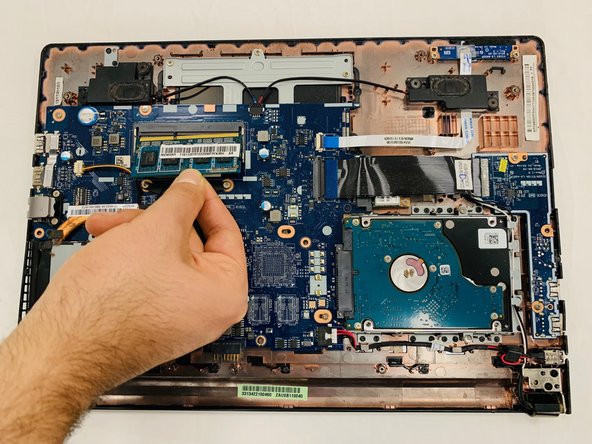
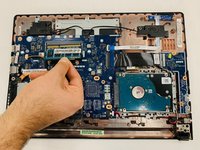
Locate the RAM.
-
Using your hands gently push up on the two silver clips located on both ends of the RAM.
-
The RAM will spring out. Gently pull it out of the slot.
-
-









To reassemble your device, follow these instructions in reverse order.
Cancel: I did not complete this guide.
One other person completed this guide.

Team

UC Davis, Team S20-G5, Lore Winter 2019 Member of UC Davis, Team S20-G5, Lore Winter 2019
UCD-LORE-W19S20G5
3 Members
48 Guides authored
