Introduction
This guide will help you remove and replace the camera on a Lenovo IdeaTab S2109A-F. If the camera's image on your Lenovo IdeaTab S2109A-F is distorted or cracked, then this guide is for you. Before you begin, please be sure to power off the tablet's battery and review the battery replacement guide. There will be many screws that need to be removed in this process. Please be mindful of them and keep track of them as you complete these steps.
Note: It is important to use a gentle hand while making this replacement to avoid causing any damage to the tablet.
What you need
-
-
-
Place the tablet on its screen and use the opening tool to remove the back cover.
-
With the tool, place slight pressure on the tablet to pry the back panel off.
 Ask FixBot
-
-
-
Grab the battery and gently lift upwards. This will show a red and black coiled wire.
-
Pull the battery gently until the cord has no slack.
-
-
-
Carefully hold the battery in one hand while your other hand's index finger and thumb grab the two wires nearest to their connection point.
-
Use your fingers to give a firm tug to the black and red wires, but do not yank them hard enough to damage the tablet.
-
Remove the battery from the device.
-
-
-
-
-
-
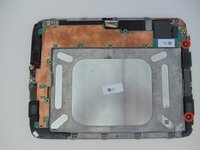
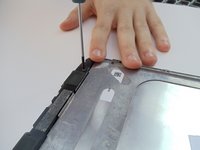
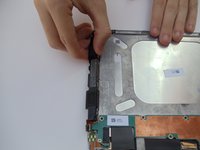
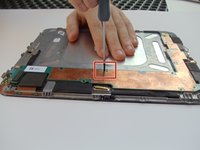
Remove the two 4 mm screws from the right side of the housing with the Phillips #00 screwdriver.
-
-
-
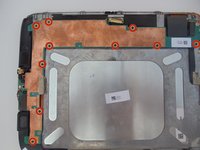
Locate the long, L-shaped system board.
-
Remove the ten 2 mm screws securing the system board with a Phillips #00 screwdriver.
-
-
-
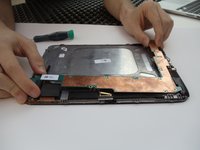
Flip the central latch with a large opening tool to expose a gold connector.
-
Gently pull the gold connector using the latch.
-
-
-
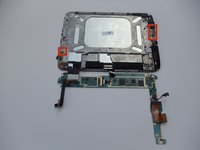
Pull up the L-shaped board to disconnect the two connectors at the top and bottom of the board.
-
-
-
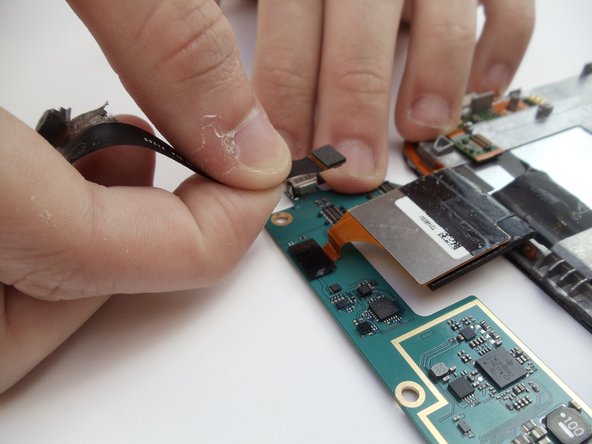
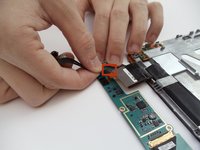
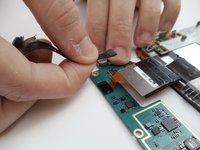
Grab the camera connection with your index finger thumb.
-
Disconnect the camera by gently pulling on this wire.
-
-







To reassemble this device, follow these instructions in reverse order.

Team

USF Tampa, Team 17-3, Watkins Winter 2015 Member of USF Tampa, Team 17-3, Watkins Winter 2015
USFT-WATKINS-W15S17G3
4 Members
57 Guides authored
