Free Shipping on Domestic Orders $75+

Lenovo IdeaPad Z570 Screen Replacement

What you need

    1. Lenovo IdeaPad Z570 Screen Replacement, Battery: step 1, image 1 of 1
      • Place the laptop face down with the battery facing away from you

      Ask FixBot
      Add Comment

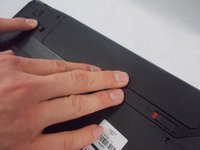
    2. Lenovo IdeaPad Z570 Screen Replacement: step 2, image 1 of 1
      • Flip the right switch right-bound

      Ask FixBot
      Add Comment

    3. Lenovo IdeaPad Z570 Screen Replacement: step 3, image 1 of 1
      • Hold the left switch.

      Ask FixBot
      Add Comment

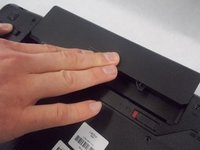
    4. Lenovo IdeaPad Z570 Screen Replacement: step 4, image 1 of 2 Lenovo IdeaPad Z570 Screen Replacement: step 4, image 2 of 2
      • Push the battery forward lightly to remove it while holding the left switch.

      Ask FixBot
      Add Comment

    1. Lenovo IdeaPad Z570 Screen Replacement, Screen: step 5, image 1 of 1
      • Open up the laptop with the screen facing you.

      Ask FixBot
      Add Comment

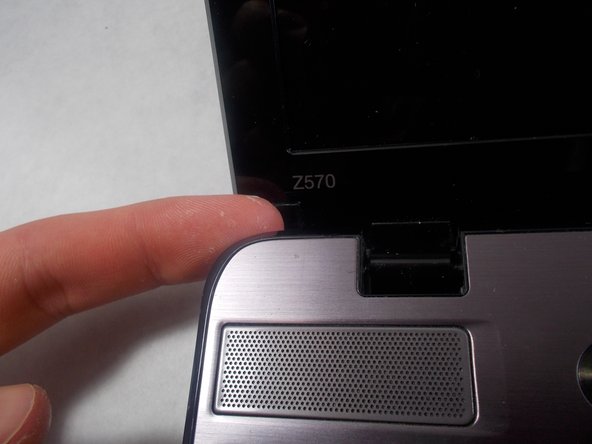
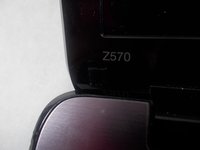
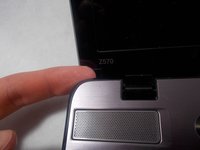
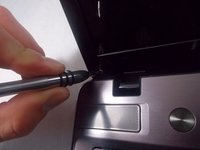
    2. Lenovo IdeaPad Z570 Screen Replacement: step 6, image 1 of 2 Lenovo IdeaPad Z570 Screen Replacement: step 6, image 2 of 2
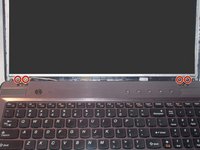
      • Remove the two rubber square screw covers located in the left and right lower hand corners of the screen.

      Ask FixBot

      Add Comment

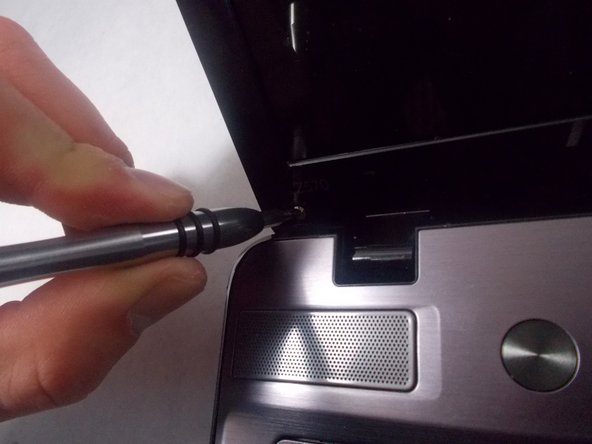
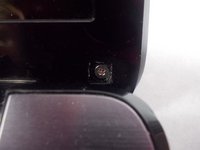
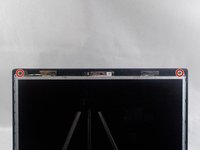
    3. Lenovo IdeaPad Z570 Screen Replacement: step 7, image 1 of 2 Lenovo IdeaPad Z570 Screen Replacement: step 7, image 2 of 2
      • Unscrew the two 4 mm screws behind the two rubber screw covers using the Phillips #0 screwdriver.

      Ask FixBot

      Add Comment

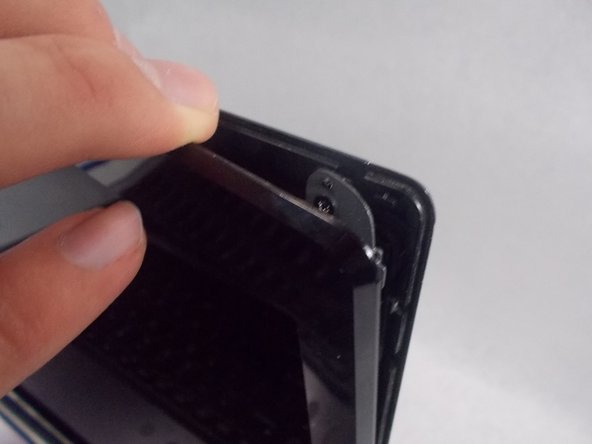
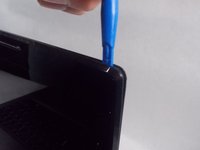
    4. Lenovo IdeaPad Z570 Screen Replacement: step 8, image 1 of 2 Lenovo IdeaPad Z570 Screen Replacement: step 8, image 2 of 2
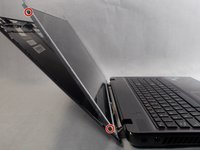
      • Using the opening tool, pry open the plastic screen border, beginning with the upper right hand corner then working your way around.

      • Pry off the screen cover from the device.

      Ask FixBot
      Add Comment

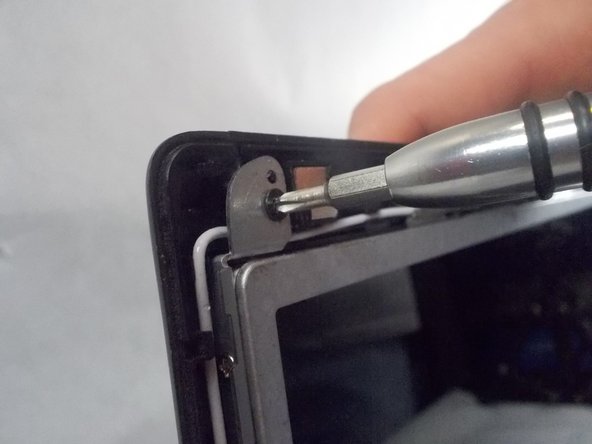
    5. Lenovo IdeaPad Z570 Screen Replacement: step 9, image 1 of 2 Lenovo IdeaPad Z570 Screen Replacement: step 9, image 2 of 2
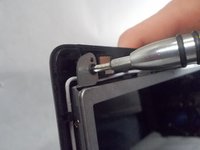
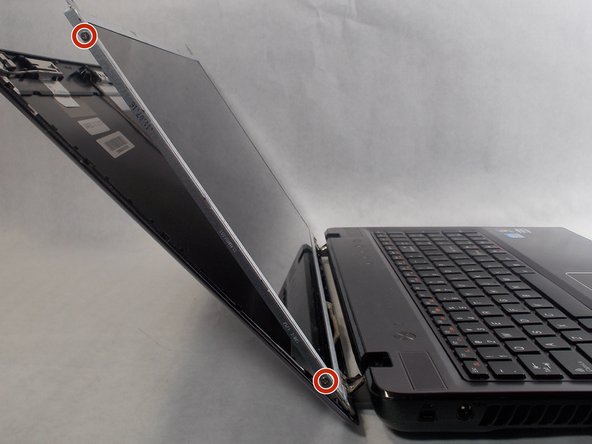
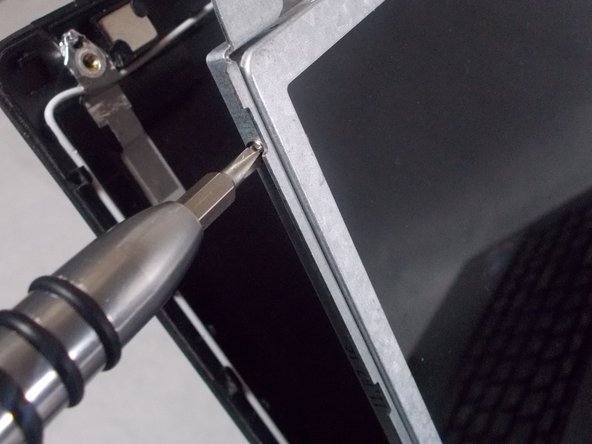
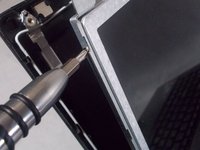
      • Remove the two 2 mm screws at the top two corners of the screen using the Phillips #0 screwdriver.

      Ask FixBot
      Add Comment

    6. Lenovo IdeaPad Z570 Screen Replacement: step 10, image 1 of 2 Lenovo IdeaPad Z570 Screen Replacement: step 10, image 2 of 2
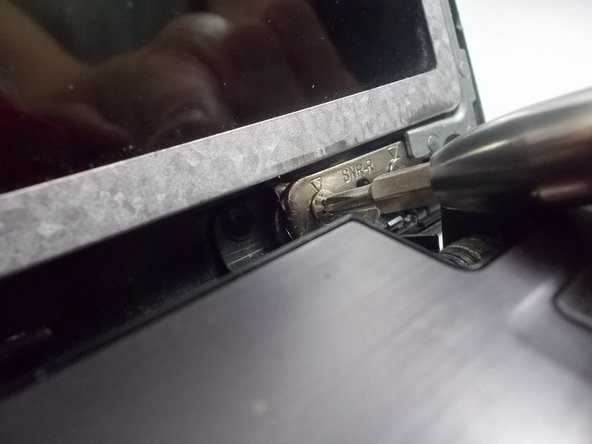
      • Loosen the four 2 mm screws located at the bottom corners of the screen.

      • These screws cannot be removed.
      Ask FixBot
      Add Comment

    7. Lenovo IdeaPad Z570 Screen Replacement: step 11, image 1 of 3 Lenovo IdeaPad Z570 Screen Replacement: step 11, image 2 of 3 Lenovo IdeaPad Z570 Screen Replacement: step 11, image 3 of 3
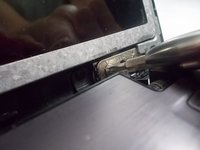
      • Tilt the screen forward gently.

      • Remove four 3 mm screws on the sides of the brackets holding the screen (two on the left side and two on the right side) using the Phillips #0 screwdriver.

      Ask FixBot

      Add Comment

    8. Lenovo IdeaPad Z570 Screen Replacement: step 12, image 1 of 1
      • Lean the LCD screen face-down on the keyboard gently.

      Ask FixBot

      Add Comment

    9. Lenovo IdeaPad Z570 Screen Replacement: step 13, image 1 of 3 Lenovo IdeaPad Z570 Screen Replacement: step 13, image 2 of 3 Lenovo IdeaPad Z570 Screen Replacement: step 13, image 3 of 3
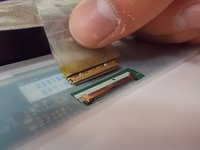
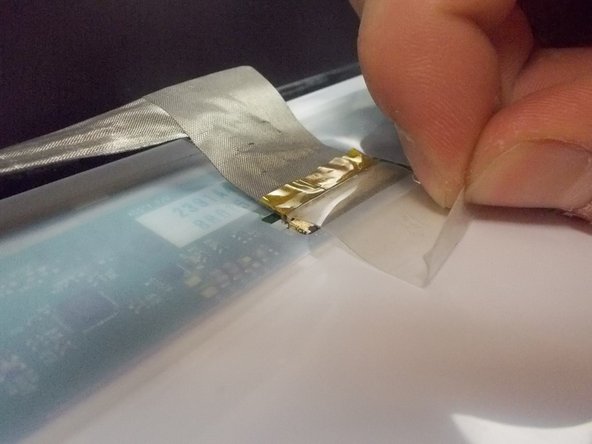
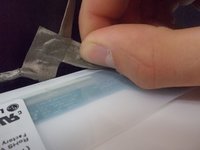
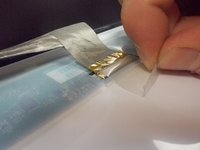
      • Gently remove the adhesive covering surrounding the wires that’s connected to the back of the screen.

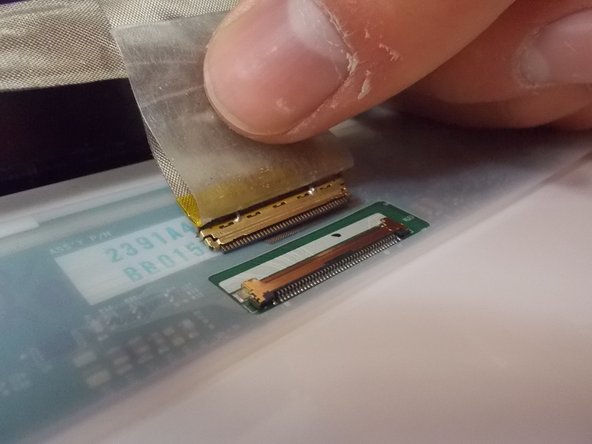
      • Disconnect the plug from the connection terminal.

      • Remove the screen completely.

      Ask FixBot

      Add Comment

Conclusion

To reassemble your device, follow these instructions in reverse order.

Cancel: I did not complete this guide.

2 other people completed this guide.

Daniel Lopes

Member since: 03/08/19

646 Reputation

3 Guides authored

Team

0 Guide Comments

Add Comment

View Statistics:

Past 24 Hours: 1

Past 7 Days: 4

Past 30 Days: 28

All Time: 1,415