Free Shipping on Domestic Orders $75+

Lenovo IdeaPad Y400 Back Panel Replacement

Views: 776

View statistics:

Past 24 Hours:
2
Past 7 Days:
21
Past 30 Days:
65
All Time:
776
Comments: 0

No one has left comments on this guide. Will you be first?

Go to guide comments
Completed: 0

No one has marked this guide "completed." Will you be the first?

Favorites: 0

No one has favorited (and subscribed to) this guide. Will you be the first?

Time Required: 2 - 3 minutes
Difficulty: Easy
Featured Student Guide

This guide has been the hard work of our awesome students and is found to be exceptionally cool by the iFixit staff.

Lenovo IdeaPad Y400 Back Panel Replacement

Introduction

Go to step 1 ↓

Use this guide to remove the back panel of your device. This guide will show you how to remove the back panel in order to remove other parts of the laptop.

What you need

Tools

    1. Lenovo IdeaPad Y400 Back Panel Replacement, Battery: step 1, image 1 of 3 Lenovo IdeaPad Y400 Back Panel Replacement, Battery: step 1, image 2 of 3 Lenovo IdeaPad Y400 Back Panel Replacement, Battery: step 1, image 3 of 3
      • Make sure the laptop is upside down, then turn the laptop so that the battery is facing you. Now that the battery is facing you, there will be two locks, one on the left and one on the right.

      • Slide the lock to the right until you can hear a "click". Once you hear this click, you should be able to see the color red.

      Ask FixBot

      Add Comment

    2. Lenovo IdeaPad Y400 Back Panel Replacement: step 2, image 1 of 2 Lenovo IdeaPad Y400 Back Panel Replacement: step 2, image 2 of 2
      • Unlike the first lock, the left lock does not stay in place. You will need to hold it in place as you take the battery out.

      • Slide the second (left) lock to the left and hold it there.

      Ask FixBot

      Add Comment

    3. Lenovo IdeaPad Y400 Back Panel Replacement: step 3, image 1 of 1
      • Gently pull the battery out.

      Ask FixBot

      Add Comment

    1. Lenovo IdeaPad Y400 Back Panel Replacement, Back Panel: step 4, image 1 of 1
      • Remove the eight 9mm screws with a Phillips #0 screwdriver.

      Ask FixBot

      Add Comment

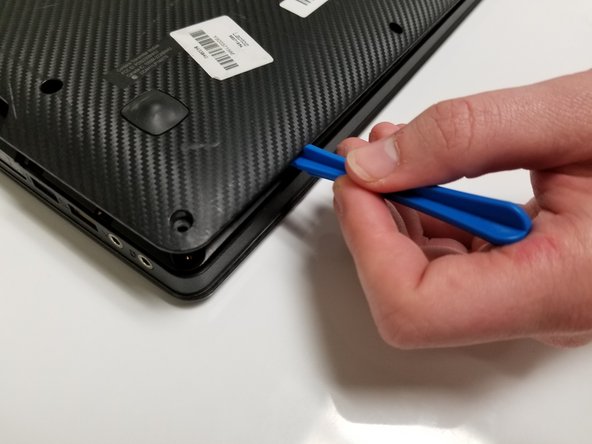
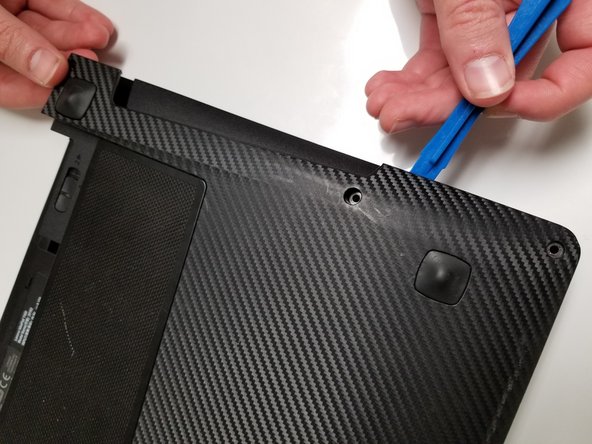
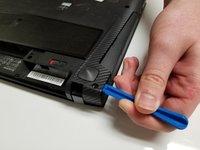
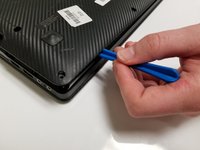
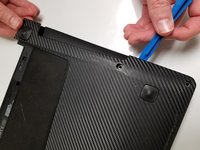
    2. Lenovo IdeaPad Y400 Back Panel Replacement: step 5, image 1 of 3 Lenovo IdeaPad Y400 Back Panel Replacement: step 5, image 2 of 3 Lenovo IdeaPad Y400 Back Panel Replacement: step 5, image 3 of 3
      • Use the plastic opening tool to remove the back panel from the device.

      • Do not force the back off, as you may break the clips keeping it down.

      Ask FixBot

      Add Comment

Conclusion

To reassemble your device, follow these instructions in reverse order.

Cancel: I did not complete this guide.

0 Guide Comments

Add Comment

View Statistics:

Past 24 Hours: 2

Past 7 Days: 21

Past 30 Days: 65

All Time: 776