Introduction
If the optical drive struggles to read CDs/DVDs, or it is too noisy with a disk inside it, it may need replacement. This guide will guide you through replacing your optical drive.
The battery for this device is not easily accessible and cannot be easily removed. Before you begin your replacement, be sure to disconnect the laptop from any power source. Additionally, we recommend that you drain the battery completely before you begin this replacement.
What you need
-
-
-
Place the opening tool's head under any edge of the keyboard.
-
Pull upwards to unsnap the keyboard.
-
Use your fingers and the opening tool to pop the keyboard out of its place.
-
-
-
-
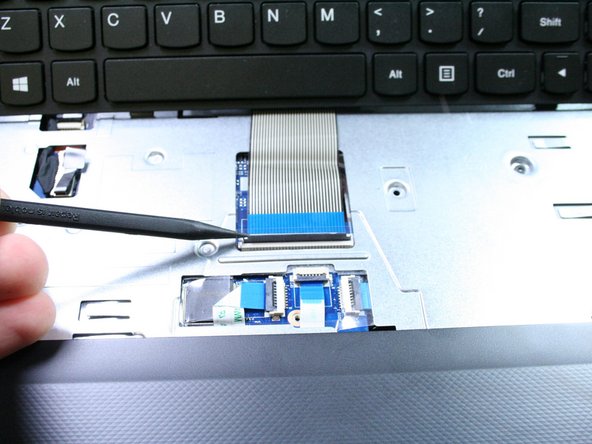
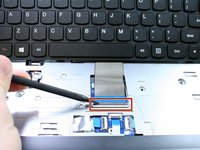
Push the keyboard connector latch upwards with the spudger.
-
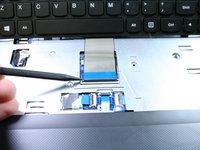
The keyboard connector cable should slide right out.
-
-
-
-
Remove the 6mm Phillips #1 screw that sits in the center of the front plate below the keyboard. This screw sits between two adjacent tabbed holes.
-
-
-
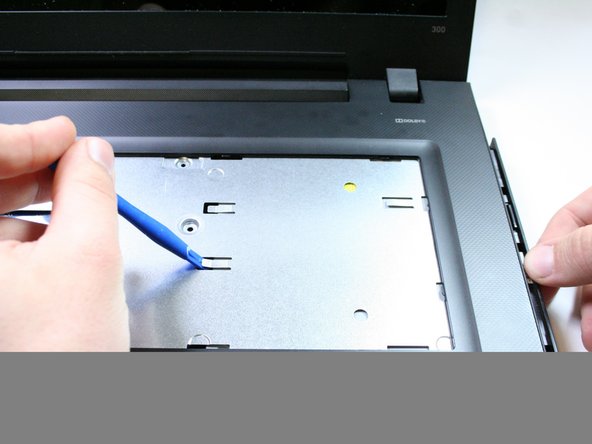
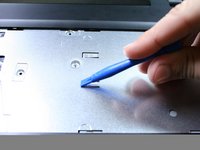
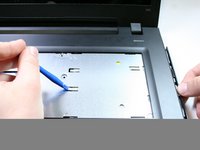
Insert the opening tool's head into one of the tabbed holes.
-
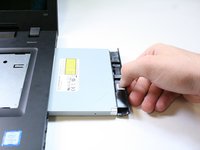
With the opening tool's head inserted under a tab, push to the right. The optical drive should slide out easily.
-
-

 Ask FixBot





To reassemble your device, follow these instructions in reverse order.
Cancel: I did not complete this guide.
One other person completed this guide.

Team

UC Davis, Team 1-3, Rodger Winter 2017 Member of UC Davis, Team 1-3, Rodger Winter 2017
UCD-RODGER-W17S1G3
4 Members
72 Guides authored
