Introduction
This guide will walk you through the process of replacing the fan in your Lenovo IdeaPad 3-15IML05. Over time, dust or a faulty fan can lead to overheating and system issues. By following these steps, you'll be able to replace the fan y and restore optimal cooling performance to your laptop.
Before you begin this repair, make sure that your laptop is off and disconnected from the power adapter.
What you need
-
-
-
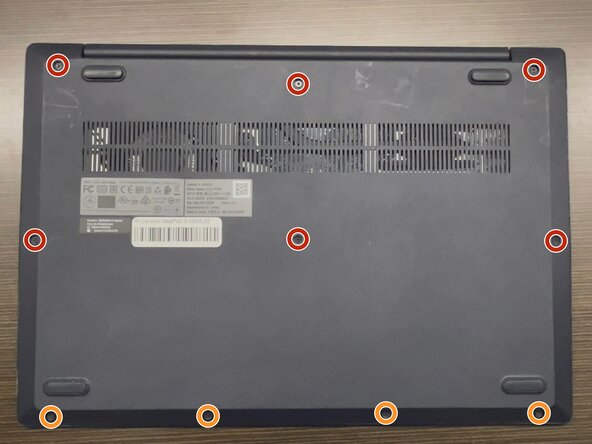
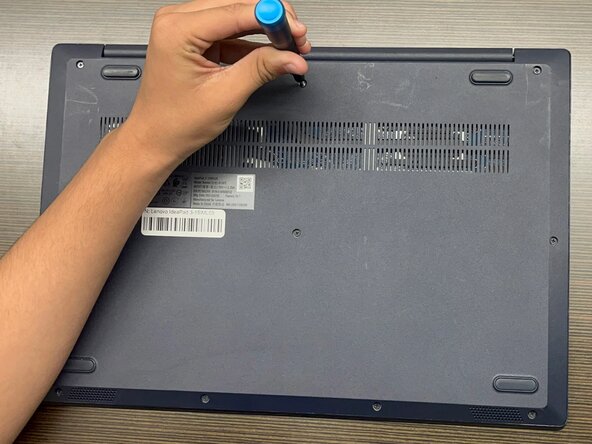
Use a Phillips #1 screwdriver to remove the following screws:
-
Six 7 mm screws
-
Four 4 mm screws
 Ask FixBot
-
-
-
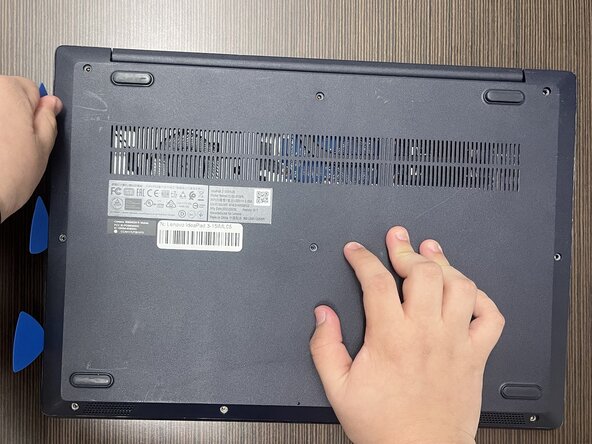
Insert an opening pick into the seam between the lower case and chassis.
-
Slide the pick around the entire perimeter until all of the plastic retaining clips release.
-
Remove the lower case.
-
-
-
-
-
-
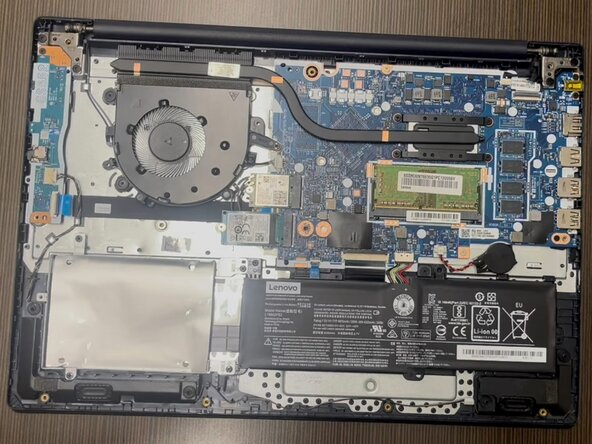
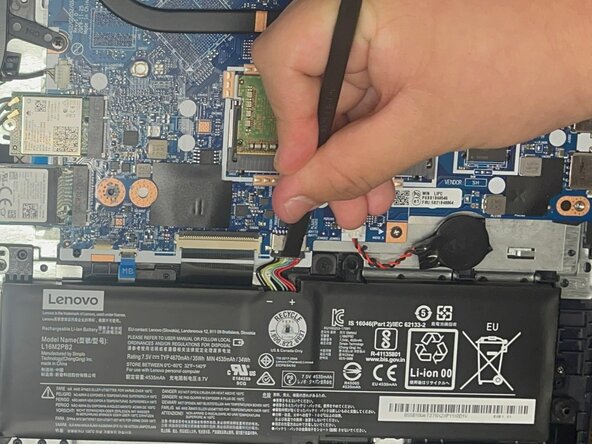
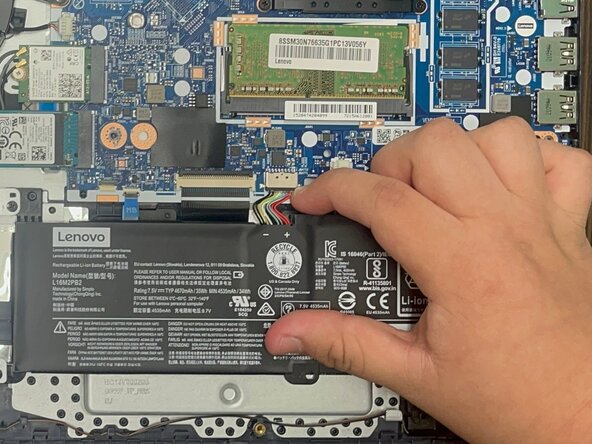
Use a plastic spudger or your fingernail to gently push the JST battery connector out of its socket.
-
-
-
-
-
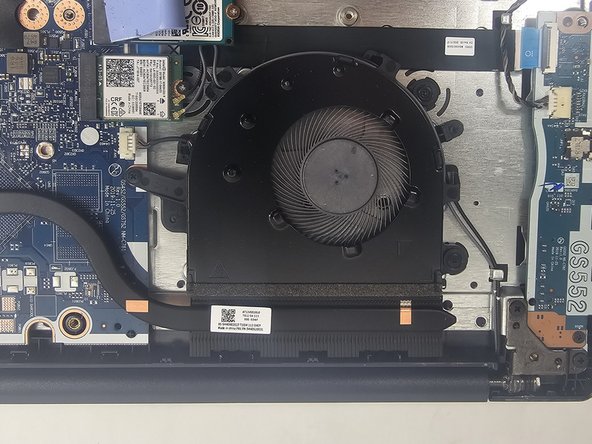
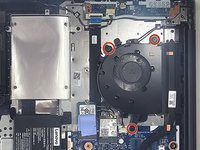
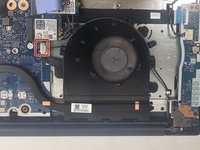
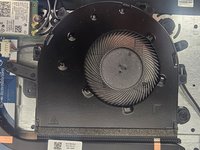
Use a Phillips screwdriver to remove the three screws securing the fan to the chassis.
-
-
-
Grip the tab at the end of the bundle cable and pull the connector slowly and steadily out of its socket to disconnect the fan cable.
-
Disconnect the fan from the heat sink.
-
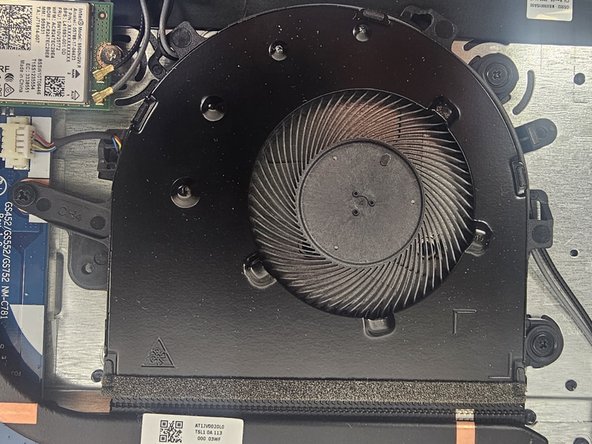
Gently unhook the black wire from the tabs around the edge of the fan.
-
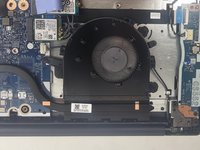
Lift the fan from the laptop to remove it.
-
-


To reassemble your device, follow the above steps in reverse order.
Take your e-waste to an R2 or e-Stewards certified recycler.
Repair didn’t go as planned? Try some basic troubleshooting or ask our Answers community for help.

Team

UMass Dartmouth, Team 2-2, Santin Fall 2024 Member of UMass Dartmouth, Team 2-2, Santin Fall 2024
UMASSD-SANTIN-F24S2G2
4 Members
36 Guides authored
