Free Shipping on Domestic Orders $75+

Lenovo G40-30 LCD Screen Replacement

What you need

  1. Lenovo G40-30 LCD Screen Replacement, Battery: step 1, image 1 of 3 Lenovo G40-30 LCD Screen Replacement, Battery: step 1, image 2 of 3 Lenovo G40-30 LCD Screen Replacement, Battery: step 1, image 3 of 3
    • At the top of the laptop you will see two switches, like in image one and two.

    • Pull the switches outwards with your thumb, towards the unlocked lock.

    Ask FixBot
  2. Lenovo G40-30 LCD Screen Replacement: step 2, image 1 of 3 Lenovo G40-30 LCD Screen Replacement: step 2, image 2 of 3 Lenovo G40-30 LCD Screen Replacement: step 2, image 3 of 3
    • Once both switches are pulled, the battery should pop out.

    Ask FixBot
  3. Lenovo G40-30 LCD Screen Replacement: step 3, image 1 of 1
    • Now you are ready to insert your new battery.

    Ask FixBot
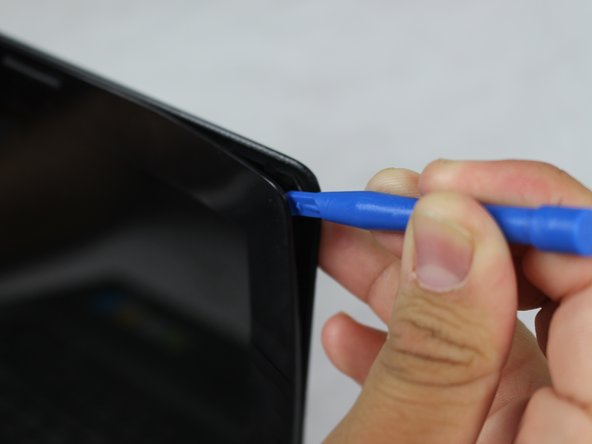
  4. Lenovo G40-30 LCD Screen Replacement, LCD Screen: step 4, image 1 of 2 Lenovo G40-30 LCD Screen Replacement, LCD Screen: step 4, image 2 of 2
    • Use the plastic opening tool to pry the plastic away from the screen.

    Ask FixBot
  5. Lenovo G40-30 LCD Screen Replacement: step 5, image 1 of 2 Lenovo G40-30 LCD Screen Replacement: step 5, image 2 of 2
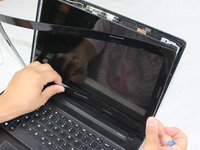
    • Carefully unsnap the front plastic piece to expose the frame of the screen.

    Ask FixBot
  6. Lenovo G40-30 LCD Screen Replacement: step 6, image 1 of 3 Lenovo G40-30 LCD Screen Replacement: step 6, image 2 of 3 Lenovo G40-30 LCD Screen Replacement: step 6, image 3 of 3
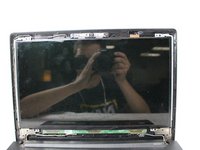
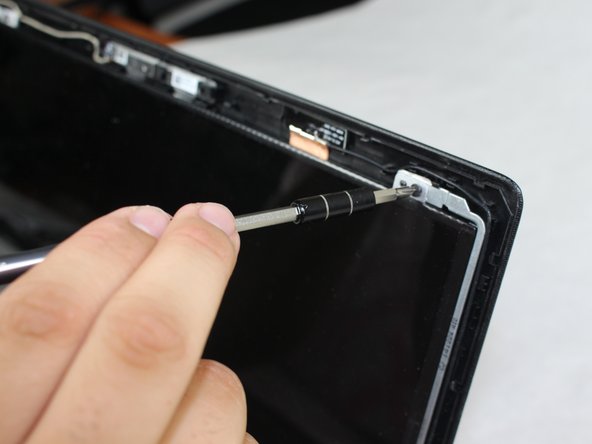
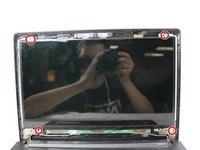
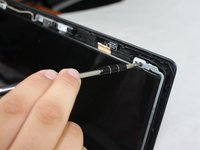
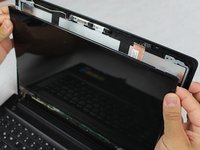
    • Unscrew the four 7mm screws located on all four corners of the frame using a JIS #0 screwdriver.

    • Carefully lift the screen from the base so as to not damage it.

    Ask FixBot
  7. Lenovo G40-30 LCD Screen Replacement: step 7, image 1 of 2 Lenovo G40-30 LCD Screen Replacement: step 7, image 2 of 2
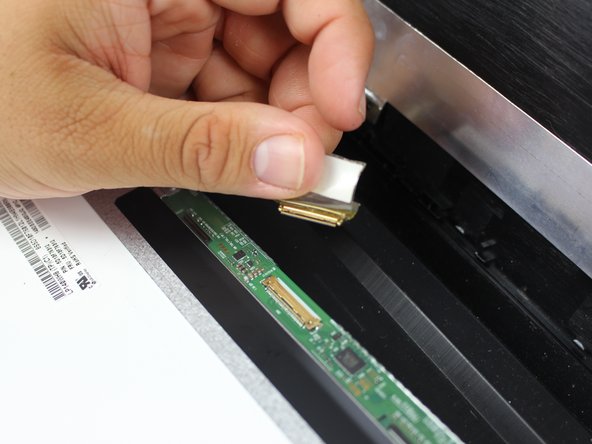
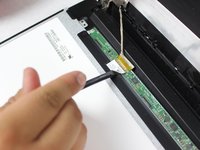
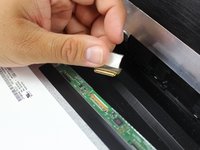
    • Slowly remove the sticker connected to the rear of the screen using a spudger.

    • Carefully disconnect the screen from the base of the laptop.

    Ask FixBot
  8. Lenovo G40-30 LCD Screen Replacement: step 8, image 1 of 1
    • Now you have removed the screen and are ready to install a new one.

    Ask FixBot
Conclusion

To reassemble your device, follow these instructions in reverse order.

2 other people completed this guide.

2 Guide Comments

Thanks alot…..I just fixed my screen by God's grace.

Nnaemeka Okechukwu - Reply Share

Hi! Is it possible to replace the screen with 1080p LCD?

Chin Yau Chia - Reply Share

Add Comment

View Statistics:

Past 24 Hours: 1

Past 7 Days: 6

Past 30 Days: 47

All Time: 2,917