Free Shipping on Domestic Orders $75+

Lenovo 500e Chromebook 81ES Camera Replacement

What you need

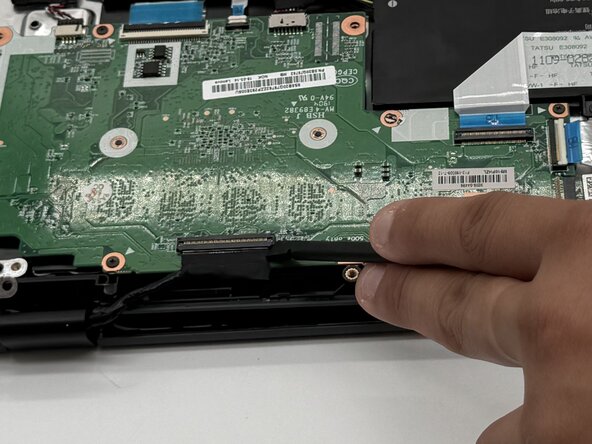
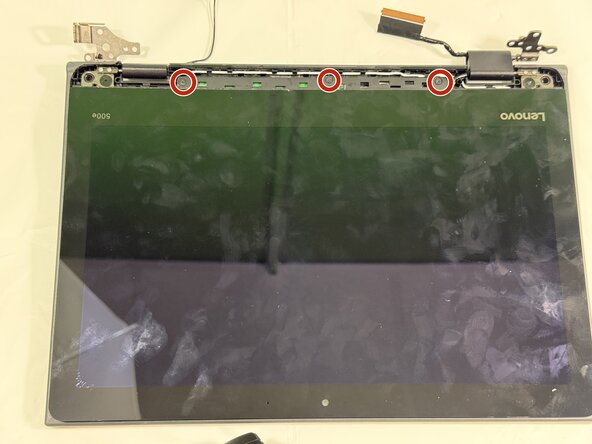
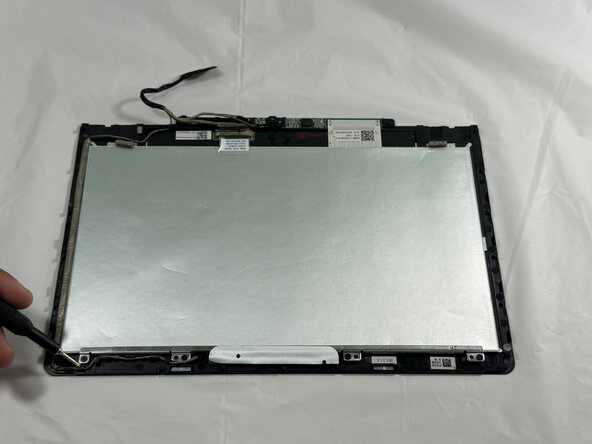
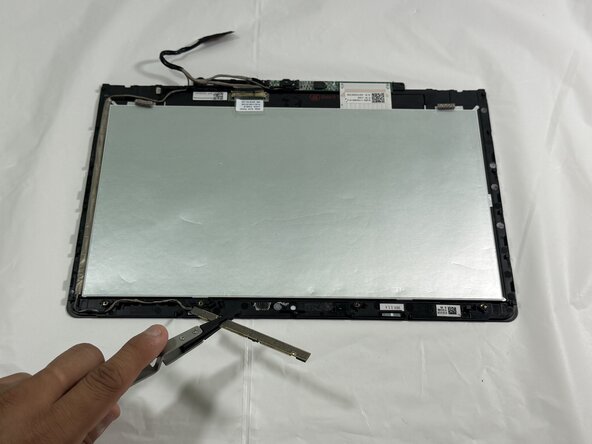
    1. Lenovo 500e Chromebook 81ES Camera Replacement, Display Assembly: step 1, image 1 of 3 Lenovo 500e Chromebook 81ES Camera Replacement, Display Assembly: step 1, image 2 of 3 Lenovo 500e Chromebook 81ES Camera Replacement, Display Assembly: step 1, image 3 of 3
      • Use a Phillips #0 screwdriver to remove the six 5 mm-long screws securing the two hinges.

      • Use tweezers to lift up the hinges.

      • Using a spudger, gently disconnect the display connector.

      Ask FixBot

      Add Comment

    2. Lenovo 500e Chromebook 81ES Camera Replacement: step 2, image 1 of 2 Lenovo 500e Chromebook 81ES Camera Replacement: step 2, image 2 of 2
      • Remove the single Phillips screw securing the Wi-Fi card.

      Ask FixBot

      Add Comment

    3. Lenovo 500e Chromebook 81ES Camera Replacement: step 3, image 1 of 1
      • Disconnect the Wi-Fi card.

      Ask FixBot

      Add Comment

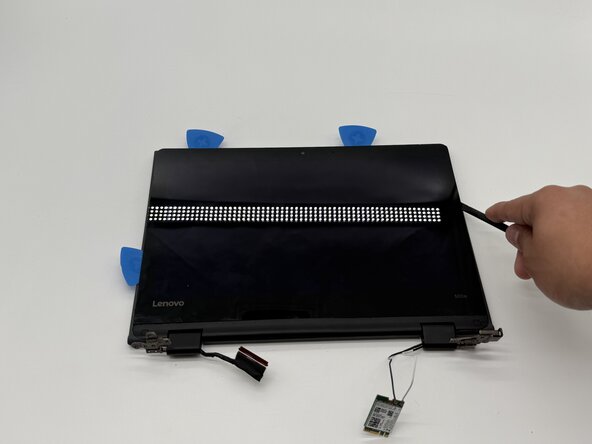
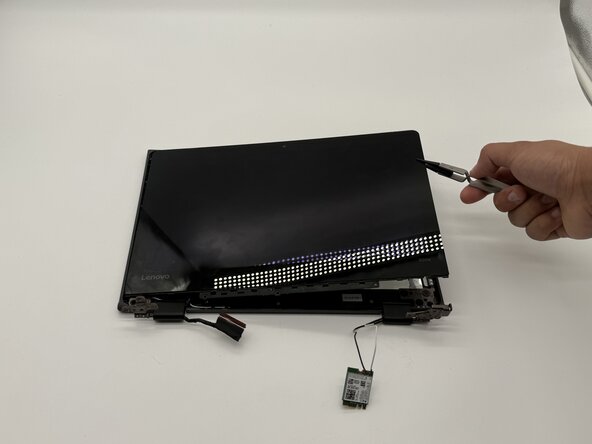
    4. Lenovo 500e Chromebook 81ES Camera Replacement: step 4, image 1 of 3 Lenovo 500e Chromebook 81ES Camera Replacement: step 4, image 2 of 3 Lenovo 500e Chromebook 81ES Camera Replacement: step 4, image 3 of 3
      • Remove the display assembly.

      • Insert the opening picks and spudger into the screen casing.

      • Remove the screen.

      Ask FixBot

      Add Comment

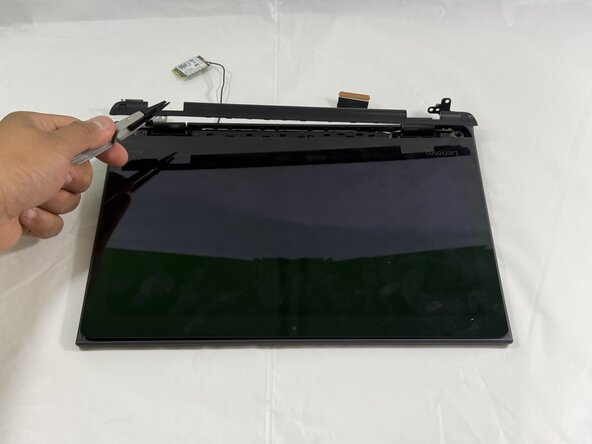
    5. Lenovo 500e Chromebook 81ES Camera Replacement: step 5, image 1 of 3 Lenovo 500e Chromebook 81ES Camera Replacement: step 5, image 2 of 3 Lenovo 500e Chromebook 81ES Camera Replacement: step 5, image 3 of 3
      • Slide the spudger into the center control cover.

      • Using tweezers, remove the cover.

      Ask FixBot

      Add Comment

    6. Lenovo 500e Chromebook 81ES Camera Replacement: step 6, image 1 of 2 Lenovo 500e Chromebook 81ES Camera Replacement: step 6, image 2 of 2
      • Use a Phillips #0 screwdriver to remove the three 2 mm-long screws securing the screen.

      Ask FixBot

      Add Comment

    7. Lenovo 500e Chromebook 81ES Camera Replacement: step 7, image 1 of 3 Lenovo 500e Chromebook 81ES Camera Replacement: step 7, image 2 of 3 Lenovo 500e Chromebook 81ES Camera Replacement: step 7, image 3 of 3
      • Use a Phillips #0 screwdriver to remove the three 3 mm-long screws on the top holding the display hinge metal bracket.

      • Use a Phillips #0 screwdriver to remove the two 2 mm-long screws on the bottom of the metal bracket.

      Ask FixBot

      Add Comment

    8. Lenovo 500e Chromebook 81ES Camera Replacement: step 8, image 1 of 2 Lenovo 500e Chromebook 81ES Camera Replacement: step 8, image 2 of 2
      • Use tweezers to remove the metal bracket.

      • Using tweezers, gently pull the main cables attached to the sensor board.

      Ask FixBot

      Add Comment

    9. Lenovo 500e Chromebook 81ES Camera Replacement: step 9, image 1 of 1
      • The screen is detached from the laptop.

      Ask FixBot

      Add Comment

    1. Lenovo 500e Chromebook 81ES Camera Replacement, Camera: step 10, image 1 of 2 Lenovo 500e Chromebook 81ES Camera Replacement, Camera: step 10, image 2 of 2
      • Use a Phillips #0 screwdriver to remove the four 3 mm screws from the camera bracket.

      Ask FixBot

      Add Comment

    2. Lenovo 500e Chromebook 81ES Camera Replacement: step 11, image 1 of 2 Lenovo 500e Chromebook 81ES Camera Replacement: step 11, image 2 of 2
      • Use the Tweezers to remove the bracket from the back of the screen.

      Ask FixBot

      Add Comment

    3. Lenovo 500e Chromebook 81ES Camera Replacement: step 12, image 1 of 2 Lenovo 500e Chromebook 81ES Camera Replacement: step 12, image 2 of 2
      • Now use the Tweezers to gently remove the cable connected to the camera.

      Ask FixBot

      Add Comment

    4. Lenovo 500e Chromebook 81ES Camera Replacement: step 13, image 1 of 2 Lenovo 500e Chromebook 81ES Camera Replacement: step 13, image 2 of 2
      • Now use the tweezers to remove the camera.

      Ask FixBot

      Add Comment

Conclusion

To reassemble your device, follow the above steps in reverse order.
Take your e-waste to an R2 or e-Stewards certified recycler.
Repair didn’t go as planned? Try some basic troubleshooting or ask our Answers community for help.

Cancel: I did not complete this guide.

0 Guide Comments

Add Comment

View Statistics:

Past 24 Hours: 2

Past 7 Days: 5

Past 30 Days: 14

All Time: 121