Introduction
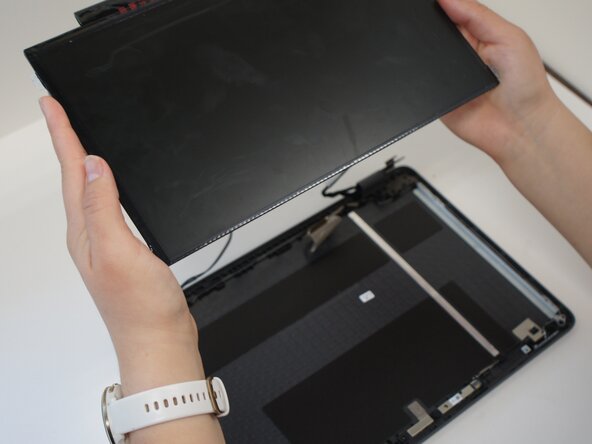
Use this guide if the screen on your Lenovo 100e Chromebook Gen 4 is malfunctioning or broken. The LCD screen is responsible for outputting all visual elements on your Chromebook. If your Chromebook produces sounds through the speaker but the screen remains black, or if the laptop powers on and off but the screen remains black, or if the touch capability of the screen isn't working, or if there is any visible damage to the screen, the screen may need replacing.
Check our troubleshooting guide for possible solutions before deciding to replace.
This guide requires handling the internal parts of the Chromebook, so usage of an anti-static mat and anti-static wrist strap is recommended.
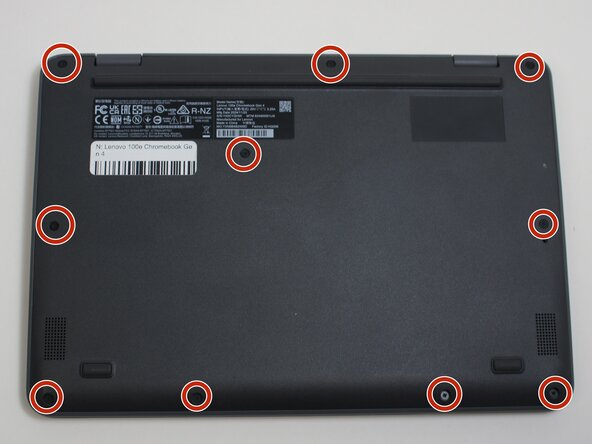
Unplug all cables and ensure the laptop is powered off before beginning.
What you need
-
-
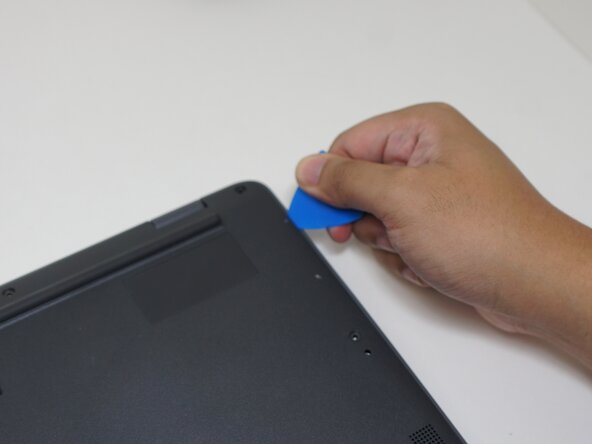
Use an opening pick to wedge under the keyboard and create an opening.
-
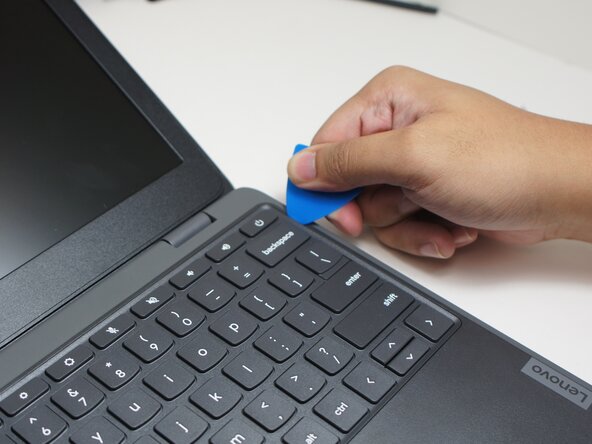
Use a spudger to pry under and all around the keyboard.
-
After prying, lift up the keyboard.
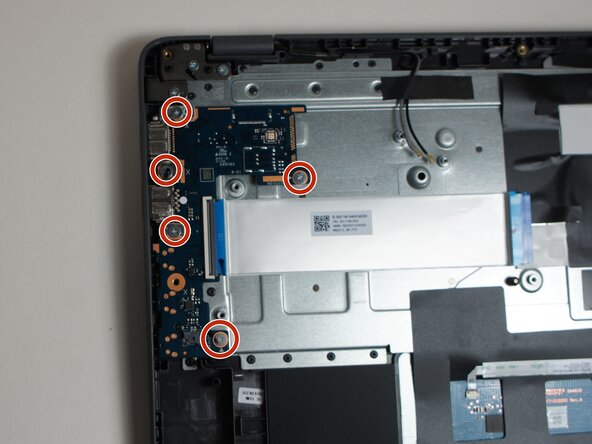
-
-
-
-
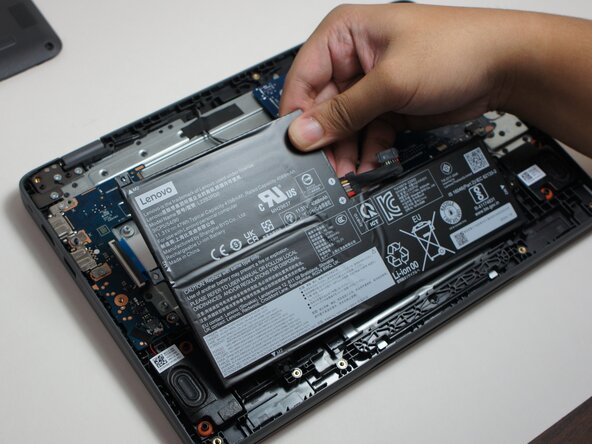
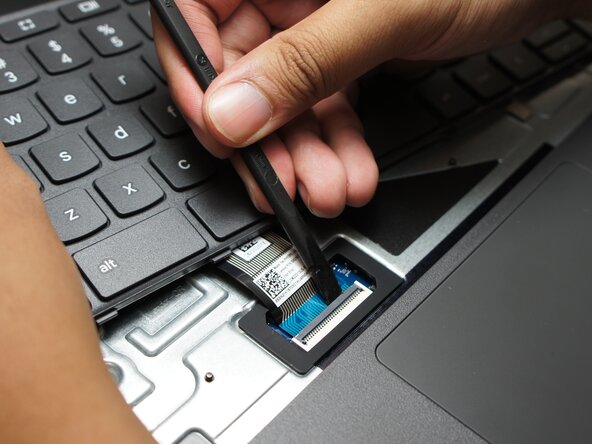
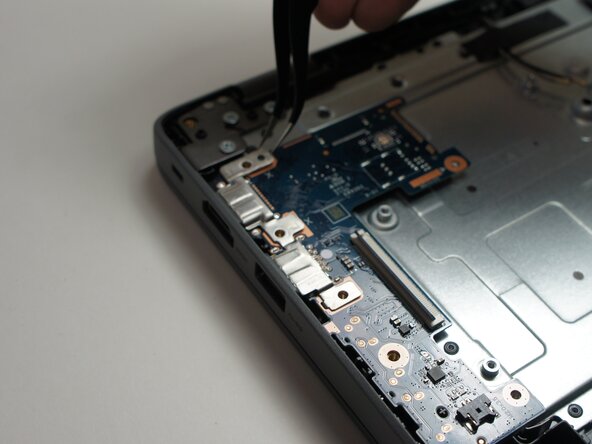
Unlatch the cable clasp with a spudger.
-
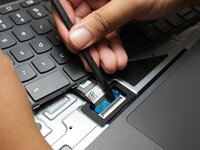
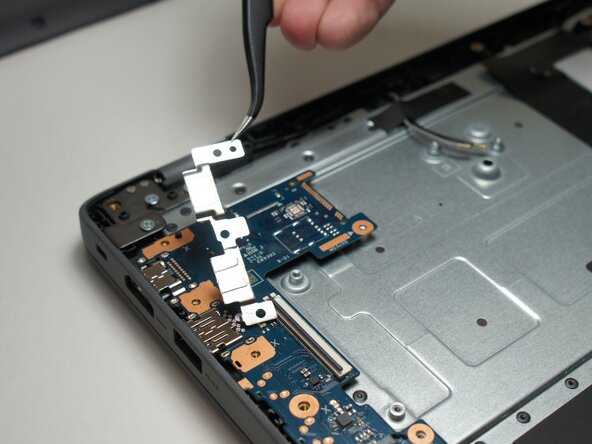
Remove the cable by pulling it out of the connector, using a pair of tweezers. You can use your fingers as well.
-


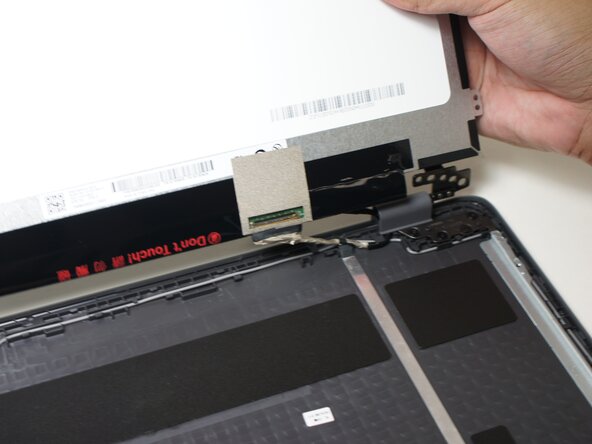


To reassemble your device, follow these instructions in reverse order.

Team

Austin Community College, Team 9-2, Watkins Spring 2026 Member of Austin Community College, Team 9-2, Watkins Spring 2026
AUSTINCC-WATKINS-S26S9G2
3 Members
7 Guides authored