
Lefant M210 Battery Replacement

Darien Amador and one other contributor
Last updated on Apr 14, 2025
Views: 18K
View statistics:
- Past 24 Hours:
- 33
- Past 7 Days:
- 247
- Past 30 Days:
- 1,042
- All Time:
- 17,890
Comments: 10
4 comments on steps, 6 guide comments.
Go to guide commentsCompleted: 6 7
6 people have marked this guide "completed." Will you be next?
7 people have marked this guide "completed." Including you — great job!
Favorites: 1 2
1 person has favorited (and subscribed to) this guide. Will you be next?
2 people have favorited (and subscribed to) this guide — including you!
Confusing Text
Some of this guide's text is confusing, duplicated, or off-topic. Clarify it by editing!
Needs More Images
A few more images would make this guide's procedures crystal clear.
Inconsistent Images
Updating the images on this guide to be more consistent with the prerequisites would increase its awesomeness.
Introduction
Go to step 1 ↓Robotic vacuum batteries generally last 2-3 years, depending on usage. Over time, you may notice that the battery holds less charge, requires more frequent recharging, or a decrease in cleaning performance. Use this guide to help replace your battery and restore your Lefant M210 robot vacuum to like-new performance.
Before you begin this repair, turn off the vacuum.
What you need
Tools


-
-
-
Turn off the Lefant M210 and disconnect it from the charging dock.
-
Flip the unit over so the bottom faces upward.
-
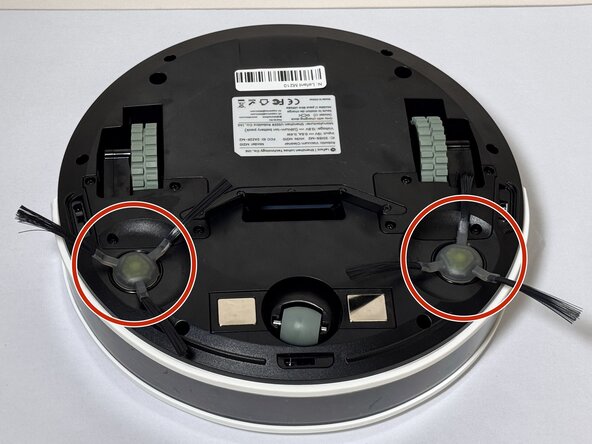
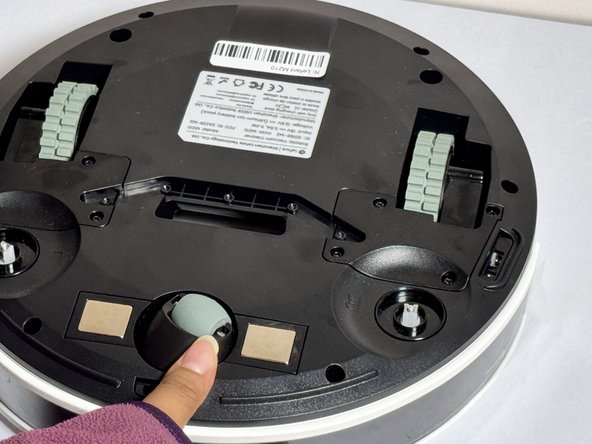
Locate the circular brush assemblies on the left and right sides of the underside.
 Ask FixBot
-
-
-
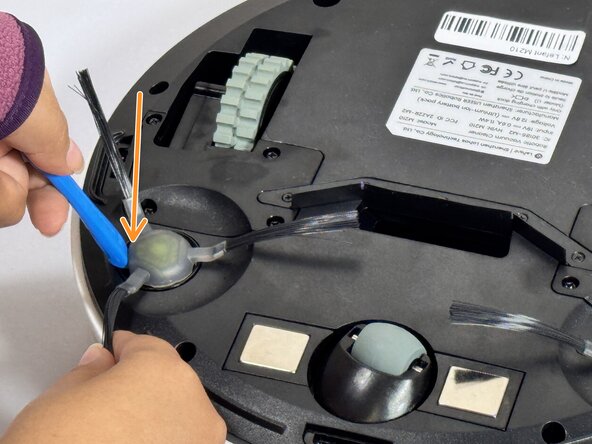
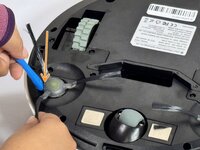
Insert the iFixit Opening Tool (or similar pry tool) under the circular edge of the brush assembly.
-
Apply gentle downward pressure on the opposite end of the tool to lever the brush component out of its housing.
-
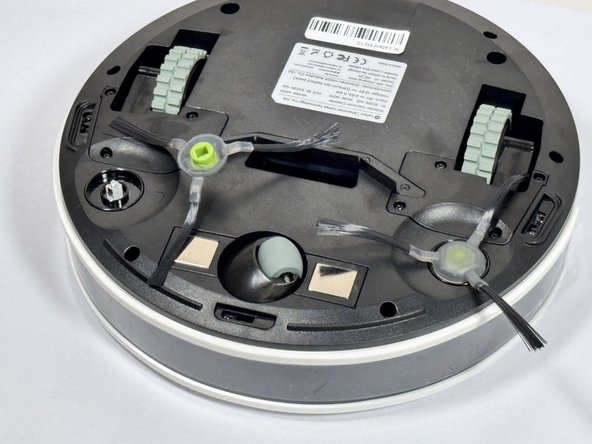
Remove the brush assembly completely and set it aside.
-
-
-
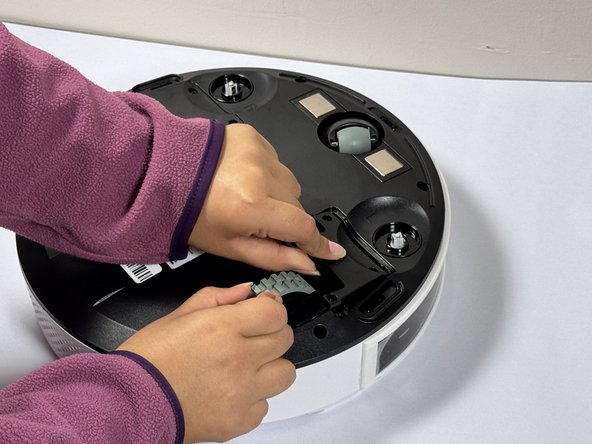
Position the new brush assembly above the square mounting peg.
-
Align the square cavity on the bottom of the brush with the corresponding square peg in the vacuum housing.
-
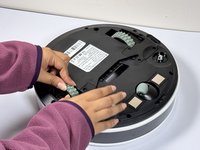
Press down firmly on the brush assembly until you hear or feel it click into place.
-
Gently tug on the brush to verify it is securely seated.
-
-
-
-
-
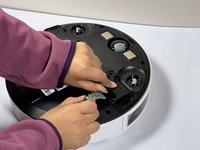
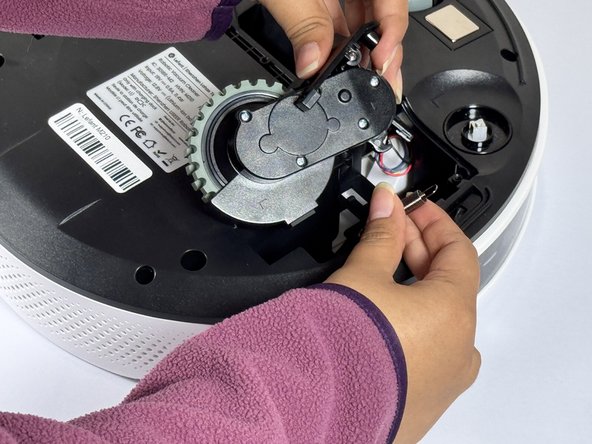
Use a Phillips screwdriver to remove four screws near each wheel.
-
-
-
Remove the plastic cover next to each wheel.
-
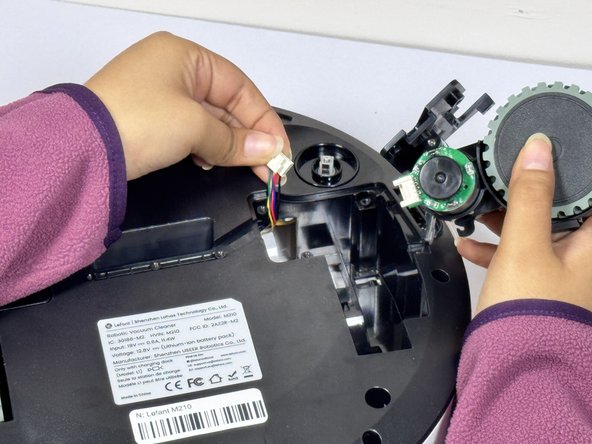
Grip both sides of the wheel and pull upwards.
-
-
-
-
-
-
Use a Phillips #1 screwdriver to remove the six screws around the bottom edge of the device.
-
-
-
Rotate the vacuum so that the Lefant logo is facing you.
-
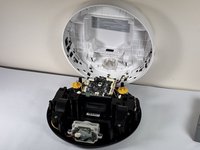
Carefully lift the white cover of the vacuum, opening it like a laptop, from front to back.
-
Rest the open cover something stable, like a wall.
-
-
-
-
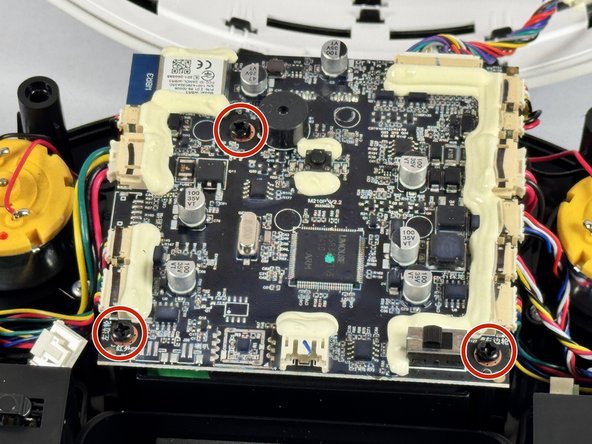
Use a Phillips #1 screwdriver to remove the three screws securing the motherboard to the device.
-
-
-
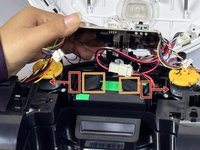
Push the two retaining clips away from the battery while pulling the battery up from the tabs attached to it to free it.
-
Retaining clips
-
Battery tabs
-
-
-
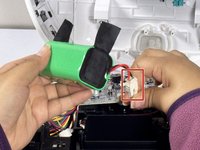
When the battery is free from it's housing, lift it out completely using its pull tabs.
-
-
-
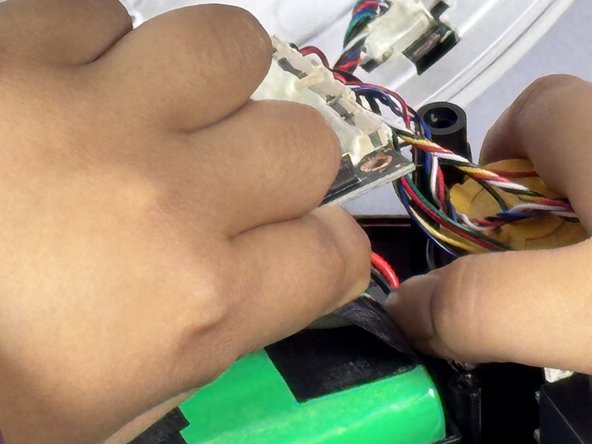
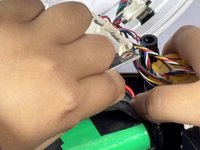
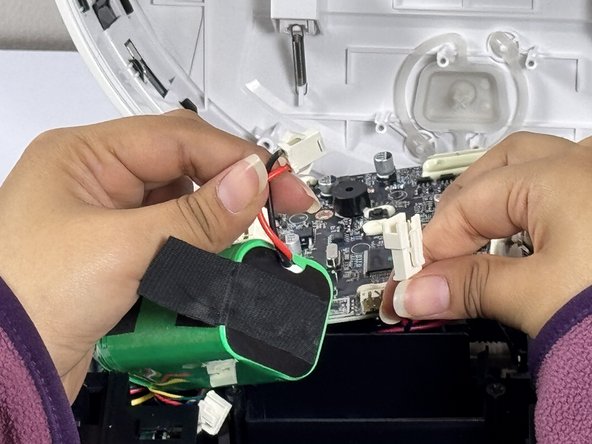
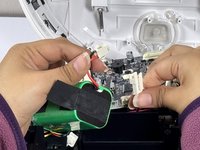
Locate the battery connection wire and carefully pull apart the connection.
-
Pinch the motherboard's wire connector and pull the connection apart.
-
-





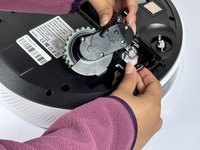
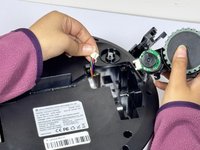


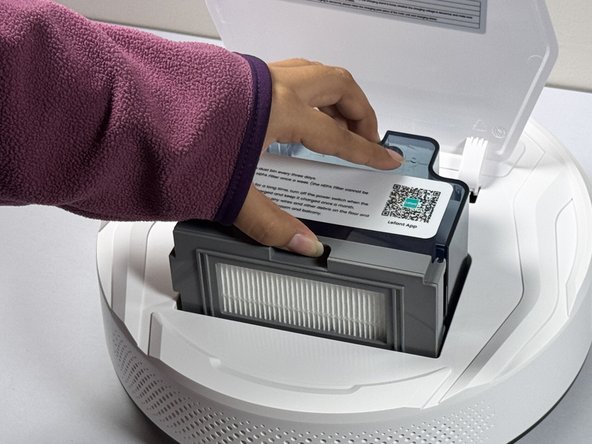


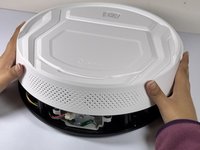





To reassemble your device, follow these instructions in reverse order.
Cancel: I did not complete this guide.
6 other people completed this guide.

Team

CSU Los Angeles, Team 2-4, Kershman Fall 2024 Member of CSU Los Angeles, Team 2-4, Kershman Fall 2024
CSULA-KERSHMAN-F24S2G4
4 Members
48 Guides authored
6 Guide Comments
Great guide! Any knowledge on how or why mine beeps twice even when it is on the ground?
Thank you for the helpful guide, however, after replacing my battery, it definitely has a much shorter lifespan, and it is unable to find the charger before it dies.
I thought it was because I needed a new battery. My stops about 1min after start. When I put it back to the charger it indicates battery charged by showing the blue light. Still after 1 min of operation it dies. That's the reason why i want to replace the battery. Is that what yours is doing too even after replacing the battery?
Thanks for the guide.
As for those that stumble upon this, mind that ******if you only want to access the battery, steps 10 to 16 are the only on you need.
Bought new batt, installed it and same problem. Red light, not charging. I guess it’s dead for good.
