
Leather Stitching Replacement

Mimansa (Momo) Tyagi and 2 other contributors
Last updated on Jan 6, 2021
Views: 3.3K
View statistics:
- Past 24 Hours:
- 3
- Past 7 Days:
- 26
- Past 30 Days:
- 146
- All Time:
- 3,254
Comments: 0
No one has left comments on this guide. Will you be first?
Go to guide commentsCompleted: 1 2
1 person has marked this guide "completed." Will you be next?
2 people have marked this guide "completed." Including you — great job!
Favorites: 1 2
1 person has favorited (and subscribed to) this guide. Will you be next?
2 people have favorited (and subscribed to) this guide — including you!
Introduction
Go to step 1 ↓If you ever notice that the stitching on your wallet or leather electronic case is frayed or torn, follow this guide to replace the leather thread.
The leather stitching holds two pieces of leather together. The stitching can become torn or frayed through natural use or even by an accidental cut. If you choose not to replace it, the pieces will fall apart or even become too loose and let dirt, water, or grime inside.
This guide uses the Saddle-Stitch method but has a few adjustments to make it simpler for a first-time user. For other stitching techniques and tools, click here.
What you need
Tools
-
×2
-

-
-
-
Cut the thread.
-
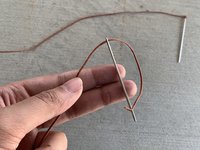
Push one end of the thread through the eye of the needle.
-
Do the same for the other end, with the second needle.
-
-
-
To tie the thread, bring the open end of the thread to the tip of the needle.
-
Push the needle all the way through the thread.
-
Pull the thread to secure the knot at the top.
-
-
-
Line up the first hole on both pieces.
-
Push one needle all the way through.
-
Pull till the length of the thread is equal on each side.
-
-
-
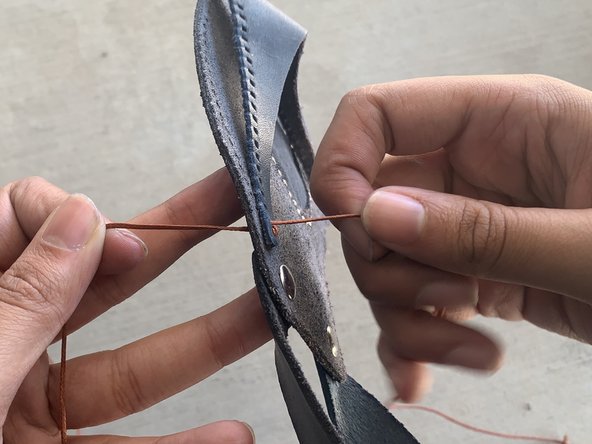
Push the right side needle through the second hole.
-
Push the left side need through the same hole.
-
Tug each side to tighten the stitch.
-
-
-
With each hole, make sure both needles go through to the other side and are pulled together to tighten the stitch.
-
Continue this pattern until the end.
-
-
-
-
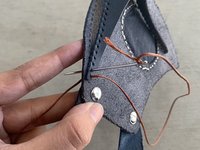
To finish the stitch, we are going to push the needle into the second-to-last hole.
-
It should not pass through both pieces, only the one piece.
-
Do this for both sides.
-
-
-
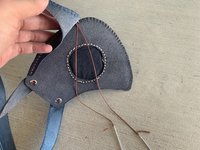
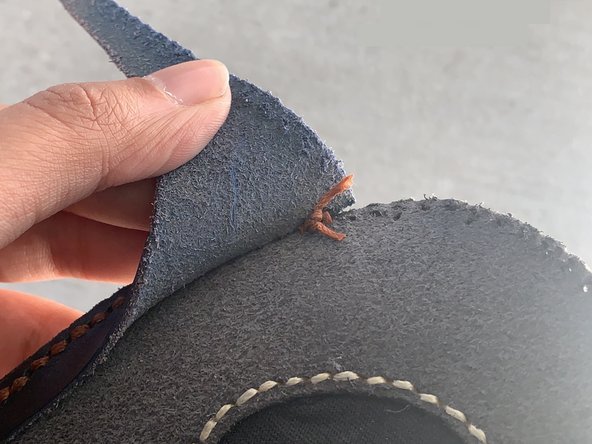
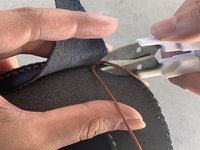
Tie the finishing knot by crossing the threads and pushing the needle through the made hole.
-
Pull to tighten and repeat once.
-


 Ask FixBot











Cancel: I did not complete this guide.
One other person completed this guide.

Team

Embry-Riddle Aeronautical University, Team S3-G21, Cromer Twal Fall 2020 Member of Embry-Riddle Aeronautical University, Team S3-G21, Cromer Twal Fall 2020
ERAU-CROMER TWAL-F20S3G21
1 Member
12 Guides authored
