
Le Pan II Screen Replacement

Kelly Moniz and one other contributor
Last updated on Dec 20, 2016
Views: 668
View statistics:
- Past 24 Hours:
- 2
- Past 7 Days:
- 12
- Past 30 Days:
- 77
- All Time:
- 668
Comments: 0
No one has left comments on this guide. Will you be first?
Go to guide commentsCompleted: 0 1
No one has marked this guide "completed." Will you be the first?
1 person has marked this guide "completed." It's you — great job!
Favorites: 0 1
No one has favorited (and subscribed to) this guide. Will you be the first?
1 person has favorited (and subscribed to) this guide — and that's you!
Incorrect Tools
Help make this guide better by using the correct tools in images and/or text.
Introduction
Go to step 1 ↓In this guide, you will be shown step-by-step how to replace your broken Le Pan II screen. This screen is attached to a plastic casing with adhesives and this should be kept in mind during the following steps.
What you need
Tools


-
-
-
Insert metal spudger between front and back panel to pry apart.
-
Continue to pry while moving the metal spudger along the crevice to completely separate two panels.
 Ask FixBot
-
-
-
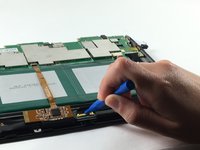
Use the plastic opening tool to disconnect the flat ribbon cable from the motherboard connector.
-
Disconnect the flat ribbon by gently pulling it out from its connecting port.
-
-
-
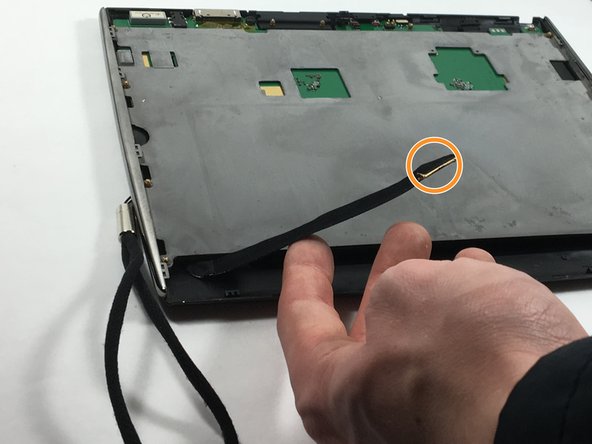
Use the plastic opening tool to disconnect the display cable from its motherboard connector.
-
Disconnect the display cable by gently pulling it out from its connecting port.
-
-
-
-
Flip the tablet so the screen is facing upward, and use the metal spudger to pry apart the screen from the side pieces.
-
-




To reassemble your device, follow these instructions in reverse order.

Team

UMass Dartmouth, Team 6-3, Martin Fall 2016 Member of UMass Dartmouth, Team 6-3, Martin Fall 2016
UMASSD-MARTIN-F16S6G3
3 Members
60 Guides authored
