Free Shipping on Domestic Orders $75+

Le Pan II Charging Port Replacement

What you need

  1. Le Pan II Charging Port Replacement, Screen: step 1, image 1 of 2 Le Pan II Charging Port Replacement, Screen: step 1, image 2 of 2
    • Insert metal spudger between front and back panel to pry apart.

    • Continue to pry while moving the metal spudger along the crevice to completely separate two panels.

    • Avoid using metal when opening devices, as it can damage or crack the screen.

    Ask FixBot

    Add Comment

  2. Le Pan II Charging Port Replacement: step 2, image 1 of 2 Le Pan II Charging Port Replacement: step 2, image 2 of 2
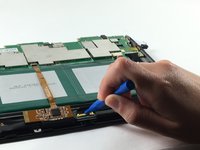
    • Use the plastic opening tool to disconnect the flat ribbon cable from the motherboard connector.

    • Disconnect the flat ribbon by gently pulling it out from its connecting port.

    Ask FixBot

    Add Comment

  3. Le Pan II Charging Port Replacement: step 3, image 1 of 2 Le Pan II Charging Port Replacement: step 3, image 2 of 2
    • Use the plastic opening tool to disconnect the display cable from its motherboard connector.

    • Disconnect the display cable by gently pulling it out from its connecting port.

    Ask FixBot

    Add Comment

  4. Le Pan II Charging Port Replacement: step 4, image 1 of 1
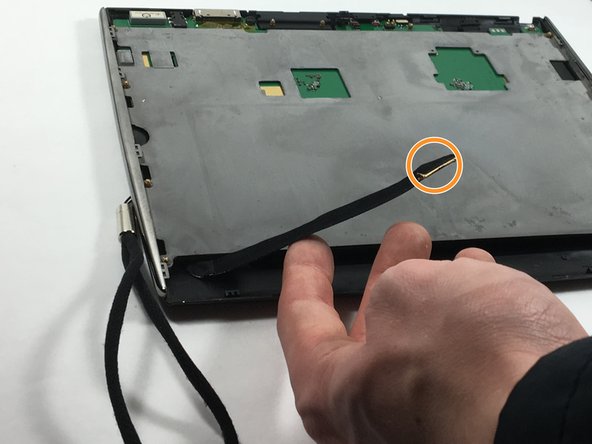
    • Remove grey metal backing from screen.

    Ask FixBot

    Add Comment

  5. Le Pan II Charging Port Replacement: step 5, image 1 of 1
    • Flip the tablet so the screen is facing upward, and use the metal spudger to pry apart the screen from the side pieces.

    Ask FixBot

    Add Comment

  6. Le Pan II Charging Port Replacement: step 6, image 1 of 1
    • Lift and carefully remove the LCD display from the front cover.

    Ask FixBot

    Add Comment

  7. Le Pan II Charging Port Replacement, Charging Port: step 7, image 1 of 1
    • Use the Phillips 00 screwdriver head to unscrew the screws to the motherboard.

    • Reminder: There should be 8 (3.5 mm) screws to the motherboard.

    Ask FixBot

    Add Comment

  8. Le Pan II Charging Port Replacement: step 8, image 1 of 1
    • Use the Phillips 00 screwdriver head to unscrew the screws to the fan.

    • Reminder: There should be 4 (1mm) screws to the fan.

    Ask FixBot

    Add Comment

  9. Le Pan II Charging Port Replacement: step 9, image 1 of 1
    • Use the metal spudger to pry off the charging port from the motherboard.

    Ask FixBot

    Add Comment

Conclusion

To reassemble your device, follow these instructions in reverse order.

Cancel: I did not complete this guide.

Kelly Moniz

Member since: 10/20/16

525 Reputation

5 Guides authored

Team

UMass Dartmouth, Team 6-3, Martin Fall 2016 Member of UMass Dartmouth, Team 6-3, Martin Fall 2016

UMASSD-MARTIN-F16S6G3

3 Members

10 Guides authored

1 Guide Comment

I have had no luck getting in touch with anyone in the customer service department.I have left several messages but have not heard from anyone yet. I just need to know how I can get a charge port for my daughters tablet. She had it 6 months before the charge port went out.

tashiarmarshall - Reply Share

Add Comment

View Statistics:

Past 24 Hours: 0

Past 7 Days: 8

Past 30 Days: 34

All Time: 1,502