
Lamp Pull Chain Replacement

Anna Rill and 2 other contributors
Last updated on Jun 2, 2022
Views: 48K
View statistics:
- Past 24 Hours:
- 26
- Past 7 Days:
- 178
- Past 30 Days:
- 676
- All Time:
- 48,208
Comments: 6
1 comment on steps, 5 guide comments.
Go to guide commentsCompleted: 7 8
7 people have marked this guide "completed." Will you be next?
8 people have marked this guide "completed." Including you — great job!
Favorites: 2 3
2 people have favorited (and subscribed to) this guide. Will you be next?
3 people have favorited (and subscribed to) this guide — including you!
Introduction
Go to step 1 ↓Have you ever had a lamp's pull chain break on you, leaving you with no way to turn it on? We understand. That's why we made this guide to fix the on/off switch on a perfectly good lamp! This guide will help you in repairing a snapped ball chain, allowing you to, once again, turn your lamp on and then off again.
What you need
-
-
-
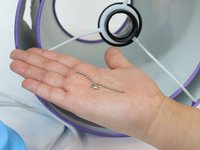
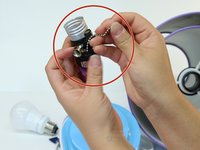
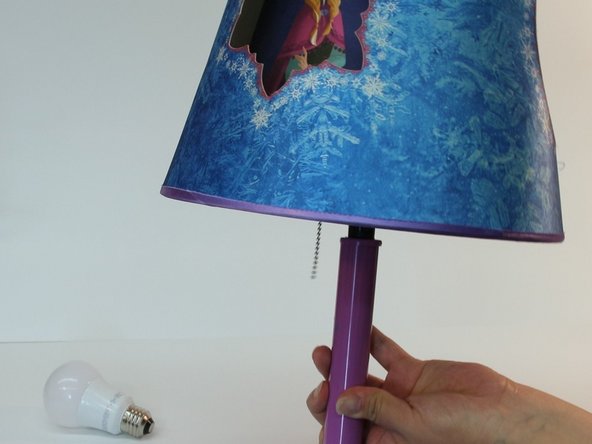
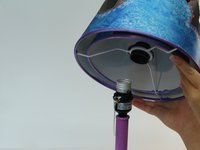
Unplug the broken lamp and ensure you have all of the parts necessary for the repair.
 Ask FixBot
-
-
-
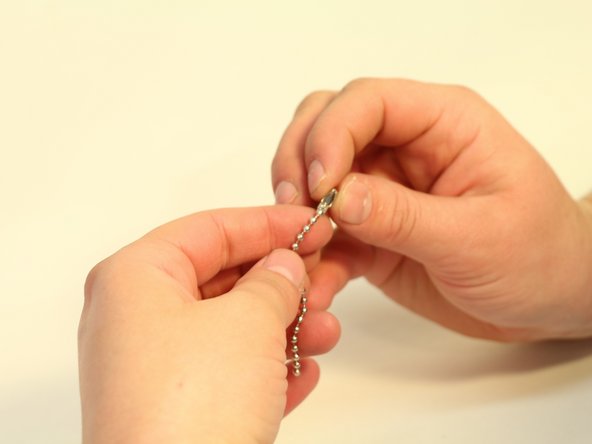
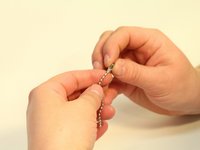
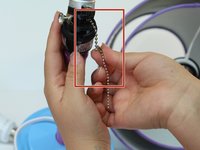
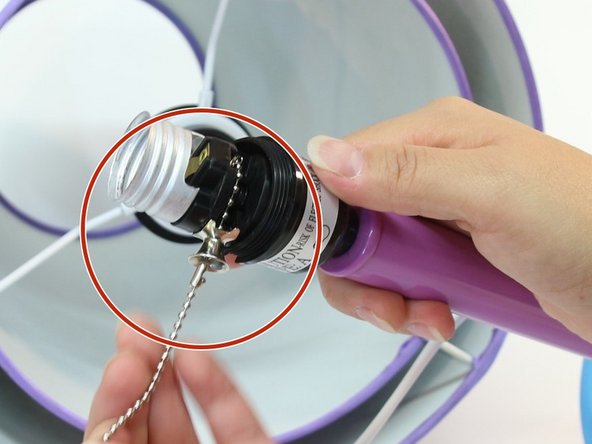
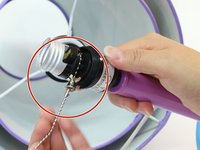
Connect the chain with the chain connector to the broken chain on the lamp base.
-
-
-
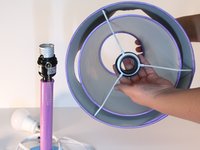
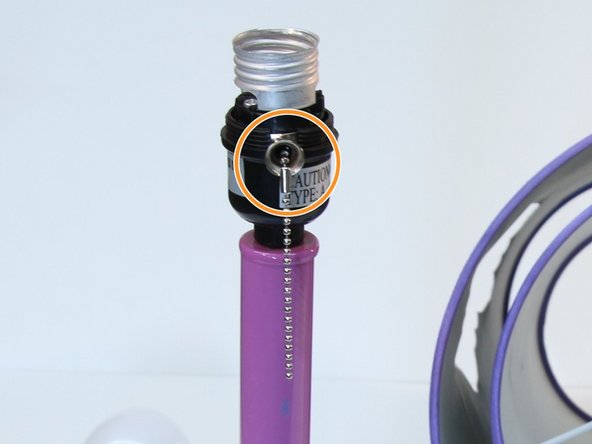
Tilting the lamp in one hand, use your other hand to guide the chain into the hole that leads from inside of the socket to outside of the lamp.
-
The chain will go down through this hole.
-
-
-














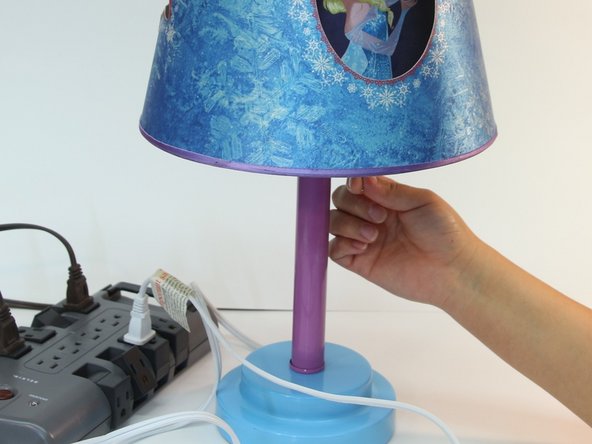

Congratulations on fixing your lamp!
Cancel: I did not complete this guide.
7 other people completed this guide.

Team

Idaho State University, Team S1-G1, Watkins Fall 2018 Member of Idaho State University, Team S1-G1, Watkins Fall 2018
ISU-WATKINS-F18S1G1
4 Members
12 Guides authored
5 Guide Comments
You saved my lamp! Thank you for this simple to follow guide.
All well and good, but isn’t it more likely that the break will be in the string which runs from the chain into the switch? This can be fixed by disassembling the switch itself - but where can one buy the right string?
On my lamp, the problem was not the chain but in the switch itself. This made it necessary to replace the entire socket since the switch was riveted to its base. I made this video which shows how to replace the socket and switch:https://youtu.be/0fLnUPWzLeI
Excellent, Thank you!
спасибо огромное за инструкцию! получилось))
