
LG env2 vx9100 Camera Replacement

Reed Williston and 5 other contributors
Last updated on Jan 28, 2014
Views: 797
View statistics:
- Past 24 Hours:
- 1
- Past 7 Days:
- 6
- Past 30 Days:
- 35
- All Time:
- 797
Comments: 0
No one has left comments on this guide. Will you be first?
Go to guide commentsCompleted: 1 2
1 person has marked this guide "completed." Will you be next?
2 people have marked this guide "completed." Including you — great job!
Favorites: 0 1
No one has favorited (and subscribed to) this guide. Will you be the first?
1 person has favorited (and subscribed to) this guide — and that's you!
Incorrect Tools
Help make this guide better by using the correct tools in images and/or text.
Introduction
Go to step 1 ↓In this guide you will be removing the back panel to access the motherboard. Once you have reached the motherboard you will remove the camera lens from the motherboard.
What you need
Tools
-
Spudger4.9


-
-
-
Place the phone face down on the table.
-
Pull down the tab below the battery with your fingernail or an opening tool.
-
Lift the battery out.
 Ask FixBot
-
-
-
-
-
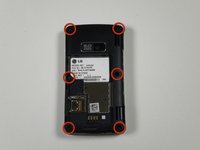
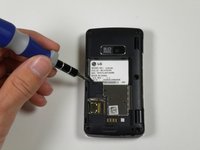
Use a metal spudger to remove the five rubber covers and expose the screws underneath.
-
-
-
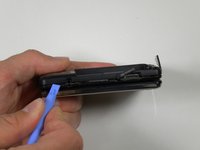
Insert a plastic opening tool into the seam and gently pry to release the tabs.
-
Work around the phone until all tabs are released.
-
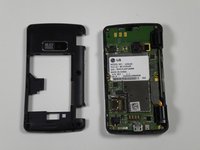
Remove the back panel.
-
-
-
-
-
-
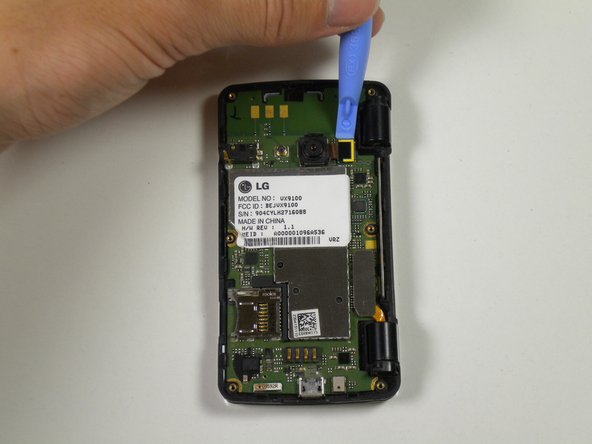
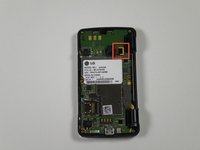
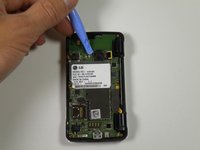
Locate the ribbon attached to the lens of the camera.
-
Place the plastic opening tool in between the logic board and ribbon.
-
Lift up the plastic opening to detach the ribbon from the logic board.
-
-
-
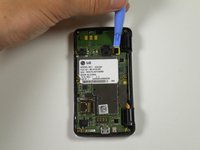
Place the plastic opening tool in between the lens and the logic board.
-
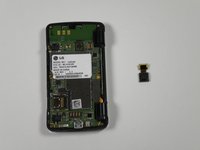
Detach the lens from the logic board using the plastic opening tool by popping it out.
-
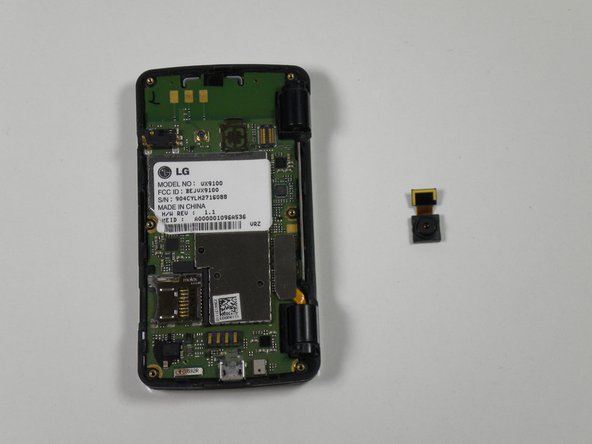
Take the entire lens and ribbon off of the logic board.
-
-






To reassemble your device, follow these instructions in reverse order.
Cancel: I did not complete this guide.
One other person completed this guide.

Team

Cal Poly, Team 16-55, Forte Fall 2012 Member of Cal Poly, Team 16-55, Forte Fall 2012
CPSU-FORTE-F12S16G55
5 Members
84 Guides authored
