Free Shipping on Domestic Orders $75+

LG WM3050CW Detergent Bellows Replacement

What you need

    1. LG WM3050CW Detergent Bellows Replacement, Safety Precautions: step 1, image 1 of 2 LG WM3050CW Detergent Bellows Replacement, Safety Precautions: step 1, image 2 of 2
      • Before you begin your repair, perform the following:

      • Turn off the main water supply

      • Unplug your washer

      • Disconnect all water connections at the rear of your washer

      Ask FixBot

      Add Comment

    1. LG WM3050CW Detergent Bellows Replacement, Unfasten the top panel: step 2, image 1 of 3 LG WM3050CW Detergent Bellows Replacement, Unfasten the top panel: step 2, image 2 of 3 LG WM3050CW Detergent Bellows Replacement, Unfasten the top panel: step 2, image 3 of 3
      • Use a Phillips driver to remove the two bottom 16.5 mm-long screws securing the top panel brackets.

      Ask FixBot

      Add Comment

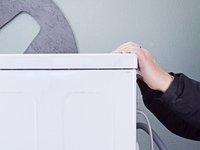
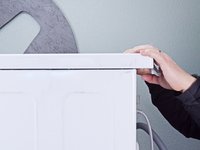
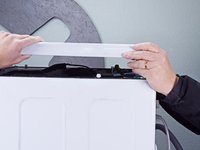
    2. LG WM3050CW Detergent Bellows Replacement, Remove the top panel: step 3, image 1 of 2 LG WM3050CW Detergent Bellows Replacement, Remove the top panel: step 3, image 2 of 2
      • Slide the top panel 1-2 inches towards the rear of the device to disconnect its clips.

      Ask FixBot

      Add Comment

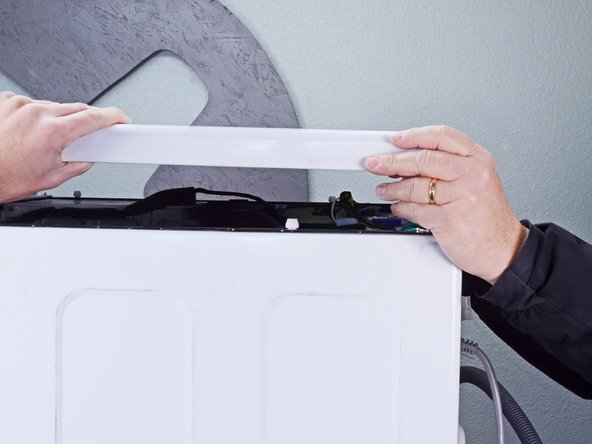
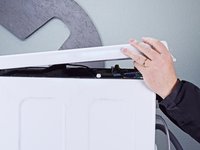
    3. LG WM3050CW Detergent Bellows Replacement: step 4, image 1 of 2 LG WM3050CW Detergent Bellows Replacement: step 4, image 2 of 2
      • Tilt the top panel upward to completely disconnect it from the chassis.

      • Remove the top panel.

      Ask FixBot

      Add Comment

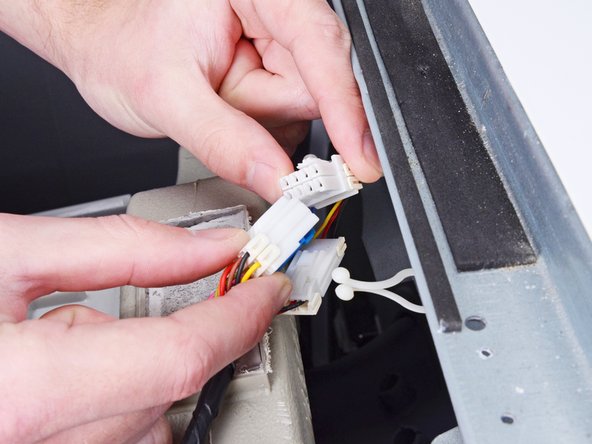
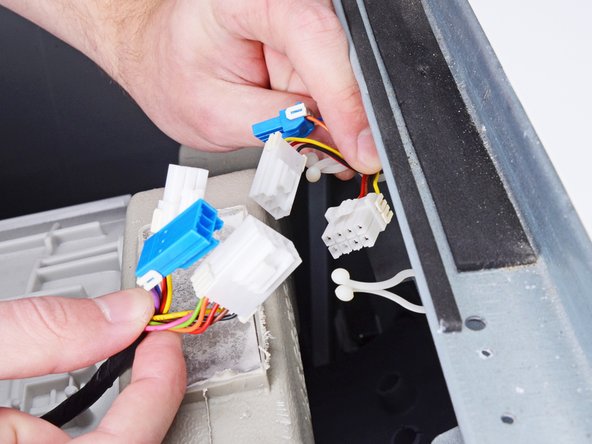
    1. LG WM3050CW Detergent Bellows Replacement, Disconnect the control panel: step 5, image 1 of 3 LG WM3050CW Detergent Bellows Replacement, Disconnect the control panel: step 5, image 2 of 3 LG WM3050CW Detergent Bellows Replacement, Disconnect the control panel: step 5, image 3 of 3
      • Disconnect the three harness connectors for the control panel.

      • Always grip cables by their connectors and not the wires themselves.

      Ask FixBot

      Add Comment

    2. LG WM3050CW Detergent Bellows Replacement, Unclip the control panel cable: step 6, image 1 of 2 LG WM3050CW Detergent Bellows Replacement, Unclip the control panel cable: step 6, image 2 of 2
      • Use your hands to unclip the control panel cable from the detergent dispenser.

      Ask FixBot

      Add Comment

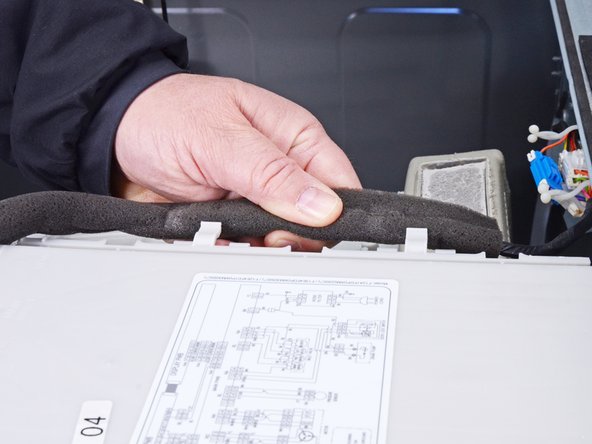
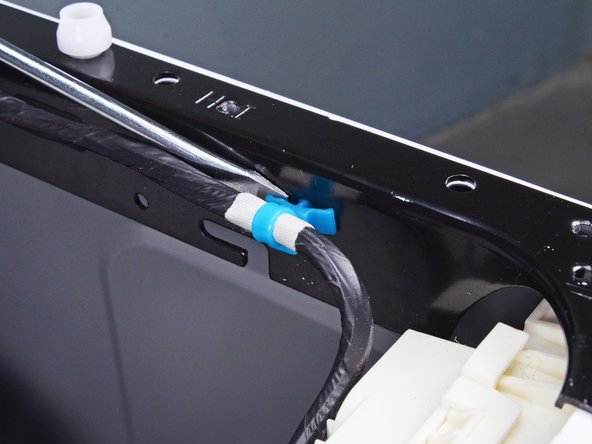
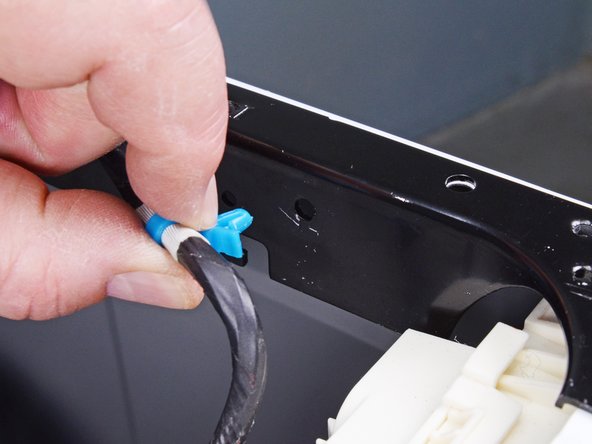
    3. LG WM3050CW Detergent Bellows Replacement, Unclip the control panel cable: step 7, image 1 of 3 LG WM3050CW Detergent Bellows Replacement, Unclip the control panel cable: step 7, image 2 of 3 LG WM3050CW Detergent Bellows Replacement, Unclip the control panel cable: step 7, image 3 of 3
      • Insert a flathead screwdriver between the chassis and the plastic clip securing the control panel cable.

      • Compress the clip and slide it out of the chassis to remove it.

      • Move the cables out of the way of the detergent dispenser hoses before you continue.

      Ask FixBot

      Add Comment

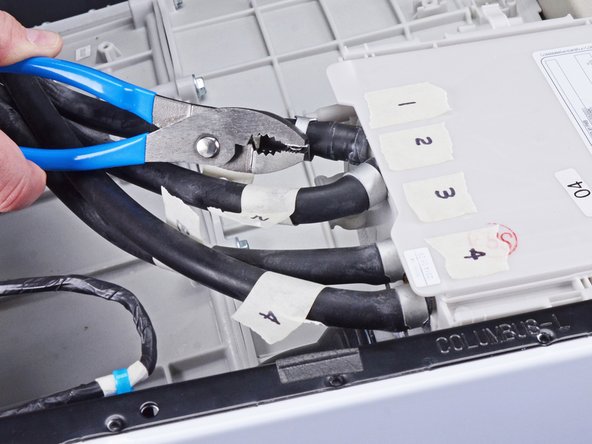
    4. LG WM3050CW Detergent Bellows Replacement, Detergent dispenser hose information: step 8, image 1 of 1
      • To prevent confusion, label each hose and its corresponding dispenser connection.

      • You can use masking tape or mark the components themselves.

      Ask FixBot

      Add Comment

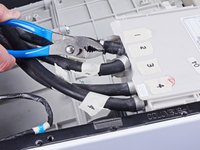
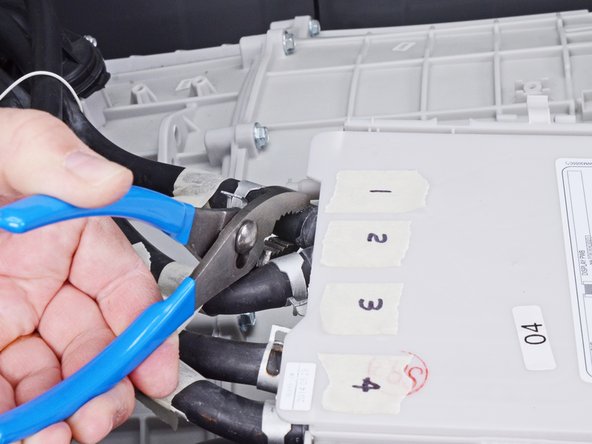
    5. LG WM3050CW Detergent Bellows Replacement: step 9, image 1 of 2 LG WM3050CW Detergent Bellows Replacement: step 9, image 2 of 2
      • Use slip joint pliers to pinch the detergent dispenser hose clamp and pull it away from the assembly.

      Ask FixBot

      Add Comment

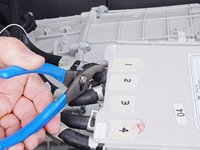
    6. LG WM3050CW Detergent Bellows Replacement: step 10, image 1 of 2 LG WM3050CW Detergent Bellows Replacement: step 10, image 2 of 2
      • Use slip joint pliers to gently rotate the detergent dispenser hose back and forth around its connection and loosen it.

      Ask FixBot

      Add Comment

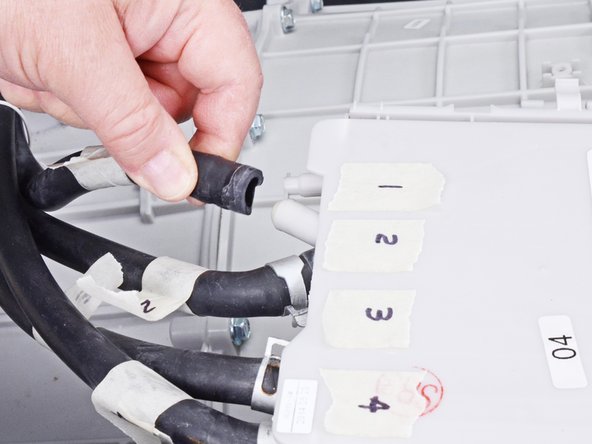
    7. LG WM3050CW Detergent Bellows Replacement: step 11, image 1 of 2 LG WM3050CW Detergent Bellows Replacement: step 11, image 2 of 2
      • Pull the detergent dispenser hose straight off its connection on the assembly.

      • Repeat the loosening and removal procedure for each hose.

      Ask FixBot

      Add Comment

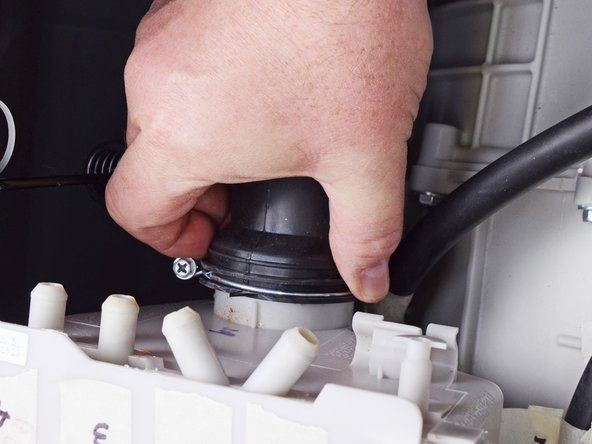
    8. LG WM3050CW Detergent Bellows Replacement, Disconnect the dispenser: step 12, image 1 of 3 LG WM3050CW Detergent Bellows Replacement, Disconnect the dispenser: step 12, image 2 of 3 LG WM3050CW Detergent Bellows Replacement, Disconnect the dispenser: step 12, image 3 of 3
      • Use a Phillips driver to loosen the screw securing the bellows to the detergent dispenser.

      • Pull the bellows straight off its connection on the dispenser to disconnect it.

      Ask FixBot

      Add Comment

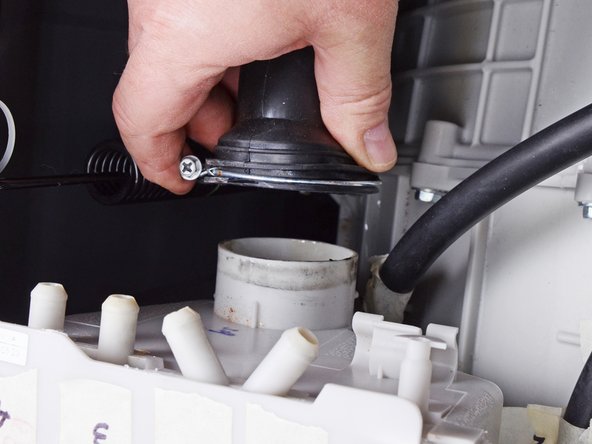
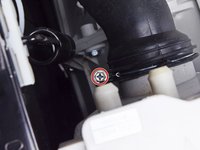
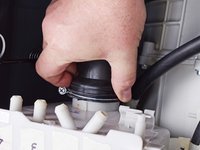
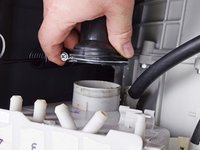
    1. LG WM3050CW Detergent Bellows Replacement, Disconnect the bellows: step 13, image 1 of 3 LG WM3050CW Detergent Bellows Replacement, Disconnect the bellows: step 13, image 2 of 3 LG WM3050CW Detergent Bellows Replacement, Disconnect the bellows: step 13, image 3 of 3
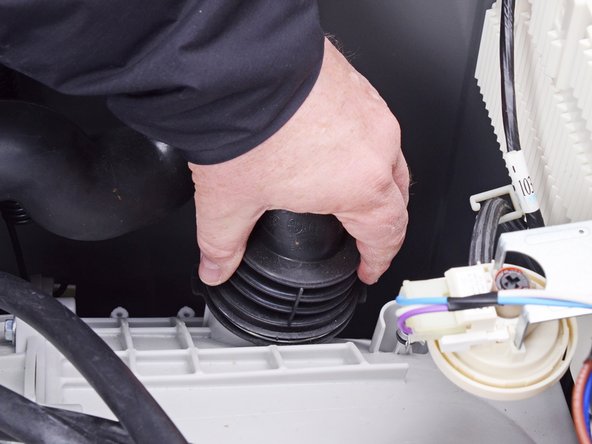
      • Use a Phillips driver to loosen the screw securing the bellows to the drum.

      • Pull the bellows straight up from the drum to disconnect it.

      Ask FixBot

      Add Comment

    2. LG WM3050CW Detergent Bellows Replacement, Remove the bellows: step 14, image 1 of 1
      • Remove the bellows.

      Ask FixBot

      Add Comment

Conclusion

To reassemble your device, follow these instructions in reverse order.

Take your e-waste to an R2 or e-Stewards certified recycler.

Repair didn’t go as planned? Ask our Answers community for help.

Cancel: I did not complete this guide.

Bill Gilbert

Member since: 06/30/22

40,210 Reputation

261 Guides authored

Team

iFixit Member of iFixit

Staff

123 Members

74,805 Guides authored

0 Guide Comments

Add Comment

View Statistics:

Past 24 Hours: 0

Past 7 Days: 3

Past 30 Days: 29

All Time: 550