Free Shipping on Domestic Orders $75+

LG VX5500 Phone Casing Replacement

What you need

    1. LG VX5500 Phone Casing Replacement, Battery: step 1, image 1 of 3 LG VX5500 Phone Casing Replacement, Battery: step 1, image 2 of 3 LG VX5500 Phone Casing Replacement, Battery: step 1, image 3 of 3
      • Remove the battery cover by placing your thumb on the small ridge near the top of the phone back and push downward, exposing the battery.

      • Our device did not come with a battery cover so it is not shown here.

      • Remove the battery using your finger to pry it out of the battery housing.

      Ask FixBot

      Add Comment

    1. LG VX5500 Phone Casing Replacement, Mother Board: step 2, image 1 of 2 LG VX5500 Phone Casing Replacement, Mother Board: step 2, image 2 of 2
      Tool used on this step:
      Tweezers
      $4.99
      Buy
      • Remove the (2) rubber screw covers located near the hinge of the phone using tweezers or a thumb tack.

      • Unscrew the (4) 3.6mm screws using a #00 Phillip's head screw driver.

      Ask FixBot

      Add Comment

    2. LG VX5500 Phone Casing Replacement: step 3, image 1 of 3 LG VX5500 Phone Casing Replacement: step 3, image 2 of 3 LG VX5500 Phone Casing Replacement: step 3, image 3 of 3
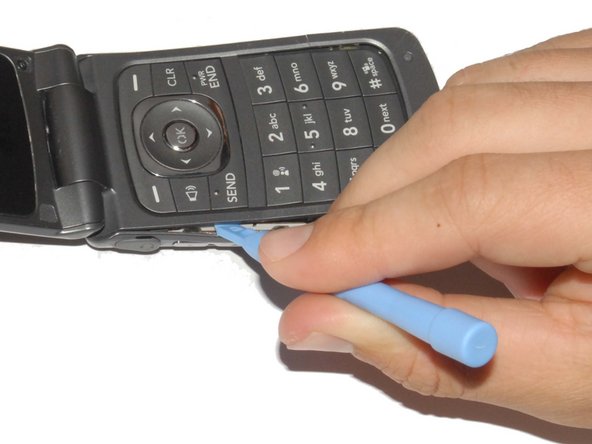
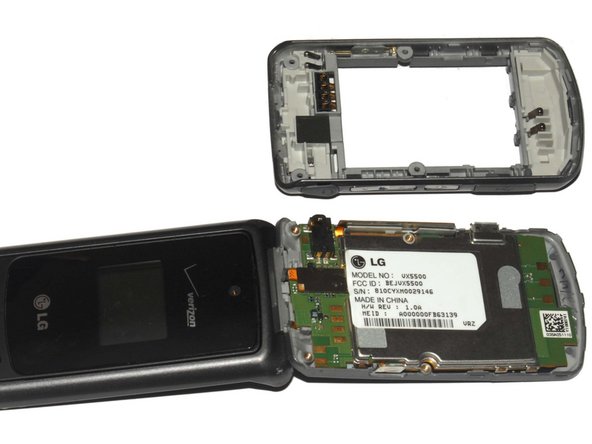
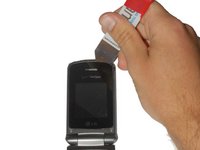
      • Carefully pry off the phone's backing using a plastic opening tool.

      • Slip the tool into the crack between the keypad (front panel) and the back panel.

      • Slide the tool along the sides of the phone to detach the tabs holding the backing on.

      Ask FixBot

      Add Comment

    3. LG VX5500 Phone Casing Replacement: step 4, image 1 of 2 LG VX5500 Phone Casing Replacement: step 4, image 2 of 2
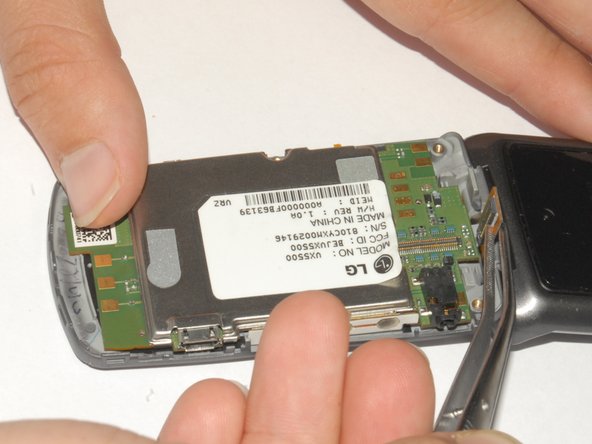
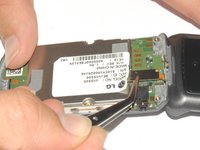
      • Peel back the sticker with tweezers and hold it back with your finger.

      • Use the tweezers to lift the display adapter off the logic board.

      Ask FixBot

      Add Comment

    4. LG VX5500 Phone Casing Replacement: step 5, image 1 of 2 LG VX5500 Phone Casing Replacement: step 5, image 2 of 2
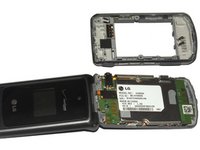
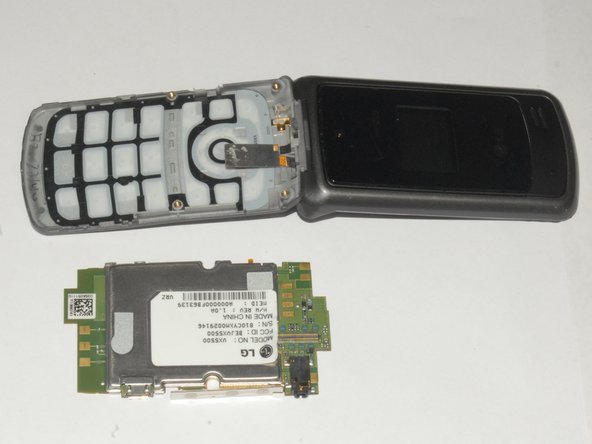
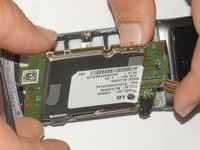
      • Lift the mother board out of the phone casing.

      • The keyboard can be easily removed once the mother board is out of the phone.

      Ask FixBot

      Add Comment

    1. LG VX5500 Phone Casing Replacement, Phone Casing: step 6, image 1 of 2 LG VX5500 Phone Casing Replacement, Phone Casing: step 6, image 2 of 2
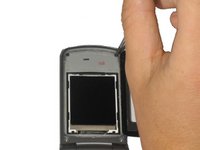
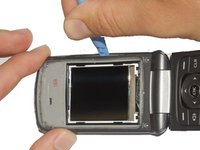
      • Carefully pry off the black plastic screen cover using the iSesamo tool or another thin, flat tool.

      • The screen cover is adhered to the phone and may take some effort to pry off. If it is too difficult to remove, heat the screen with a hair dryer on low for 30 seconds to soften the adhesive.

      Ask FixBot

      Add Comment

    2. LG VX5500 Phone Casing Replacement: step 7, image 1 of 2 LG VX5500 Phone Casing Replacement: step 7, image 2 of 2
      Tool used on this step:
      Tweezers
      $4.99
      Buy
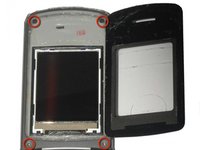
      • Unscrew the (4) 3.6mm screws near each corner of the phone's display panel by using a #00 Phillips head screwdriver.

      • The bottom two screws may have small rubber covers that you can remove using tweezers.

      Ask FixBot

      Add Comment

    3. LG VX5500 Phone Casing Replacement: step 8, image 1 of 3 LG VX5500 Phone Casing Replacement: step 8, image 2 of 3 LG VX5500 Phone Casing Replacement: step 8, image 3 of 3
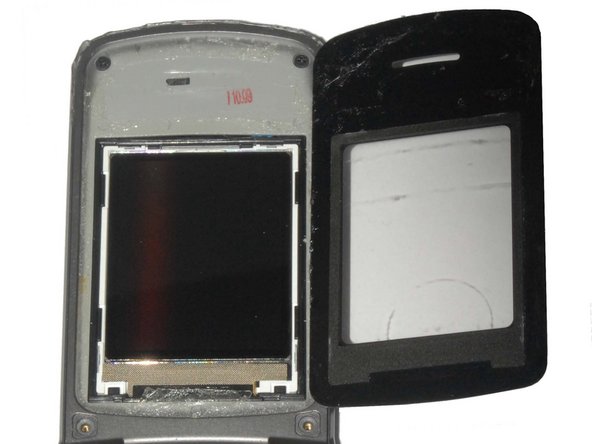
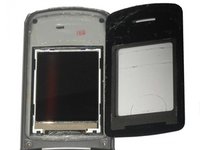
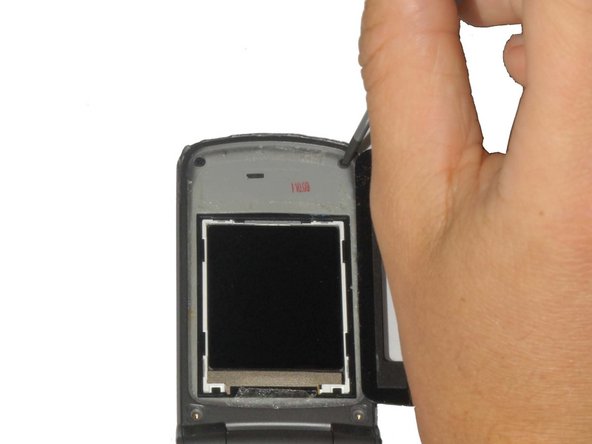
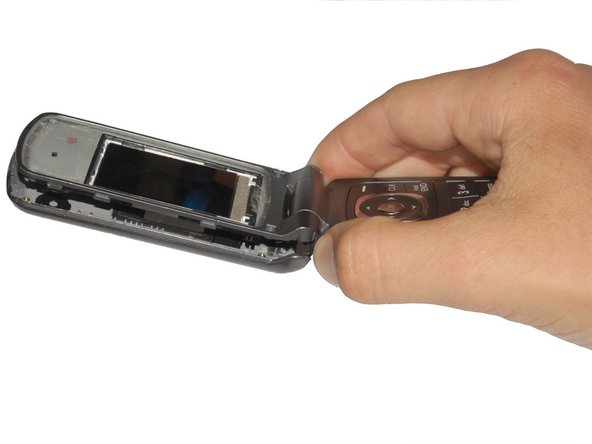
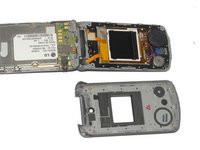
      • Pry off the front panel of the phone using a Plastic Opening Tool.

      • Push the tool into the crack along the side of the phone.

      • Slide the tool along the crack to detach the tabs holding the backing on the phone.

      Ask FixBot

      Add Comment

    4. LG VX5500 Phone Casing Replacement: step 9, image 1 of 2 LG VX5500 Phone Casing Replacement: step 9, image 2 of 2
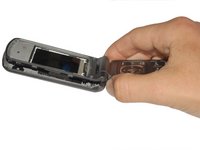
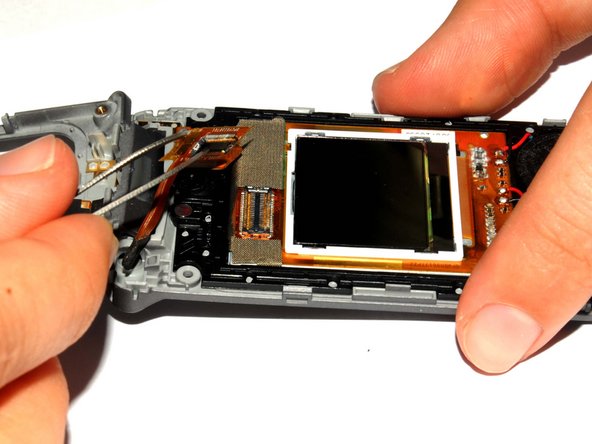
      • Use the tweezers to lift the display adapter off the screen component.

      Ask FixBot

      Add Comment

    5. LG VX5500 Phone Casing Replacement: step 10, image 1 of 2 LG VX5500 Phone Casing Replacement: step 10, image 2 of 2
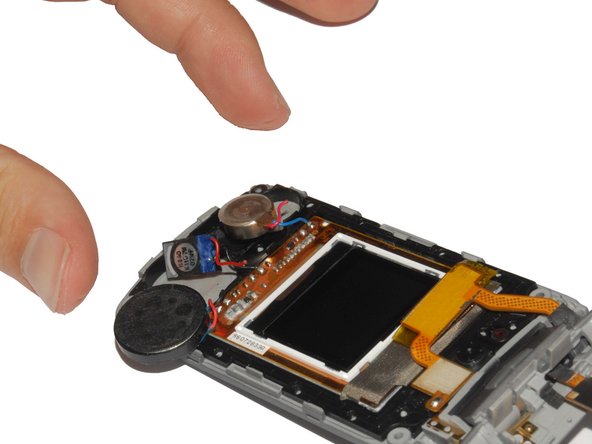
      • Using tweezers remove the speaker from its casing.

      • The speaker is adhered to the phone casing so it will take a small amount of force to remove it.

      Ask FixBot

      Add Comment

    6. LG VX5500 Phone Casing Replacement: step 11, image 1 of 2 LG VX5500 Phone Casing Replacement: step 11, image 2 of 2
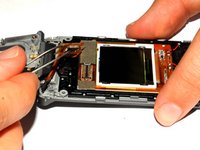
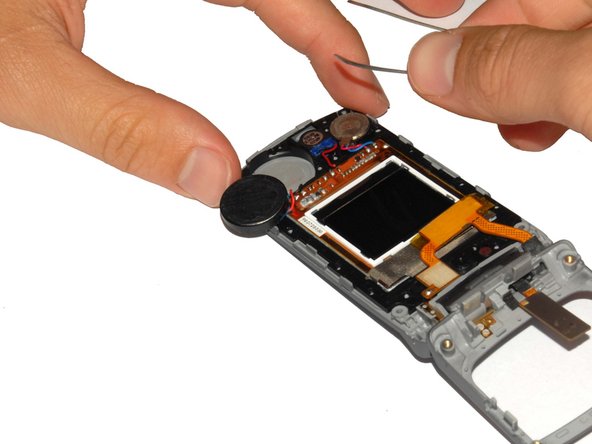
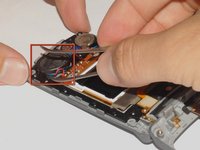
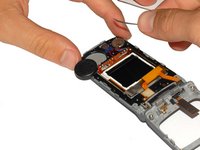
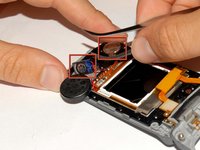
      • Remove the earpiece and gyroscope by lifting them out of the phone casing using tweezers.

      • The earpiece and gyroscope are adhered to the phone casing so it will take a small amount of force to remove them.

      • Be careful when removing these components as the connecting wires are easily broken/disconnected.

      Ask FixBot

      Add Comment

    7. LG VX5500 Phone Casing Replacement: step 12, image 1 of 1
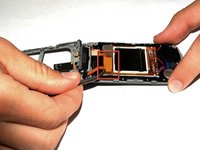
      • Lift the screen components out of the phone.

      Ask FixBot

      Add Comment

    8. LG VX5500 Phone Casing Replacement: step 13, image 1 of 1
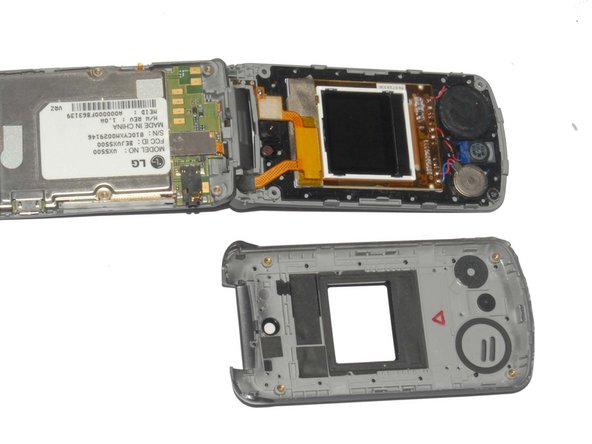
      • The phone is now fully disassembled.

      • Replace the parts indicated with your new phone casing.

      Ask FixBot

      Add Comment

Conclusion

To reassemble your device, follow these instructions in reverse order.

Cancel: I did not complete this guide.

3 other people completed this guide.

Henry

Member since: 04/12/12

181 Reputation

3 Guides authored

Team

Cal Poly, Team 7-33, Maness Spring 2012 Member of Cal Poly, Team 7-33, Maness Spring 2012

CPSU-MANESS-S12S7G33

4 Members

60 Guides authored

0 Guide Comments

Add Comment

View Statistics:

Past 24 Hours: 0

Past 7 Days: 2

Past 30 Days: 30

All Time: 1,034