
LG VX5400 Phone Casing Replacement

Tyler and 5 other contributors
Last updated on Jan 28, 2014
Views: 2.7K
View statistics:
- Past 24 Hours:
- 0
- Past 7 Days:
- 3
- Past 30 Days:
- 35
- All Time:
- 2,730
Comments: 0
No one has left comments on this guide. Will you be first?
Go to guide commentsCompleted: 0 1
No one has marked this guide "completed." Will you be the first?
1 person has marked this guide "completed." It's you — great job!
Favorites: 0 1
No one has favorited (and subscribed to) this guide. Will you be the first?
1 person has favorited (and subscribed to) this guide — and that's you!
Missing Steps
Oops! This guide is currently missing one or more important steps.
Introduction
Go to step 1 ↓If the outer plastic casing of the phone is damaged, it can easily be replaced with these steps.
What you need
Tools

-
-
-
Hold the phone case in your palm and slide the back cover towards yourself using your thumb
-
-
-
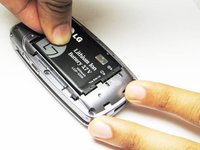
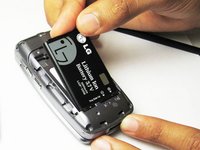
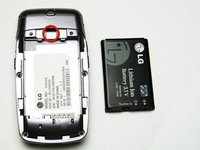
Slide a tool or finger into the notch at the top of the battery to carefully remove it.
-
-
-
-
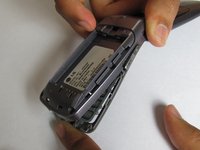
Take the Philips screwdriver and unscrew the four visible screws on the backside of the phone indicated by the four red circles.
-
-
-
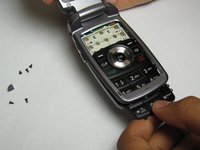
Then, take the pointed end of a spudger and pry out the rubber stopper to reveal the last screw at the top indicated with the blue circle.
-
-
-
-
-
-
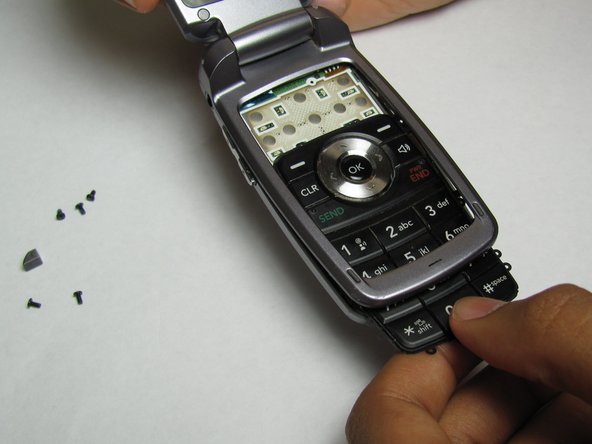
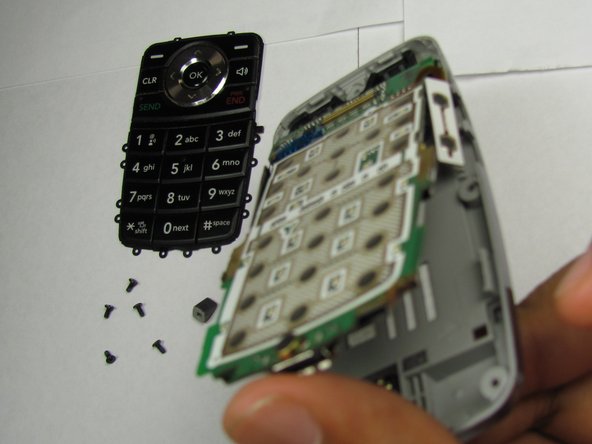
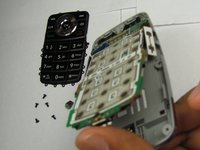
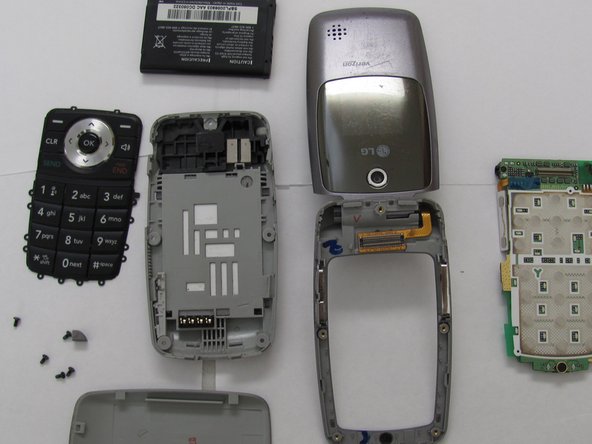
Lay out and organize the parts of the phone. You can now put the inner parts of the phone into the new case.
-

 Ask FixBot





To reassemble your device, follow these instructions in reverse order.

Team

Cal Poly, Team 26-26, Regan Spring 2010 Member of Cal Poly, Team 26-26, Regan Spring 2010
CPSU-REGAN-S10S26G26
4 Members
60 Guides authored
