
LG VX5200 Screen Replacement

jmarcum and 6 other contributors
Last updated on Feb 19, 2016
Views: 4K
View statistics:
- Past 24 Hours:
- 0
- Past 7 Days:
- 6
- Past 30 Days:
- 39
- All Time:
- 4,028
Comments: 1
1 guide comment.
Go to guide commentsCompleted: 0 1
No one has marked this guide "completed." Will you be the first?
1 person has marked this guide "completed." It's you — great job!
Favorites: 0 1
No one has favorited (and subscribed to) this guide. Will you be the first?
1 person has favorited (and subscribed to) this guide — and that's you!
Introduction
Go to step 1 ↓This section covers how to disassemble the upper casing of the LG VX5200 to access the phone's screen.
What you need
Tools
-
-
Spudger4.9


-
-
-
Pry the grey pieces of plastic off the corners of the screen with a spudger.
 Ask FixBot
-
-
-
Close the phone after removing the screws.
-
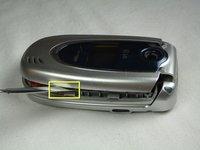
Slide a spudger into the cracks in the top half of the phone's casing.
-
Wedge and lever the spudger to remove the casing.
-
-
-
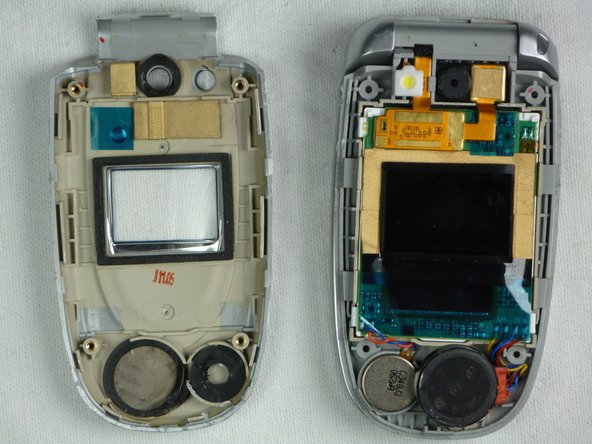
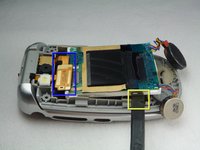
Remove the chipboard from the screen by sliding a plastic spudger under the screen and lifting.
-
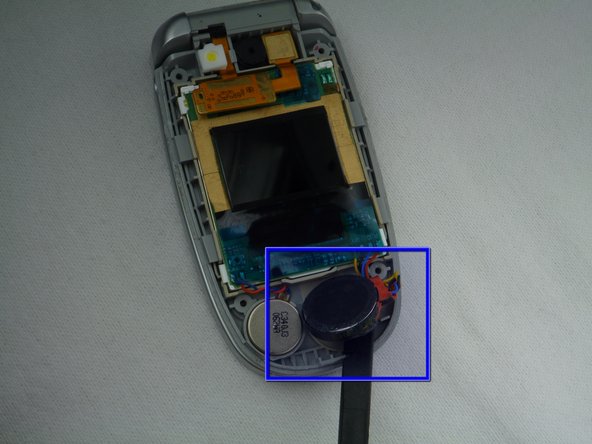
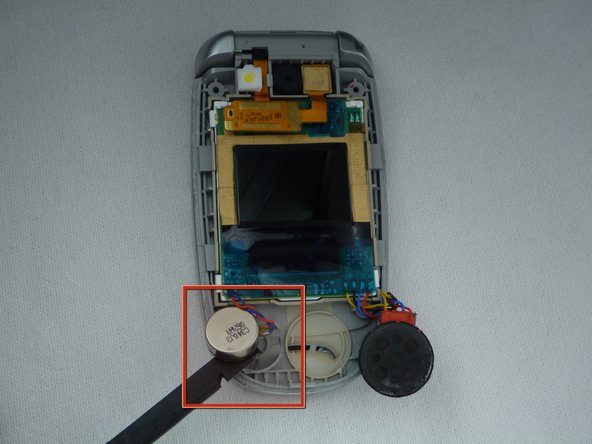
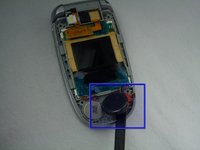
Gently lift the speaker out of the plastic casing using a plastic spudger.
-
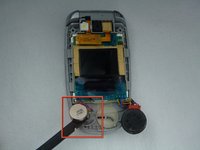
Remove the small battery adjacent to the speaker with a plastic spudger.
-
-
-
-
Slide and lever a plastic spudger between the screen and it's housing.
-
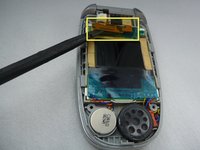
Remove the chip connecting the screen to the camera using your fingers.
-
-





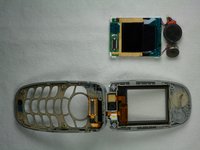
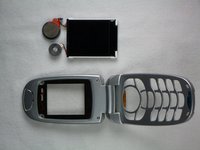
To reassemble your device, follow these instructions in reverse order.

Team

Cal Poly, Team 9-18, Regan Fall 2009 Member of Cal Poly, Team 9-18, Regan Fall 2009
CPSU-REGAN-F09S9G18
5 Members
12 Guides authored
1 Guide Comment
The “battery” beside the speaker isn’t the battery, it’s the phone vibrator. Still a good guide, however
