Free Shipping on Domestic Orders $75+

LG Refrigerator Ice Maker Blower Assembly Replacement

Views: 7K

View statistics:

Past 24 Hours:
8
Past 7 Days:
63
Past 30 Days:
273
All Time:
7,027
Comments: 10

10 comments on steps.

Completed: 0

No one has marked this guide "completed." Will you be the first?

Favorites: 0

No one has favorited (and subscribed to) this guide. Will you be the first?

Time Required: 1 - 2 hours
Difficulty: Moderate
LG Refrigerator Ice Maker Blower Assembly Replacement

Introduction

Go to step 1 ↓

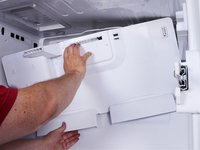
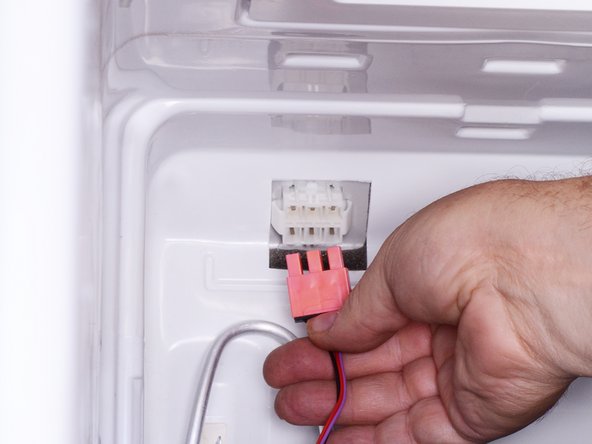
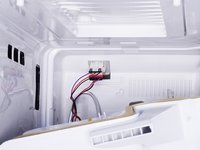
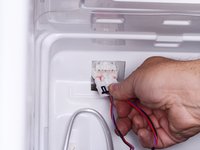
Use this guide to replace the ice maker blower assembly in your LG refrigerator.

This guide will work for most LG refrigerators. This guide is written with an LG model LFX25973 refrigerator. If you have a different model, you may encounter some minor disassembly differences, but the overall repair process will be the same.

The ice maker blower assembly blows cold air from the freezer compartment near the evaporator to the ice maker compartment in the left refrigerator door.

If the ice maker blower assembly fails, you will likely see no ice production from your in-door ice maker, and there will be no ice dispensed.

What you need

Tools

    1. LG Refrigerator Ice Maker Blower Assembly Replacement, Unplug your refrigerator: step 1, image 1 of 1
      • Unplug your refrigerator before you begin your repair.

      • If you are testing or repairing the following items, you may also need to shut off and disconnect the water supply:

      • Condenser fan motor

      • Compressor motor and thermal overload device

      • Water supply valve assembly

      Ask FixBot

      Add Comment

    1. LG Refrigerator Ice Maker Blower Assembly Replacement, Open the freezer door: step 2, image 1 of 2 LG Refrigerator Ice Maker Blower Assembly Replacement, Open the freezer door: step 2, image 2 of 2
      • Pull open the freezer door fully.

      Ask FixBot

      Add Comment

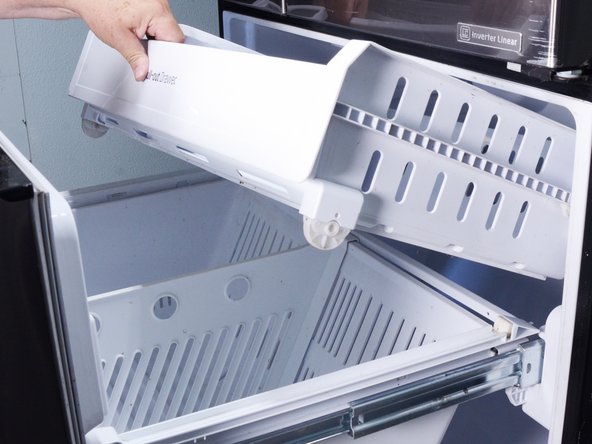
    2. LG Refrigerator Ice Maker Blower Assembly Replacement, Remove the drawer and bin: step 3, image 1 of 3 LG Refrigerator Ice Maker Blower Assembly Replacement, Remove the drawer and bin: step 3, image 2 of 3 LG Refrigerator Ice Maker Blower Assembly Replacement, Remove the drawer and bin: step 3, image 3 of 3
      • Lift and remove the upper pull-out drawer.

      • Lift and remove the main drawer bin.

      Ask FixBot

      Add Comment

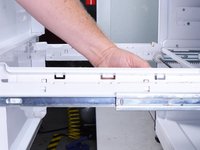
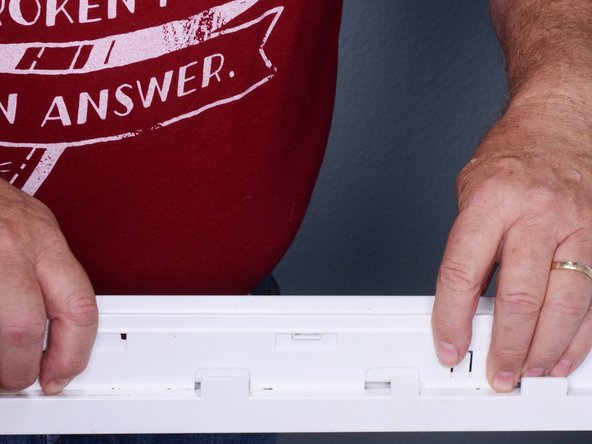
    3. LG Refrigerator Ice Maker Blower Assembly Replacement, Remove the drawer rail covers: step 4, image 1 of 3 LG Refrigerator Ice Maker Blower Assembly Replacement, Remove the drawer rail covers: step 4, image 2 of 3 LG Refrigerator Ice Maker Blower Assembly Replacement, Remove the drawer rail covers: step 4, image 3 of 3
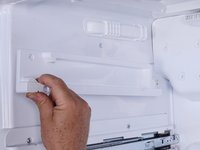
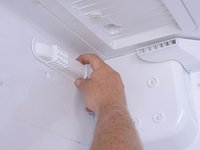
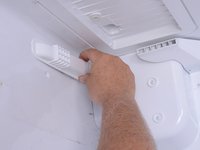
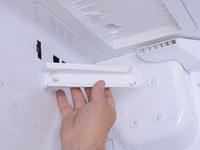
      • Use your finger or a flat-blade screwdriver to depress the two locking tabs on the right drawer rail cover.

      • Lift the cover off of the rail and remove it.

      • Repeat this procedure for the left drawer rail cover.

      Ask FixBot

      Add Comment

    4. LG Refrigerator Ice Maker Blower Assembly Replacement, Reassembly notes: step 5, image 1 of 2 LG Refrigerator Ice Maker Blower Assembly Replacement, Reassembly notes: step 5, image 2 of 2
      • The drawer rail covers can be tricky to reinstall. Follow these steps to reinstall them:

      • Hold the drawer rail cover flush against the side of the drawer rail.

      • You should feel the locking tabs protruding.

      • Push the rail cover straight downward to install. It should click into place.

      Ask FixBot

      Add Comment

    5. LG Refrigerator Ice Maker Blower Assembly Replacement, Remove the drawer: step 6, image 1 of 2 LG Refrigerator Ice Maker Blower Assembly Replacement, Remove the drawer: step 6, image 2 of 2
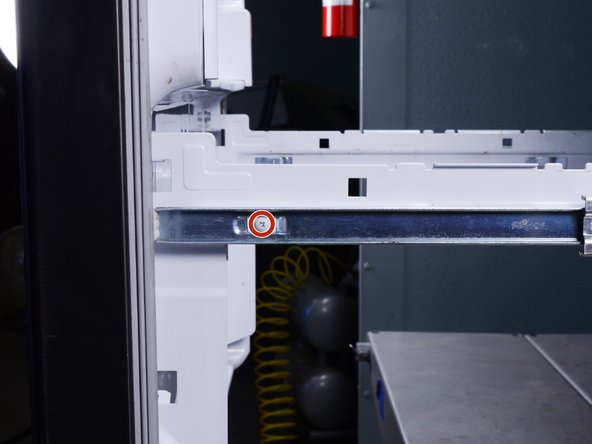
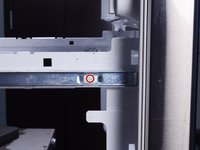
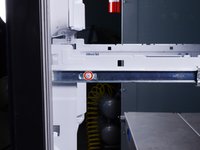
      • Use a Phillips screwdriver to remove the screw securing the drawer to each of the drawer slides.

      Ask FixBot

      Add Comment

    6. LG Refrigerator Ice Maker Blower Assembly Replacement: step 7, image 1 of 3 LG Refrigerator Ice Maker Blower Assembly Replacement: step 7, image 2 of 3 LG Refrigerator Ice Maker Blower Assembly Replacement: step 7, image 3 of 3
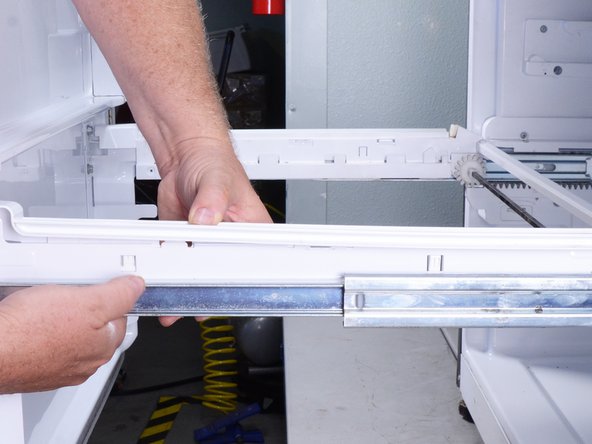
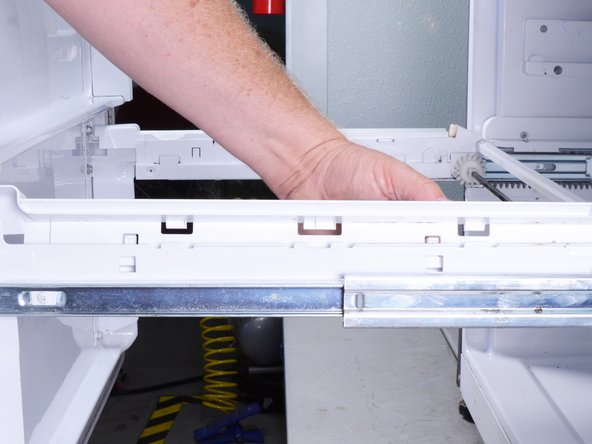
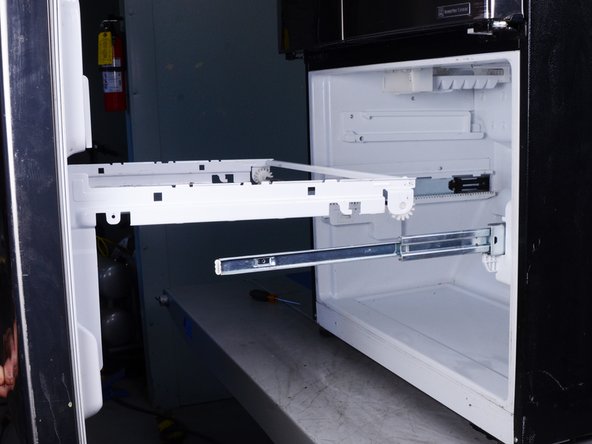
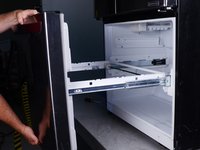
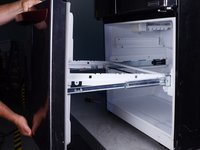
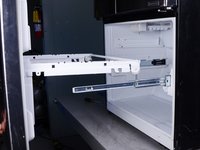
      • Lift the front of the drawer up.

      • Pull the drawer toward you to release the drawer from the drawer slides.

      • Remove the freezer drawer.

      Ask FixBot

      Add Comment

    1. LG Refrigerator Ice Maker Blower Assembly Replacement, Release the drawer slides: step 8, image 1 of 1
      • Use a Phillips screwdriver to remove the screws securing both left drawer slides.

      Ask FixBot

      Add Comment

    2. LG Refrigerator Ice Maker Blower Assembly Replacement, Remove the upper left drawer slide: step 9, image 1 of 2 LG Refrigerator Ice Maker Blower Assembly Replacement, Remove the upper left drawer slide: step 9, image 2 of 2
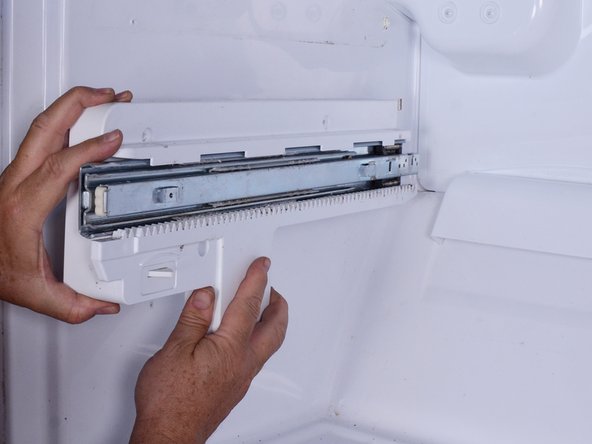
      • Pull the upper left drawer slide slightly towards you to release the locking tab at the rear.

      • Remove the upper left drawer slide.

      Ask FixBot

      Add Comment

    3. LG Refrigerator Ice Maker Blower Assembly Replacement, Release lower left drawer slide and reposition it: step 10, image 1 of 3 LG Refrigerator Ice Maker Blower Assembly Replacement, Release lower left drawer slide and reposition it: step 10, image 2 of 3 LG Refrigerator Ice Maker Blower Assembly Replacement, Release lower left drawer slide and reposition it: step 10, image 3 of 3
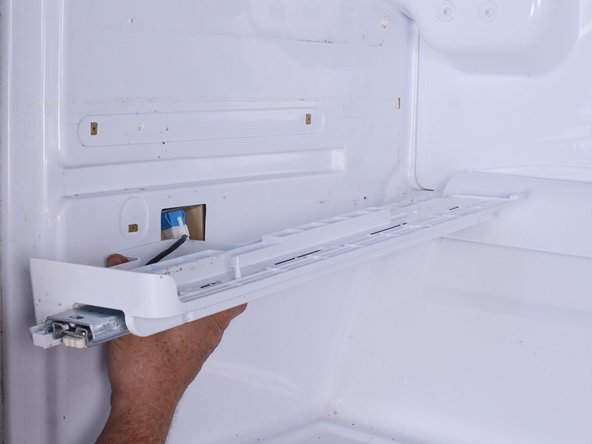
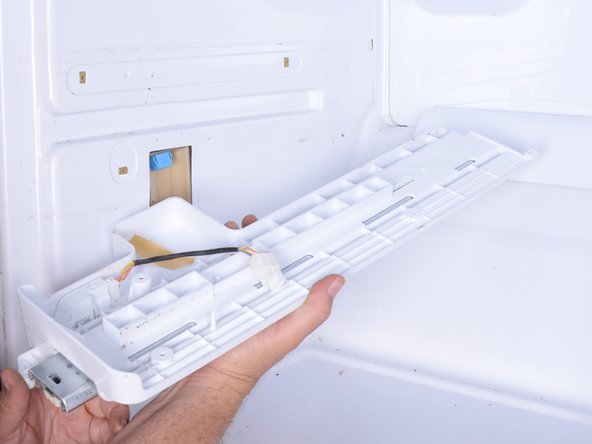
      • Pull the lower left drawer slide slightly toward you to release the locking tab at the rear.

      • Reposition the lower left drawer slide to gain access to the door switch connector.

      Ask FixBot

      Add Comment

    4. LG Refrigerator Ice Maker Blower Assembly Replacement, Disconnect the drawer switch and remove the lower slide: step 11, image 1 of 3 LG Refrigerator Ice Maker Blower Assembly Replacement, Disconnect the drawer switch and remove the lower slide: step 11, image 2 of 3 LG Refrigerator Ice Maker Blower Assembly Replacement, Disconnect the drawer switch and remove the lower slide: step 11, image 3 of 3
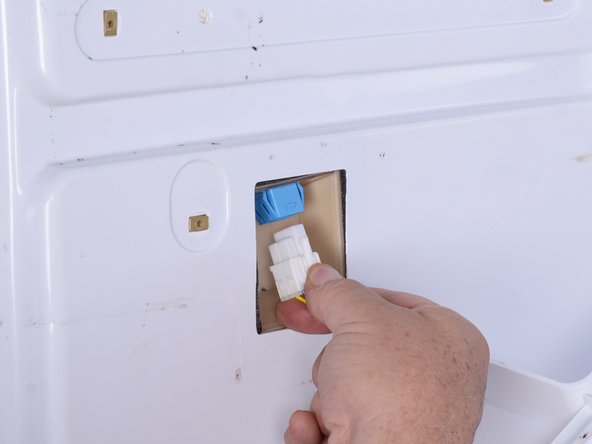
      • Squeeze the door switch connector to release it.

      • Pull the door switch connector down to disconnect it.

      • Remove the lower left drawer slide.

      • If you are removing the freezer evaporator cover, likely only the left-hand slides may need to be removed. In some cases you will need to repeat the previous three steps to remove the right slides as well.

      Ask FixBot

      Add Comment

    1. LG Refrigerator Ice Maker Blower Assembly Replacement, Release the ice maker: step 12, image 1 of 1
      • Use a Phillips screwdriver to remove the screws securing the ice maker to the top of the freezer compartment.

      Ask FixBot

      Add Comment

    2. LG Refrigerator Ice Maker Blower Assembly Replacement: step 13, image 1 of 3 LG Refrigerator Ice Maker Blower Assembly Replacement: step 13, image 2 of 3 LG Refrigerator Ice Maker Blower Assembly Replacement: step 13, image 3 of 3
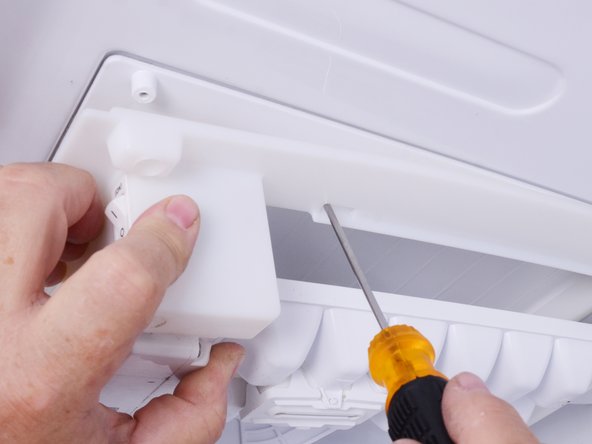
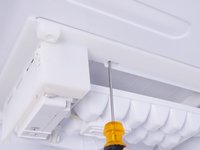
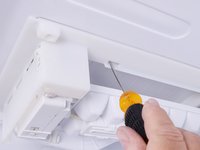
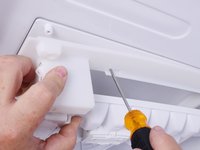
      • Insert a flat-blade screwdriver into the slot located on the right edge of the ice maker.

      • Pry outward with the screwdriver to release the locking tab securing the ice maker to the fridge.

      • When the tab releases, pull the right front corner of the ice maker down.

      Ask FixBot

      Add Comment

    3. LG Refrigerator Ice Maker Blower Assembly Replacement: step 14, image 1 of 1
      • Repeat the previous operation on the left side of the ice maker to release it.

      Ask FixBot

      Add Comment

    4. LG Refrigerator Ice Maker Blower Assembly Replacement: step 15, image 1 of 3 LG Refrigerator Ice Maker Blower Assembly Replacement: step 15, image 2 of 3 LG Refrigerator Ice Maker Blower Assembly Replacement: step 15, image 3 of 3
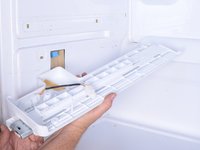
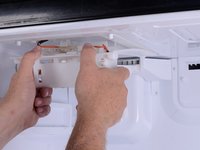
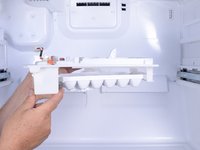
      • Grasp the front edge of the ice maker and pull it towards you.

      • Lower the ice maker.

      Ask FixBot

      Add Comment

    5. LG Refrigerator Ice Maker Blower Assembly Replacement, Disconnect and remove the ice maker: step 16, image 1 of 3 LG Refrigerator Ice Maker Blower Assembly Replacement, Disconnect and remove the ice maker: step 16, image 2 of 3 LG Refrigerator Ice Maker Blower Assembly Replacement, Disconnect and remove the ice maker: step 16, image 3 of 3
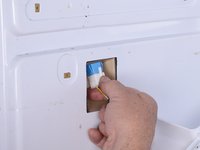
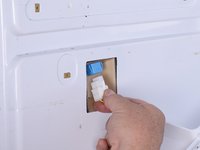
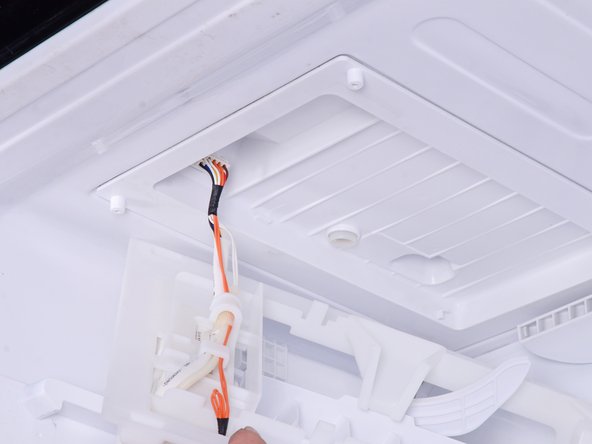
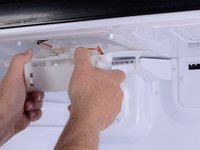
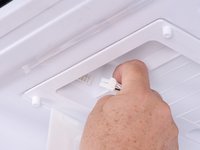
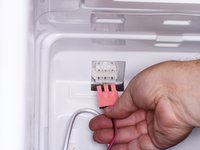
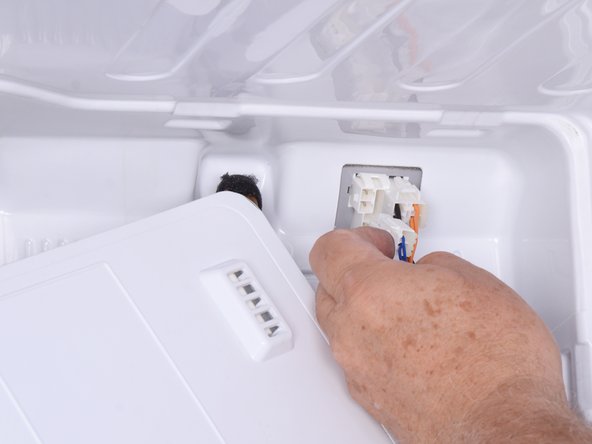
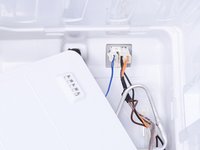
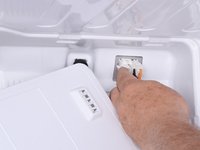
      • Squeeze the ice maker connector to release it and pull it straight out to disconnect it.

      • Remove the ice maker.

      Ask FixBot

      Add Comment

    1. LG Refrigerator Ice Maker Blower Assembly Replacement, Remove air return cover: step 17, image 1 of 3 LG Refrigerator Ice Maker Blower Assembly Replacement, Remove air return cover: step 17, image 2 of 3 LG Refrigerator Ice Maker Blower Assembly Replacement, Remove air return cover: step 17, image 3 of 3
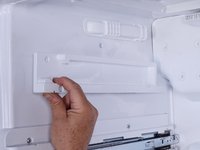
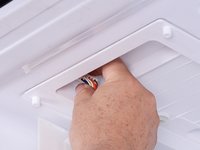
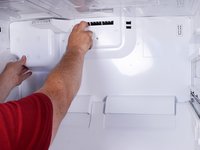
      • Pinch the rear portion of the air return cover to release it from the freezer wall.

      • Pull the air return cover outward and remove it.

      Ask FixBot

      Add Comment

    2. LG Refrigerator Ice Maker Blower Assembly Replacement, Unfasten the evaporator cover: step 18, image 1 of 1
      • Use a Philips screwdriver to remove the screw (or screws) securing the evaporator cover.

      Ask FixBot

      Add Comment

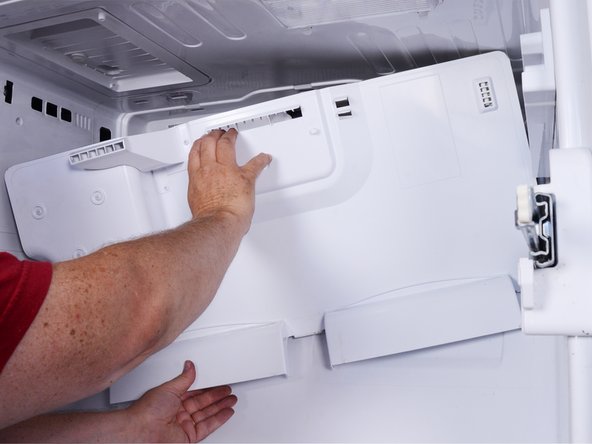
    3. LG Refrigerator Ice Maker Blower Assembly Replacement, Reposition the evaporator cover: step 19, image 1 of 2 LG Refrigerator Ice Maker Blower Assembly Replacement, Reposition the evaporator cover: step 19, image 2 of 2
      • Don't try to remove the evaporator cover fully, as It is still connected to the fridge with a number of wires.

      • Grasp the evaporator cover by the air vent openings and pull the top edge toward you.

      Ask FixBot

      Add Comment

    4. LG Refrigerator Ice Maker Blower Assembly Replacement: step 20, image 1 of 3 LG Refrigerator Ice Maker Blower Assembly Replacement: step 20, image 2 of 3 LG Refrigerator Ice Maker Blower Assembly Replacement: step 20, image 3 of 3
      • Lift the evaporator cover slightly to release the tabs at the lower edge.

      • Swing the left edge of the evaporator cover toward you and lower it.

      Ask FixBot

      Add Comment

    5. LG Refrigerator Ice Maker Blower Assembly Replacement, Disconnect the evaporator cover: step 21, image 1 of 3 LG Refrigerator Ice Maker Blower Assembly Replacement, Disconnect the evaporator cover: step 21, image 2 of 3 LG Refrigerator Ice Maker Blower Assembly Replacement, Disconnect the evaporator cover: step 21, image 3 of 3
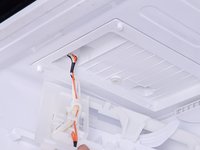
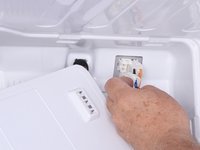
      • Disconnect the electrical connections in the upper left corner of the freezer.

      • Make a note of the locations of the connections for re-installation.

      Ask FixBot

      Add Comment

    6. LG Refrigerator Ice Maker Blower Assembly Replacement: step 22, image 1 of 3 LG Refrigerator Ice Maker Blower Assembly Replacement: step 22, image 2 of 3 LG Refrigerator Ice Maker Blower Assembly Replacement: step 22, image 3 of 3
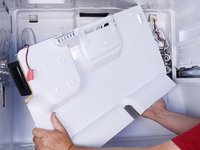
      • Swing the left edge of the evaporator cover further toward you to access the connections in the upper right corner.

      • Squeeze and pull the connector to disconnect the thermistor mounted in the evaporator cover.

      Ask FixBot

      Add Comment

    7. LG Refrigerator Ice Maker Blower Assembly Replacement, Remove the evaporator cover: step 23, image 1 of 2 LG Refrigerator Ice Maker Blower Assembly Replacement, Remove the evaporator cover: step 23, image 2 of 2
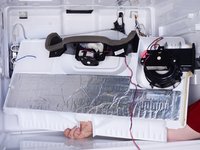
      • Remove the evaporator cover.

      Ask FixBot

      Add Comment

    1. LG Refrigerator Ice Maker Blower Assembly Replacement, Unfasten the ice maker blower: step 24, image 1 of 1
      • Use a Phillips screwdriver to remove the screws securing the ice maker blower to the evaporator cover.

      Ask FixBot

      Add Comment

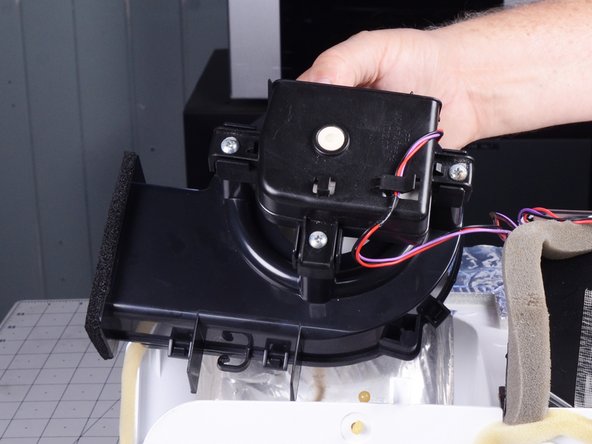
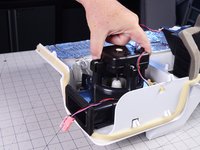
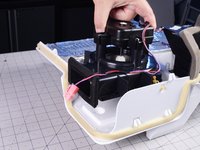
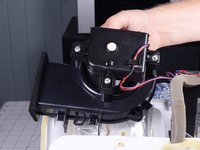
    2. LG Refrigerator Ice Maker Blower Assembly Replacement, Remove the ice maker blower: step 25, image 1 of 3 LG Refrigerator Ice Maker Blower Assembly Replacement, Remove the ice maker blower: step 25, image 2 of 3 LG Refrigerator Ice Maker Blower Assembly Replacement, Remove the ice maker blower: step 25, image 3 of 3
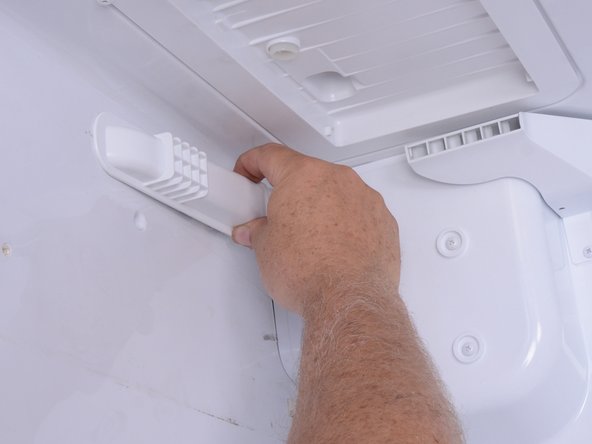
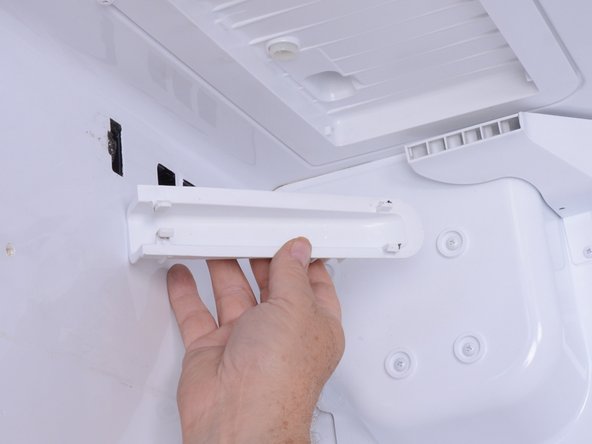
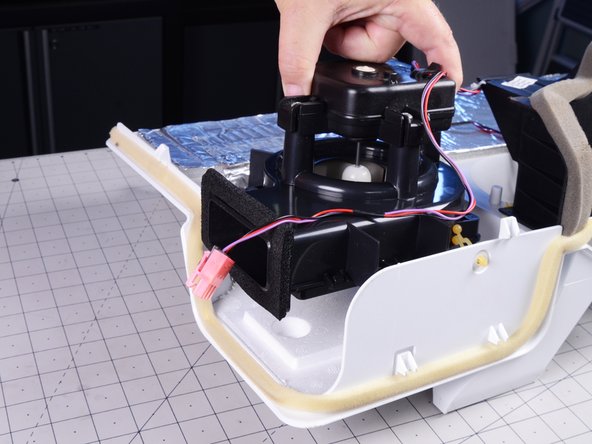
      • Lift the ice maker blower out of the evaporator cover and remove it.

      Ask FixBot

      Add Comment

Conclusion

To reassemble your device, follow these instructions in reverse order.

Take your e-waste to an R2 or e-Stewards certified recycler.

Repair didn’t go as planned? Try some basic troubleshooting, or ask our  Answers community for help.

Cancel: I did not complete this guide.

Bill Gilbert

Member since: 06/30/22

40,642 Reputation

261 Guides authored

Team

iFixit Member of iFixit

Staff

121 Members

72,885 Guides authored

0 Guide Comments

Add Comment

View Statistics:

Past 24 Hours: 8

Past 7 Days: 63

Past 30 Days: 273

All Time: 7,027