
LG Refrigerator Control Board Replacement

Last updated on Nov 22, 2023
Views: 5.7K
View statistics:
- Past 24 Hours:
- 6
- Past 7 Days:
- 65
- Past 30 Days:
- 292
- All Time:
- 5,660
Comments: 0
No one has left comments on this guide. Will you be first?
Go to guide commentsCompleted: 4 5
4 people have marked this guide "completed." Will you be next?
5 people have marked this guide "completed." Including you — great job!
Favorites: 0 1
No one has favorited (and subscribed to) this guide. Will you be the first?
1 person has favorited (and subscribed to) this guide — and that's you!
Introduction
Go to step 1 ↓Use this guide to replace the control board on your LG refrigerator.
This guide will work for most LG refrigerators. This guide is written with an LG model LFX25973 refrigerator. If you have a different model, you may encounter some minor disassembly differences, but the overall repair process will be the same.
The control board is the brain of your LG refrigerator. It coordinates the function of the device, receiving inputs from various sensors, and controlling the function of other parts like fans, lights, alarms, and the refrigeration system components.
Failure of the control board can result in numerous problems ranging from complete failure of the appliance to odd alarms. Usually, the control board is one of the last components to check, because usually its failure is discovered through the elimination of other causes.
What you need
Tools

-
-
-
Unplug your refrigerator before you begin your repair.
-
Condenser fan motor
-
Compressor motor and thermal overload device
-
Water supply valve assembly
 Ask FixBot
-
-
-
-
-
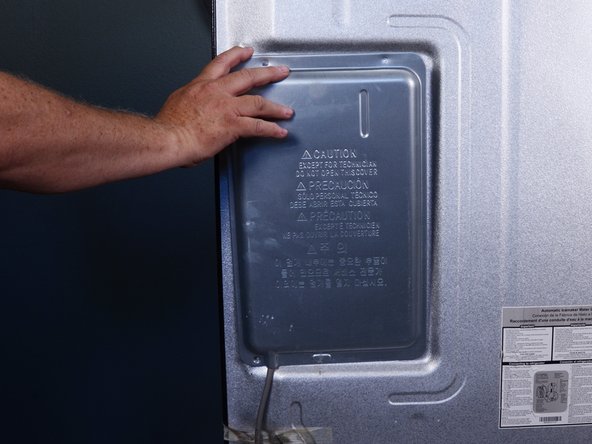
Use a Phillips screwdriver to remove the screws securing the control board cover.
-
-
-
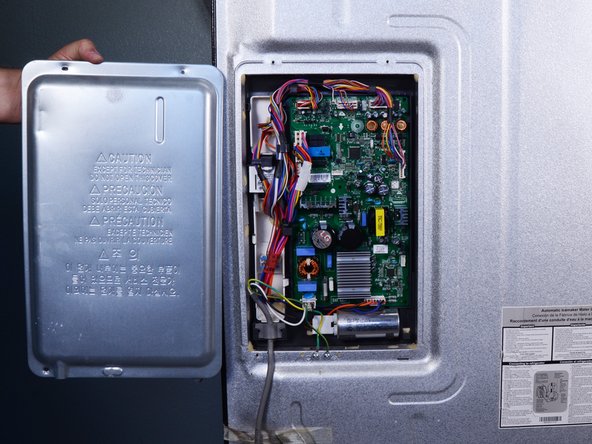
Tilt the top edge of the cover toward you and lift it off.
-
-
-
-
-
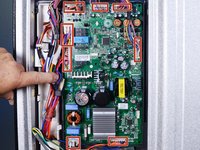
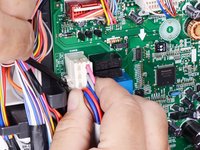
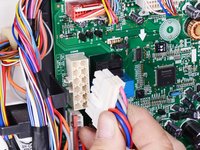
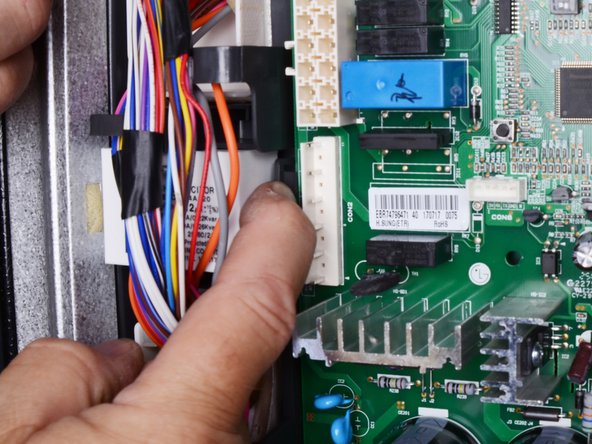
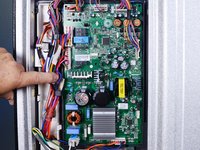
Squeeze and pull the connectors to disconnect them from the control board.
-
-
-
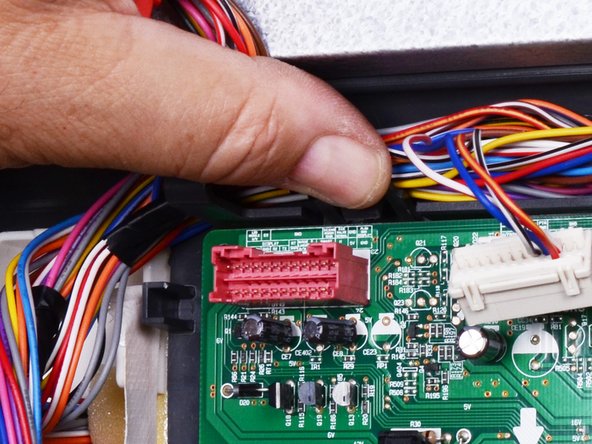
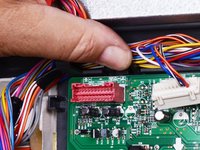
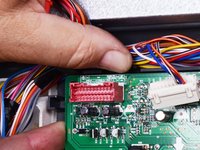
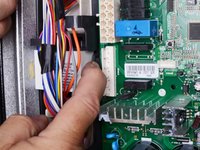
Use your thumb to pry up and release the top left retaining clip securing the control board.
-
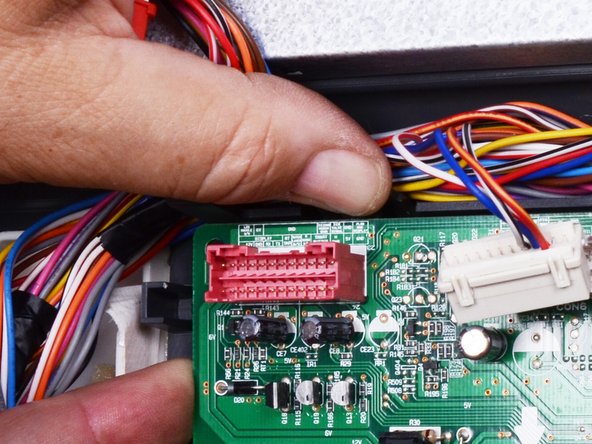
With your other hand, pull the top left corner of the control board out to loosen it.
-
-
-
-
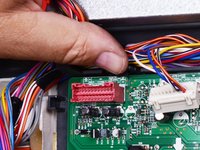
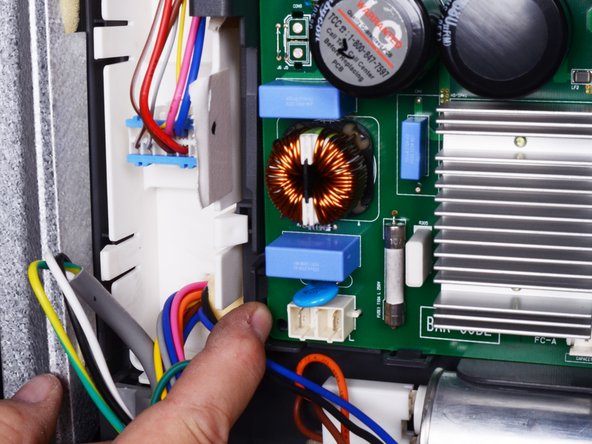
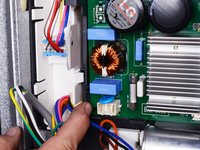
Repeat this process for each tab down the left edge of the control board as well as the top and bottom edges.
-
-
-
Lift the control board out by its edges and remove it.
-
-







To reassemble your device, follow these instructions in reverse order.
Take your e-waste to an R2 or e-Stewards certified recycler.
Repair didn’t go as planned? Try some basic troubleshooting, or ask our Answers community for help.
Cancel: I did not complete this guide.
4 other people completed this guide.


