Introduction
I would like it noted that this tablet has a lot of adhesive which makes removal longer. Be patient and do not rush the steps to ensure proper removal of equipment and glue.
What you need
-
-
-
Remove the MicroSD Memory card, Sim Card, and the metal Sim Card Holder.
-
Put them off to the side for reassembly.
-
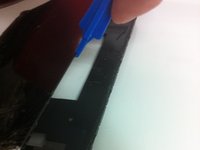
Now you can slowly use a plastic opening tool to go around the edge of the tablet to slowly pry upward.
 Ask FixBot
-
-
-
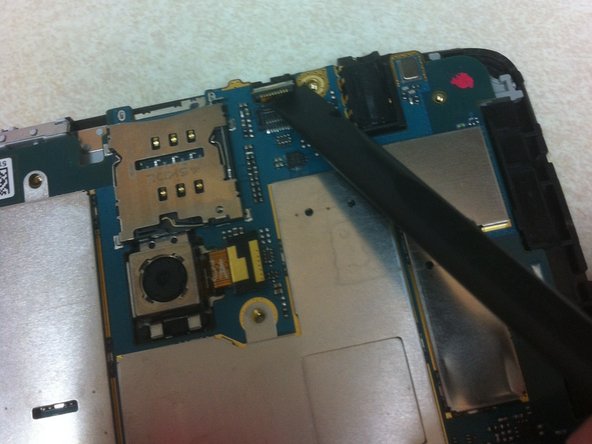
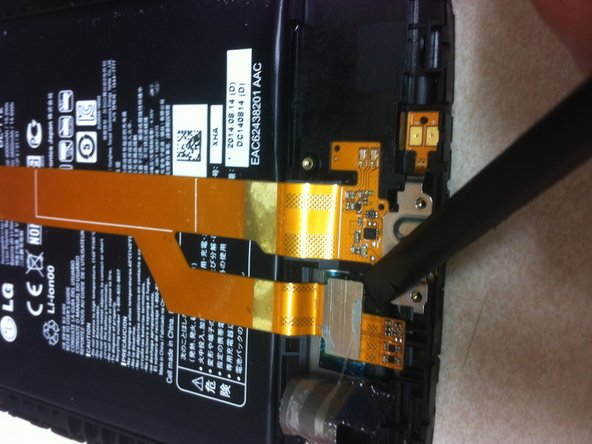
Now that we have the back cover and can remove the orange port strip.
-
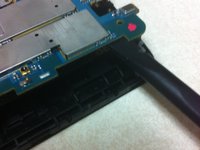
Use the spudger to gently remove the strip by pushing upward slowly.
-
-
Tool used on this step:Tweezers$4.99
-
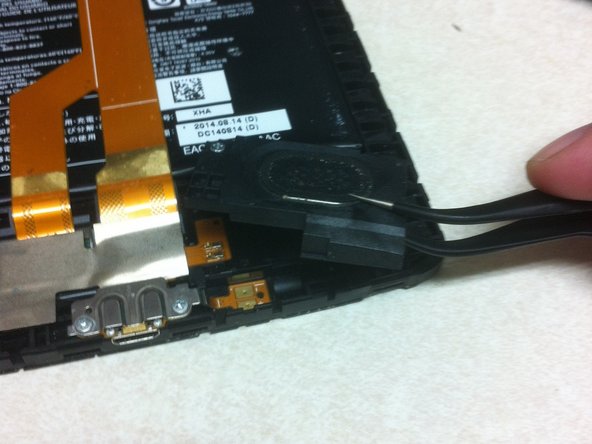
To disconnect the battery you are going to unplug the cables.
-
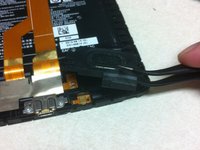
Use the tweezers to gently hold the cables and slowly push upward to detach it.
-
Don't be too rough and pinch the cables with the tweezers. Take your time and slowly detach.
-
-
-
Remove the 7 black screws on the motherboard.
-
Put them to the side for reassembly.
-
-
-
-
Detach the black tag in the middle of the motherboard. This is the main camera connection.
-
Locate the next camera connection at the top of the motherboard. Disconnect this black tag for your front camera.
-
Now you are able to remove the motherboard from the tablet.
-
-
-
Now that the motherboard is removed, you can now access the main camera for removal. Gently use the tweezers to do this.
-
Put to the side for reassembly.
-
-
-
Using the Phillips screwdriver, remove the screw and put aside for reassembly.
-
-
-
Two screws are holding the metal plate down. Remove the screws and put aside.
-
Use the tweezers to remove the tape to show the connection.
-
Use the spudger to push up and remove the connection.
-
Use the tweezers to completely remove charging port from tablet. Put aside for reassembly.
-
-
-
To remove the battery, use the spudger or the Jimmy tool to slowly work your way around the battery.
-
It is being held on by strips of tape so be patient with it. Work it a little bit at a time to remove the battery from the tablet.
-
Put it aside for reassembly.
-
-
-
Apply a heat gun or iOpener to front of screen to allow it to warm up the glue.
-
Use opening tool and work your way around the front of the screen. You may have to alternate applying the heat and prying to get it loose enough to separate.
-
Be careful not overdo the heat. Use a low temperature and take your time to separate the screen.
-
Clean the black backing off of any glass still sticking to it. Mine had a lot so I had to scrape for awhile to get all the little pieces off to have a clean surface to apply the new replacement screen.
-
Apply new screen to black backing.
-
-











To reassemble your device, follow these instructions in reverse order. You will need new adhesive to apply upon reassembly.
**The time estimate is put at an hour but depending on how much broken glass you are dealing with and having to scrap off old adhesive glue - it could take longer so please have patience when dealing with glass to not injury yourself.
Cancel: I did not complete this guide.
38 other people completed this guide.

Team

18 Guide Comments
Great help..........thanks
Good job but I have just 1 speaker out.
Do you mean you took one speaker out or the speaker is no longer functioning properly?
Hello Ms. Heather I cannot access the motherboard, I am unable to remove the back cover. Pls help
Are you using a prying tool and going around the edges of the tablet to open it? What exactly is happening?
