
LG Flare Keyboard Replacement

Rob Mitchell and 7 other contributors
Last updated on Aug 2, 2019
Views: 636
View statistics:
- Past 24 Hours:
- 1
- Past 7 Days:
- 13
- Past 30 Days:
- 87
- All Time:
- 636
Comments: 0
No one has left comments on this guide. Will you be first?
Go to guide commentsCompleted: 0 1
No one has marked this guide "completed." Will you be the first?
1 person has marked this guide "completed." It's you — great job!
Favorites: 0 1
No one has favorited (and subscribed to) this guide. Will you be the first?
1 person has favorited (and subscribed to) this guide — and that's you!
Incorrect Tools
Help make this guide better by using the correct tools in images and/or text.
Needs Better Images
Better photos will improve this guide. Help out by taking, editing, or uploading new ones!
Markup Mishap
This guide needs better markups. Help out by correcting or making some markup annotations.
Community-Contributed Guide
An awesome member of our community made this guide. It was not created by iFixit staff.
Better Introduction
Improve this guide by completing or revising its introduction.
Introduction
Go to step 1 ↓How to remove the back panel of the "LG Flare" and access the mainboard, microphone, and keyboard.
What you need
Tools


-
-
-
Remove the back cover by pressing down on the raised lines located on the top middle of the back cover and sliding the cover towards the top of the phone.
 Ask FixBot
-
-
-
Remove battery by using the smallest of the blue wedges in the iFixit tool kit to lift or pry the battery out of its designated compartment. Place the blue wedge under the battery on the left side (if the LG logo and “Lithium Ion” label are facing toward you) and pry upward to remove.
-
-
-
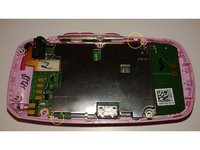
Use the PH000 Phillips-head screwdriver to remove the 6 small screws that were under the battery on the back of the phone. These screws are circled in yellow on the photo.
-
Make sure to hold the phone with your off hand to keep the phone from spinning while you unscrew the screws.
-
Note: You may want to place the screws in a small Ziploc bag to avoid misplacing them.
-
-
-
Use the blue wedge to pop the back panel off. Start by placing the blue panel between the back panel and the charging port, and work your way around the edges until the whole back piece has been pried off.
-
The small rectangular charging port cover may disconnect as well. This is okay; just set the cover aside with the screws, battery, and back cover.
-
-
-
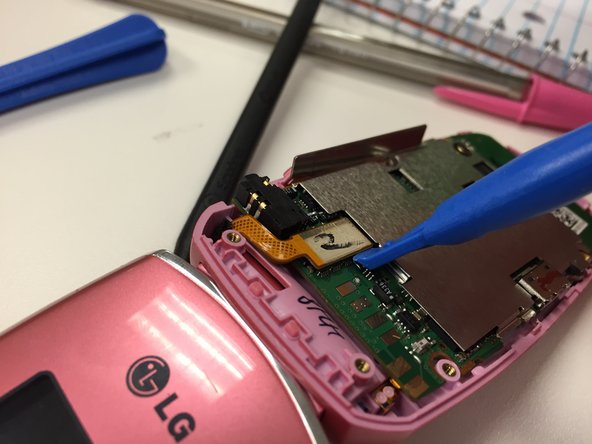
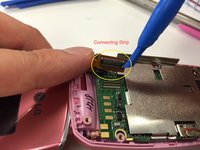
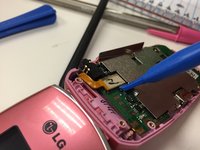
Place the blue wedge between the orange connecting strip (located at the top right of the back of the phone) and the green circuit board.
-
Carefully pry the connecting strip upward to remove it. The connecting strip and circuit board are fragile, so be sure not to apply too much pressure.
-
-
-
-
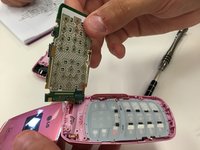
Use blue wedge to separate the two pink tabs above the green circuit board from front body of phone. The tabs are circled in yellow on the photo.
-
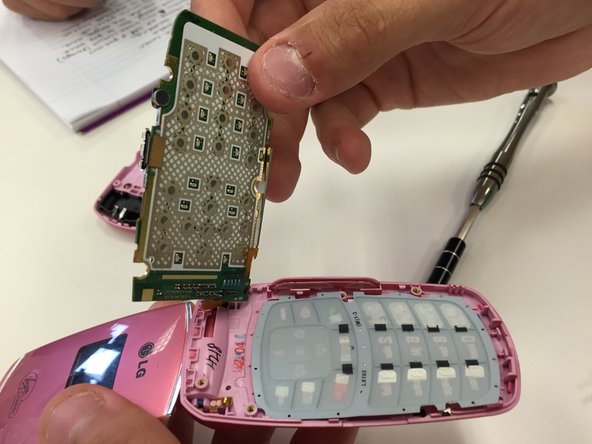
Once the tabs are separated, use the blue prying tool or your fingers to remove the circuit.
-
-
-
Remove gel keyboard using your fingers or the blue wedge.
-
To reassemble the device, follow the instructions in reverse order.
-
-




To reassemble your device, follow these instructions in reverse order.

