Free Shipping on Domestic Orders $75+

LG EnV Touch VX11000 Screen Assembly Replacement

What you need

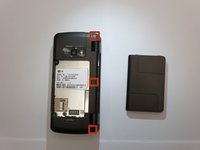
  1. LG EnV Touch VX11000 Screen Assembly Replacement, Battery: step 1, image 1 of 1
    • Turn the phone off.

    • Flip it over so the front screen is facing down.

    Ask FixBot

    Add Comment

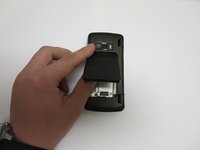
  2. LG EnV Touch VX11000 Screen Assembly Replacement: step 2, image 1 of 1
    • Slide the release latch down and toward you while lifting up on the left side of the battery cover.

    Ask FixBot

    Add Comment

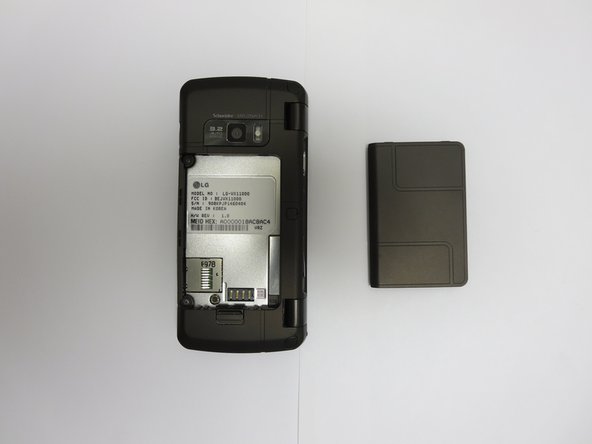
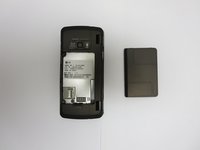
  3. LG EnV Touch VX11000 Screen Assembly Replacement: step 3, image 1 of 2 LG EnV Touch VX11000 Screen Assembly Replacement: step 3, image 2 of 2
    • Lift the edge of the battery to remove it.

    Ask FixBot
    Add Comment

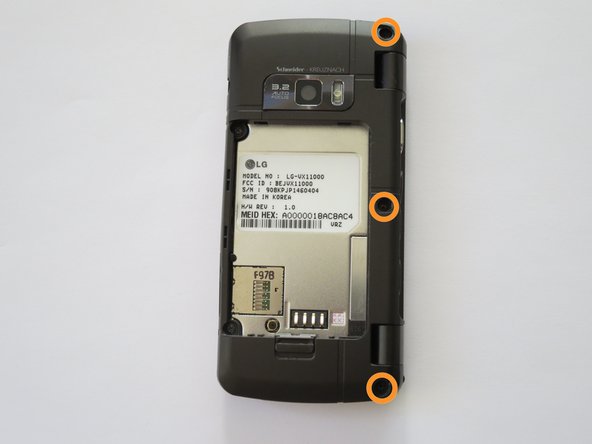
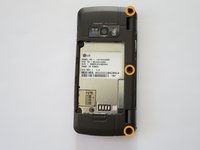
  4. LG EnV Touch VX11000 Screen Assembly Replacement, Volume and Camera Buttons: step 4, image 1 of 2 LG EnV Touch VX11000 Screen Assembly Replacement, Volume and Camera Buttons: step 4, image 2 of 2
    • Locate the three screw covers on the back of the phone. Using your fingernail (or a spudger, pry off screw covers.

    • Using a Phillips #000 Screwdriver, remove the 1.5mm #000 Phillips screws that were under the screw covers.

    Ask FixBot
    Add Comment

  5. LG EnV Touch VX11000 Screen Assembly Replacement: step 5, image 1 of 1
    • Locate the two inner 1.5mm #000 Phillips screws and remove them using a Phillips #000 screwdriver.

    Ask FixBot
    Add Comment

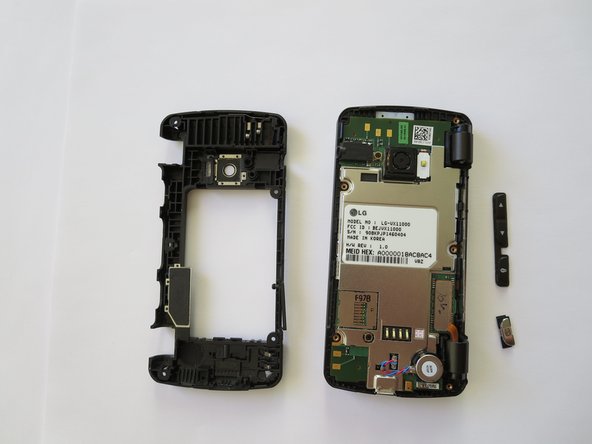
  6. LG EnV Touch VX11000 Screen Assembly Replacement: step 6, image 1 of 2 LG EnV Touch VX11000 Screen Assembly Replacement: step 6, image 2 of 2
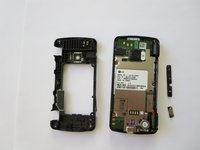
    • Use a plastic opening tool or your fingernail to pry off the back case.

    • The camera and volume keys will fall off.

    Ask FixBot
    Add Comment

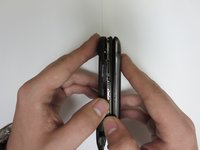
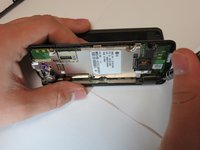
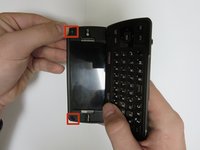
  7. LG EnV Touch VX11000 Screen Assembly Replacement, Screen Assembly: step 7, image 1 of 3 LG EnV Touch VX11000 Screen Assembly Replacement, Screen Assembly: step 7, image 2 of 3 LG EnV Touch VX11000 Screen Assembly Replacement, Screen Assembly: step 7, image 3 of 3
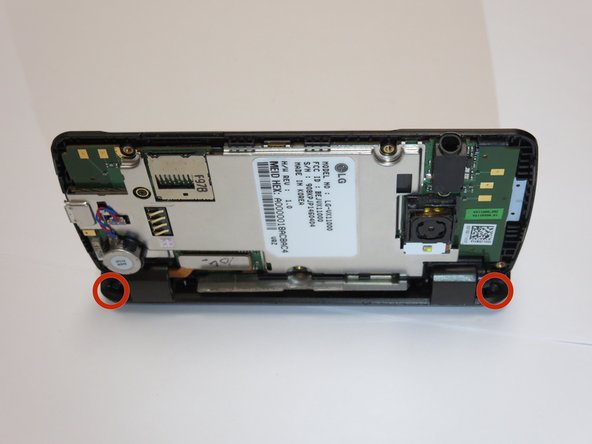
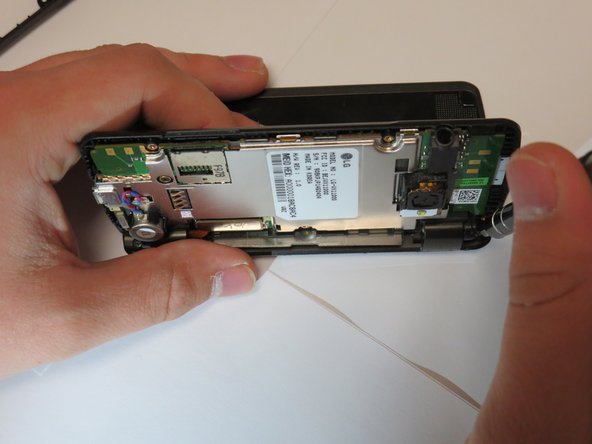
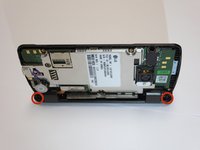
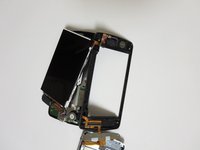
    • Open the phone at a 90 degree angle. This needs to be done in order to reach the screws.

    • Locate the two 1.5mm #000 Phillips screws on the outside of each hinge.

    • Remove the two 1.5mm #000 Phillips screws with a Phillips #000 screwdriver.

    Ask FixBot
    Add Comment

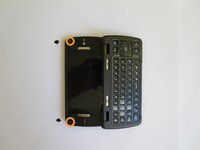
  8. LG EnV Touch VX11000 Screen Assembly Replacement: step 8, image 1 of 2 LG EnV Touch VX11000 Screen Assembly Replacement: step 8, image 2 of 2
    • Pry off the two screw covers on the inside screen, using a spudger or your fingernail.

    • Remove the two 1.5mm #000 Phillips screws that were under the screw covers using the Phillips #000 screwdriver.

    Ask FixBot

    Add Comment

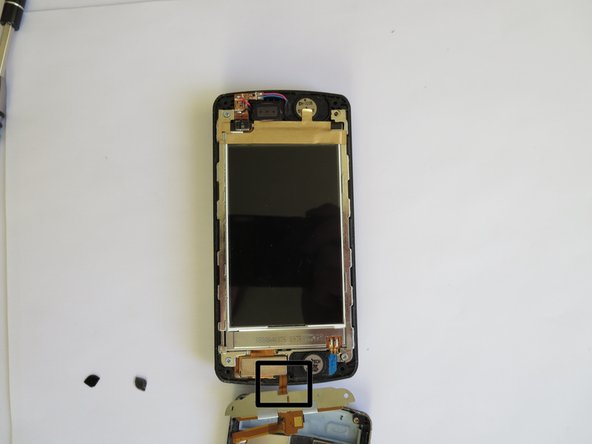
  9. LG EnV Touch VX11000 Screen Assembly Replacement: step 9, image 1 of 2 LG EnV Touch VX11000 Screen Assembly Replacement: step 9, image 2 of 2
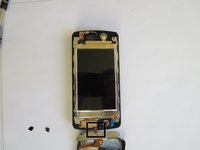
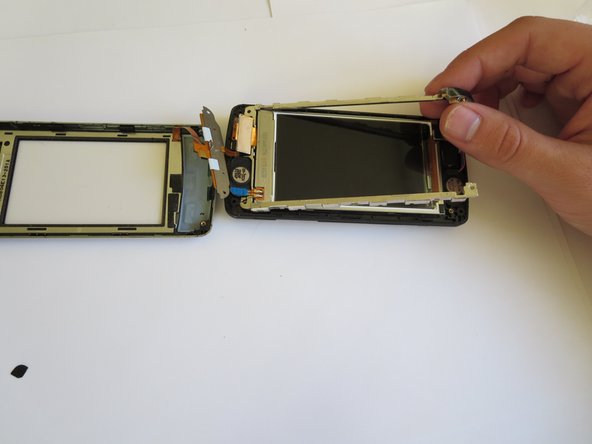
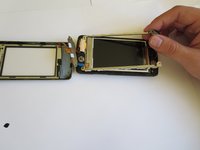
    • Pry off the front frame using your fingernail.

    • The frame should still be connected to the rest of the phone by the orange tab.

    Ask FixBot

    Add Comment

  10. LG EnV Touch VX11000 Screen Assembly Replacement: step 10, image 1 of 1
    • Remove the four 1.5mm #000 Phillips screws at each of the corners of the phone, using the Phillips #000 screwdriver.

    Ask FixBot
    Add Comment
  11. LG EnV Touch VX11000 Screen Assembly Replacement: step 11, image 1 of 3 LG EnV Touch VX11000 Screen Assembly Replacement: step 11, image 2 of 3 LG EnV Touch VX11000 Screen Assembly Replacement: step 11, image 3 of 3
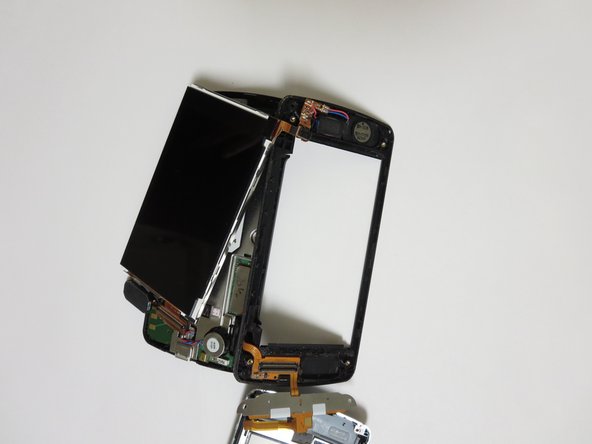
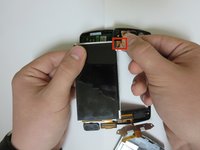
    • Peel off the gold tape.

    • Gently pry up the metal frame with your fingers so that the screen can be removed.

    Ask FixBot

    Add Comment

  12. LG EnV Touch VX11000 Screen Assembly Replacement: step 12, image 1 of 2 LG EnV Touch VX11000 Screen Assembly Replacement: step 12, image 2 of 2
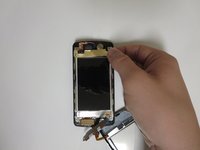
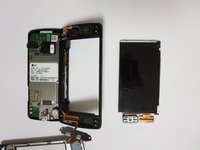
    • Unplug the connector from the screen.

    Ask FixBot

    Add Comment

Conclusion

To reassemble your device, follow these instructions in reverse order.

Cancel: I did not complete this guide.

3 other people completed this guide.

Rachel Smith

Member since: 09/30/13

593 Reputation

5 Guides authored

Team

Cal Poly, Team 13-2, Forte Fall 2013 Member of Cal Poly, Team 13-2, Forte Fall 2013

CPSU-FORTE-F13S13G2

4 Members

15 Guides authored

0 Guide Comments

Add Comment

View Statistics:

Past 24 Hours: 0

Past 7 Days: 9

Past 30 Days: 29

All Time: 1,505