
LG CineBeam Lens Replacement

Abid Neron and 2 other contributors
Last updated on May 26, 2022
Views: 1.2K
View statistics:
- Past 24 Hours:
- 1
- Past 7 Days:
- 11
- Past 30 Days:
- 80
- All Time:
- 1,165
Comments: 1
1 comment on steps.
Completed: 0 1
No one has marked this guide "completed." Will you be the first?
1 person has marked this guide "completed." It's you — great job!
Favorites: 0 1
No one has favorited (and subscribed to) this guide. Will you be the first?
1 person has favorited (and subscribed to) this guide — and that's you!
Introduction
Go to step 1 ↓The LG Cinebeam's (Model# PH150B) lens projects the image. If it is damaged or cracked, the image will be fuzzy or warped. This guide will help you replace the lens.
The lens is responsible for projecting the image. Before replacing it, inspect the lens carefully to see if any cracks are visible or any grease or dirt is piled up. It's a good idea to clean the lens with glass cleaner and check if the image is still unclear before replacing it.
Since the lens is made of glass, it is possible to crack or break, so use caution while removing it and putting in a new one.
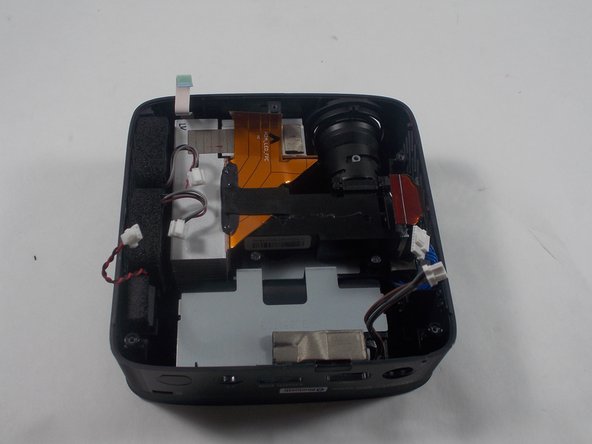
You will have to remove the motherboard to access the lens. While removing it, make sure to use caution while replacing the ribbon cables as they could rip.
Before beginning, make sure to power off the projector completely and disconnect from any external power source.
What you need
Tools


-
-
-
Remove three 6 mm screws on the bottom plate with a Phillips #00 screwdriver.
 Ask FixBot
-
-
-
Using an iFixit opening tool, pry the bottom plate off of the device and remove it fully.
-
-
-
-
-
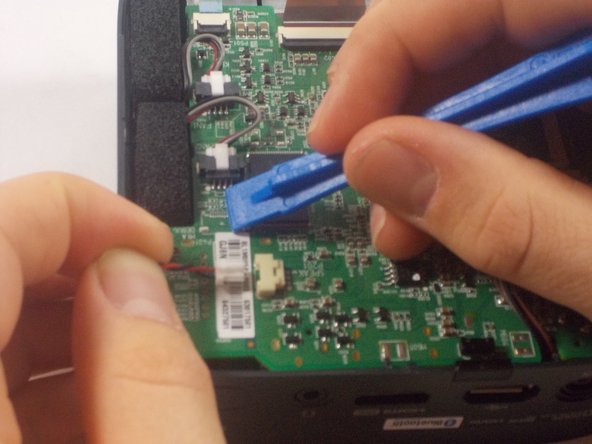
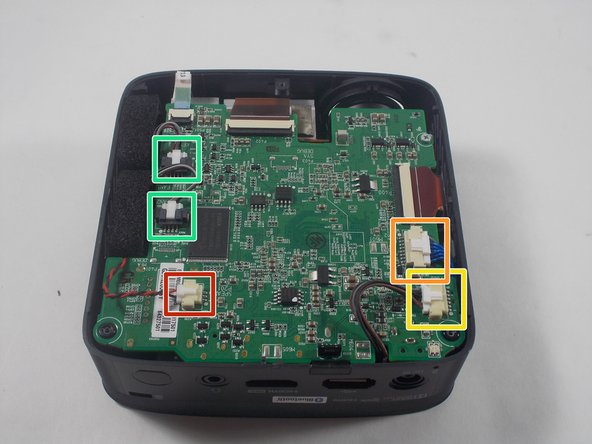
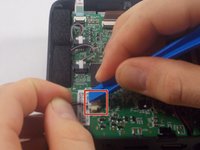
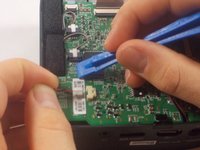
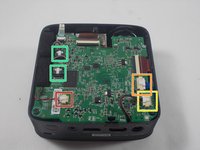
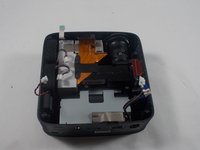
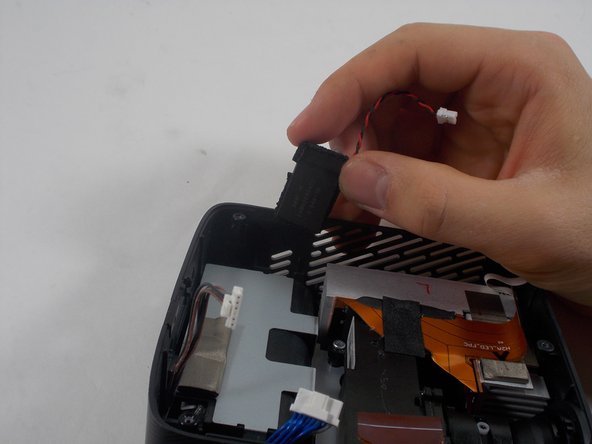
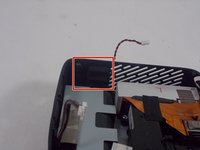
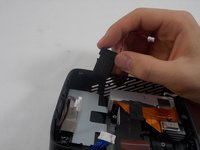
Using an iFixit opening tool, press down the lever on the top of the minilock connector for the speaker and pull the plug out gently.
-
Repeat this process to remove the WiFi/Bluetooth card connector.
-
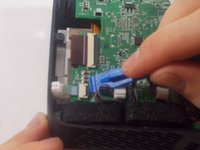
Remove the battery connector.
-
Remove the fan connectors.
-
-
-
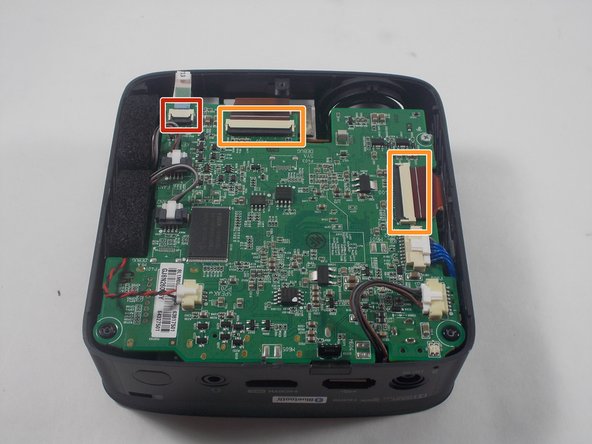
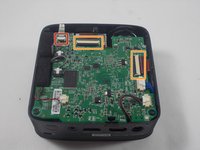
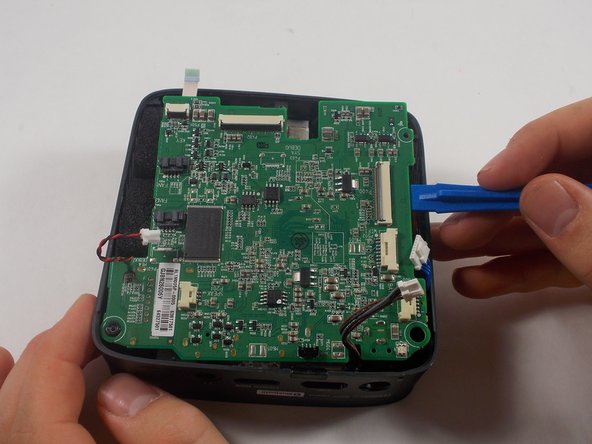
Using an iFixit opening tool, pry up the black plastic tabs on the back of the power button/joystick board cable.
-
Gently pull the ribbon cable out of the socket.
-
Repeat this process for the two display cables.
-
-
-
-
-
-
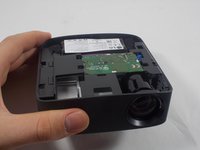
Turn the device over so the power button is facing up.
-
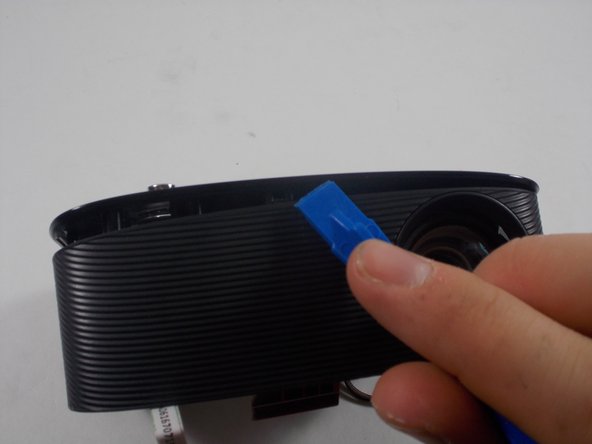
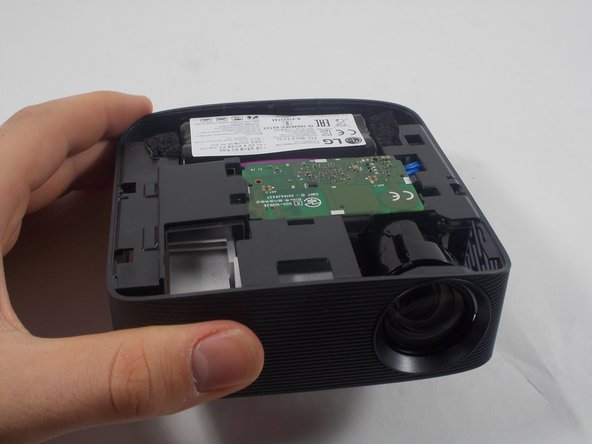
Using an iFixit opening tool, pry open the top of the plastic casing and remove it completely.
-
-
-
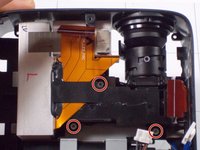
Remove the three 6 mm screws holding the lens and LCoS assembly in place using a Phillips #00 screwdriver.
-
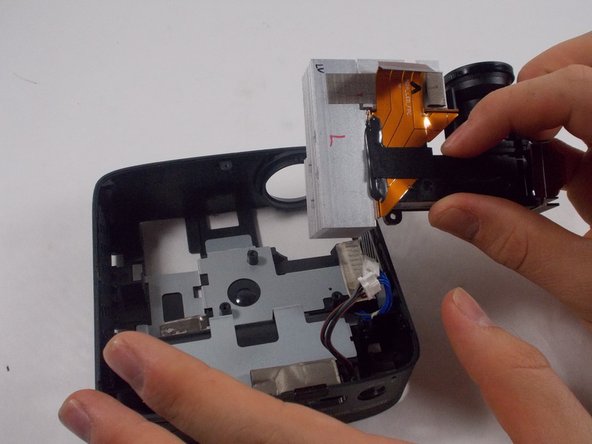
Remove the lens and LCoS assembly from the casing.
-
-
-
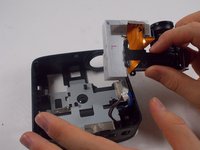
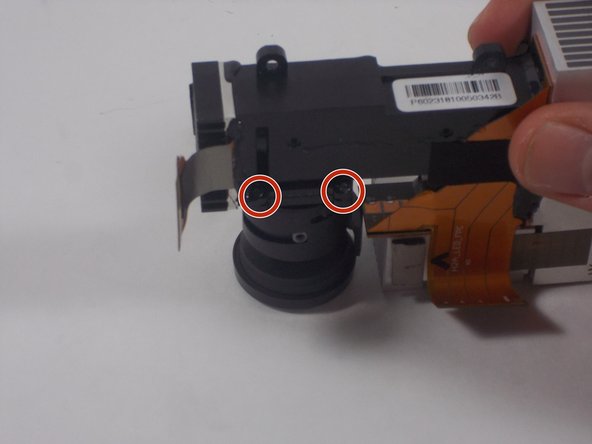
Remove the 4 mm screws using a Phillips #00 screwdriver.
-
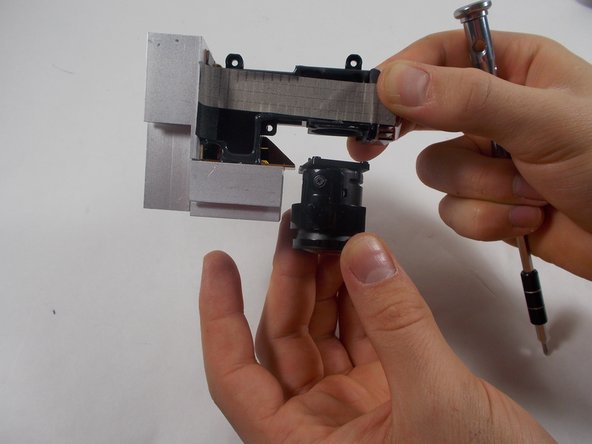
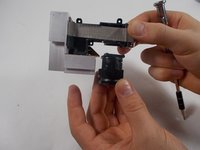
Pull the lens assembly off of the display assembly.
-
-








To reassemble your device, follow these instructions in reverse order.

Team

UMass Dartmouth, Team 1-5, Botvin Spring 2022 Member of UMass Dartmouth, Team 1-5, Botvin Spring 2022
UMASSD-BOTVIN-S22S1G5
3 Members
72 Guides authored
