Free Shipping on Domestic Orders $75+

LG Chocolate 3 Rear Case Replacement

What you need

    1. LG Chocolate 3 Rear Case Replacement, Battery: step 1, image 1 of 1
      • Turn the phone off before starting the replacement process.

      • Place the phone face down.

      • Press your finger down on the indentation and slide the back plate off.

      Ask FixBot

      Add Comment

    2. LG Chocolate 3 Rear Case Replacement: step 2, image 1 of 3 LG Chocolate 3 Rear Case Replacement: step 2, image 2 of 3 LG Chocolate 3 Rear Case Replacement: step 2, image 3 of 3
      • Using your index finger lift and remove the battery from the phone.

      Ask FixBot

      Add Comment

    1. LG Chocolate 3 Rear Case Replacement, Rear Case: step 3, image 1 of 1
      • Use the pointed end of the spudger to pull out the plastic inserts that are located on the left and right-hand corners.

      • If needed, use the tip of a push pin instead of the spudger to remove the plastic inserts.

      Ask FixBot

      Add Comment

    2. LG Chocolate 3 Rear Case Replacement: step 4, image 1 of 1
      Tool used on this step:
      Tweezers
      $4.99
      Buy
      • Using a Phillips #00 screwdriver, remove the six 3mm long screws found along the edges of the phone.

      • If needed, use tweezers to remove loose screws from the recessed holes.

      • Screws are small, therefore, they should be placed in a secure location to prevent misplacement.

      Ask FixBot

      Add Comment

    3. LG Chocolate 3 Rear Case Replacement: step 5, image 1 of 2 LG Chocolate 3 Rear Case Replacement: step 5, image 2 of 2
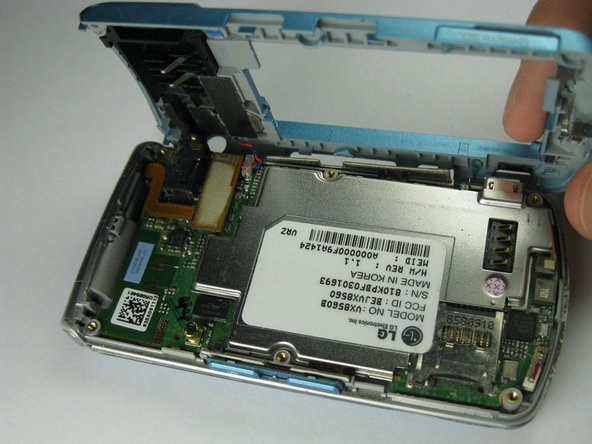
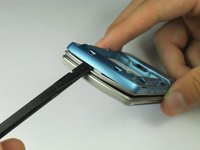
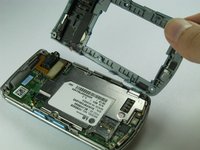
      • Pull the rear case up using the spudger.

      • The rear case is connected to the right side of the phone via red and blue cables, be careful not to pull these cables out.

      • The volume control buttons on the side might fall out of their sockets. Carefully replace them with a pair of tweezers before you reassemble the rear case.

      Ask FixBot

      Add Comment

    4. LG Chocolate 3 Rear Case Replacement: step 6, image 1 of 1
      • Use tweezers to pull the clear end of the red and blue speaker cables away from motherboard.

      Ask FixBot

      Add Comment

    5. LG Chocolate 3 Rear Case Replacement: step 7, image 1 of 2 LG Chocolate 3 Rear Case Replacement: step 7, image 2 of 2
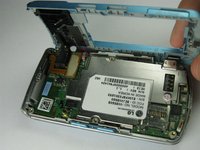
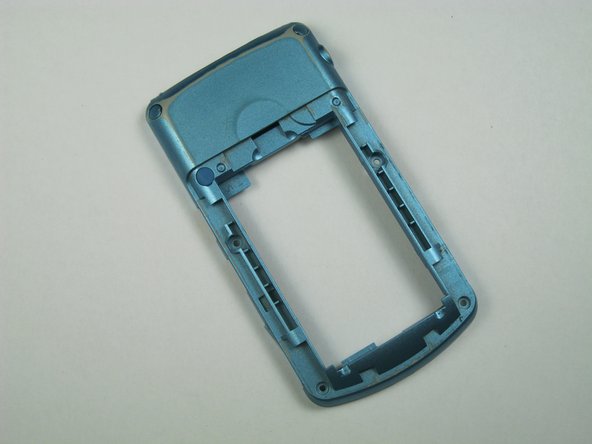
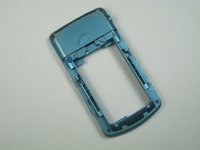
      • Carefully remove the rear case from the phone.

      Ask FixBot

      Add Comment

Conclusion

To reassemble your device, follow these instructions in reverse order.

Cancel: I did not complete this guide.

Brenna Yagade

Member since: 04/15/13

40 Reputation

6 Guides authored

Team

Cal Poly, Team 12-35, Amido Spring 2013 Member of Cal Poly, Team 12-35, Amido Spring 2013

CPSU-AMIDO-S13S12G35

5 Members

72 Guides authored

0 Guide Comments

Add Comment

View Statistics:

Past 24 Hours: 1

Past 7 Days: 3

Past 30 Days: 16

All Time: 617