
LG 440G Bottom Casing Replacement

Emily Class and 7 other contributors
Last updated on Jan 10, 2025
Views: 2.2K
View statistics:
- Past 24 Hours:
- 2
- Past 7 Days:
- 16
- Past 30 Days:
- 103
- All Time:
- 2,192
Comments: 1
1 guide comment.
Go to guide commentsCompleted: 0 1
No one has marked this guide "completed." Will you be the first?
1 person has marked this guide "completed." It's you — great job!
Favorites: 0 1
No one has favorited (and subscribed to) this guide. Will you be the first?
1 person has favorited (and subscribed to) this guide — and that's you!
Step Trimmer
This guide has unnecessary steps. Trim them to be more concise!
Introduction
Go to step 1 ↓This guide helps you to replace the rear casing of a LG 440G Phone.
The rear casing of your phone plays a crucial role in protecting its internal components from damage and wear. Over time, it can become cracked, scratched, or loose, compromising the phone's durability and appearance. Replacing the rear casing can restore your phone’s structural integrity and give it a refreshed look.
Before you begin, make sure that your phone is powered off and it is unplugged from the charger.
What you need
Tools


-
-
-
Turn the device off.
-
To do so, press and hold the red button.
 Ask FixBot
-
-
-
Slide the rear cover downward
-
Lift it off to access the battery
-
-
-
Locate the small rounded recess to get access to the battery
-
Gently, lift the battery
-
-
-
-
-
-
Use a Phillips #00 screw driver to remove six screws.
-
-
-
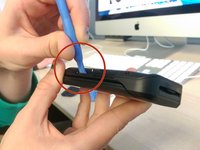
Run the plastic opening tool along the edge of the phone to release the casing cover.
-
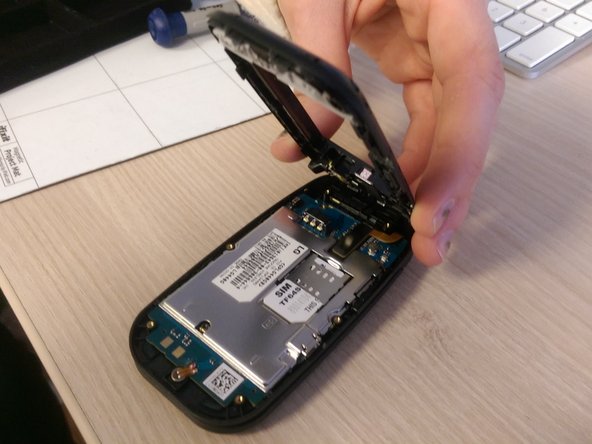
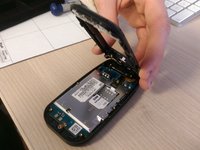
Lift the casing cover.
-
-


To reassemble your device, follow these instructions in reverse order.

Team

Ohio State, Team 1-1, Buehl Winter 2015 Member of Ohio State, Team 1-1, Buehl Winter 2015
OSU-BUEHL-W15S1G1
4 Members
48 Guides authored
1 Guide Comment
this would be most probably, the same guide to tear down the LG B470
