
LCD X2gen Display disassembly

Aleks and 5 other contributors
Last updated on Aug 6, 2024
Views: 2.8K
View statistics:
- Past 24 Hours:
- 3
- Past 7 Days:
- 35
- Past 30 Days:
- 153
- All Time:
- 2,793
Comments: 0
No one has left comments on this guide. Will you be first?
Go to guide commentsCompleted: 2 3
2 people have marked this guide "completed." Will you be next?
3 people have marked this guide "completed." Including you — great job!
Favorites: 5 6
5 people have favorited (and subscribed to) this guide. Will you be next?
6 people have favorited (and subscribed to) this guide — including you!
Action Shots
Be an action hero! This guide needs images that better demonstrate how to perform specific actions.
Needs Better Images
Better photos will improve this guide. Help out by taking, editing, or uploading new ones!
Needs More Images
A few more images would make this guide's procedures crystal clear.
Community-Contributed Guide
An awesome member of our community made this guide. It was not created by iFixit staff.
Better Introduction
Improve this guide by completing or revising its introduction.
What you need
Tools

-
-
-
Display viewed laying face down on the working table (my dining table)
-
Remove the 6 screws. 4 on the corners and 2 middle bottom.
-
-
-
Remove front bezel by lifting softly starting from the middle and moving out to the corners.
-
-
-
Front bezel removed.
-
Observe: the control board, bottom right.
-
exposed screws on both sides (4 left, 4 right) holding the LCD to the back cover.
-
-
-
Prepare to remove the 4 screws on each side to lift the LCD. Do not try to remove it after unscrewing the 8 screws. There are cables connected on the back.
-
This pic shows the right side
-
-
-
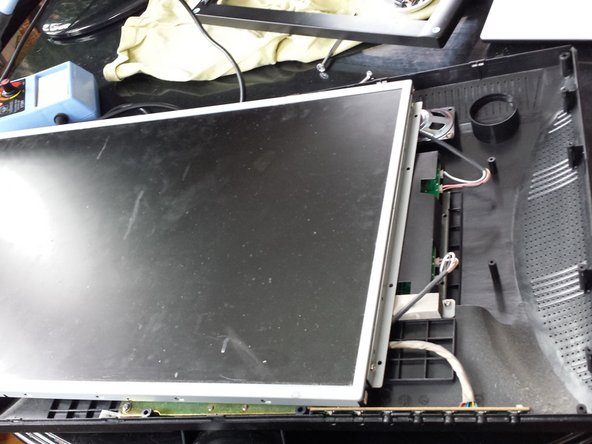
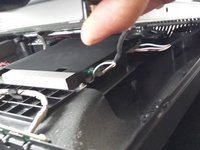
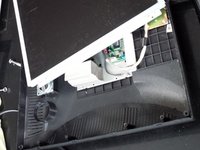
Lift carefully about 2 inch to expose the back light connections, 2 pink and 2 white.
-
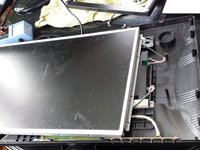
Slide the monitor to the left about 3-4 inch. to have access to the connections.
-
-
-
-
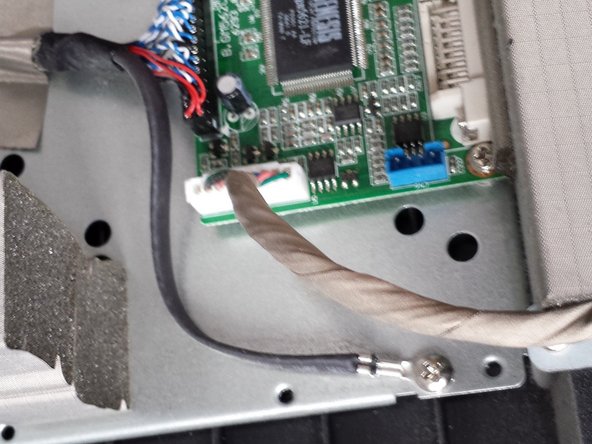
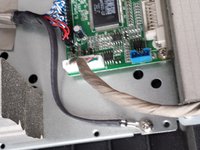
After removing the connectors, slide it about 3-5 inches to the right to have access to the data connector and ground
-

 Ask FixBot





To reassemble your device, follow these instructions in reverse order.
Cancel: I did not complete this guide.
2 other people completed this guide.

