
LCD Replacement

Nelson Oliveira and 2 other contributors
Last updated on Jul 23, 2024
Views: 634
View statistics:
- Past 24 Hours:
- 4
- Past 7 Days:
- 15
- Past 30 Days:
- 74
- All Time:
- 634
Comments: 0
No one has left comments on this guide. Will you be first?
Go to guide commentsCompleted: 0 1
No one has marked this guide "completed." Will you be the first?
1 person has marked this guide "completed." It's you — great job!
Favorites: 0 1
No one has favorited (and subscribed to) this guide. Will you be the first?
1 person has favorited (and subscribed to) this guide — and that's you!
Community-Contributed Guide
An awesome member of our community made this guide. It was not created by iFixit staff.
-
-
-
First ensure your laptop is turned off and check if you have the necessary tools
 Ask FixBot
-
-
-
All screws are identified by circles. Pay special attention to the yellow circles, as the rubber feet hide screws.
-
-
-
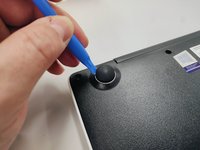
With the opening tool, remove a rubber foot.
-
For this action you will have to exert some force, because the foot is glued with a resistant glue.
-
-
-
Remove all screws with a Philips screwdriver PH1
-
All screws are the same so don't worry about identifying them.
-
-
-
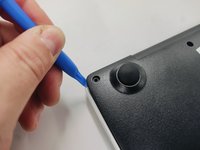
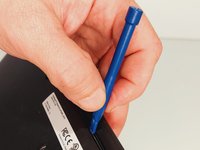
With the plastic tool, insert between the plastics and gently pry open.
-
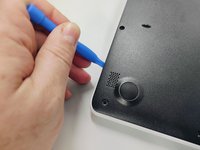
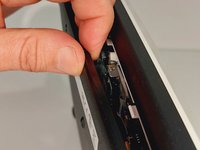
With your fingers continue to force open the bottom cover on the side indicated in the figure.
-
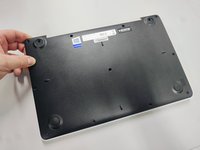
You will feel and hear several clicks, perfectly normal, nothing is breaking. Remove the cover completely.
-
-
-
-
Finally, we have the laptop open and ready to replace most of its components. Look elsewhere on how to replace a component.
-
To close the laptop just follow this guide in reverse.
-
-
-





To reassemble your device, follow the previous steps in inverse order.
Special thanks to these translators:
100%

David is helping us fix the world! Want to contribute?
Start translating ›

