Introduction
The motherboard may need replacing for a multitude of reasons. Perhaps the phone underwent severe water damage and hasn't worked the same since. Or maybe the touchscreen still isn't functional even after it's been replaced. Whatever the reason, this guide will help you get to and replace the motherboard.
What you need
-
-
-
Press down on the back of the phone, applying moderate pressure.
-
Slide the back casing down to separate it.
 Ask FixBot
-
-
-
Remove the back casing to expose the battery.
-
Use a plastic spudger to lift the battery out using the battery's groove on its top left corner.
-
-
-
-
-
-
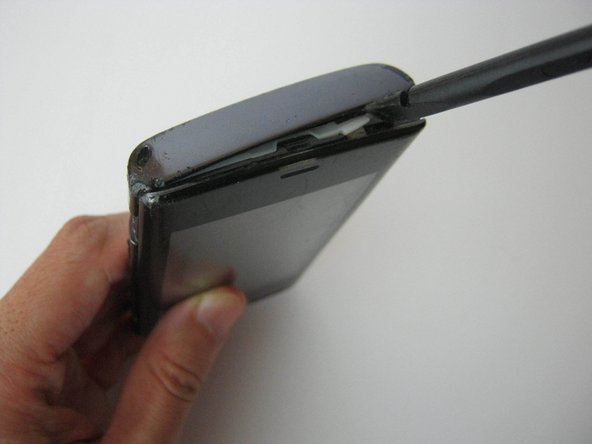
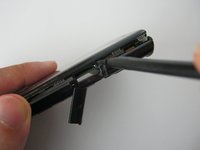
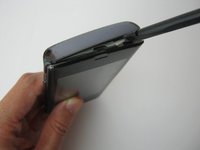
Insert the flat end of the spudger between the front and back panels, and pry it apart by running the spudger along the side to further separate them.
-
Go all the way around, prying as you go, until the back casing completely separates from the rest of the phone.
-
-
-
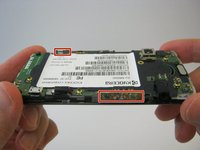
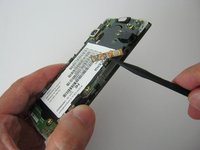
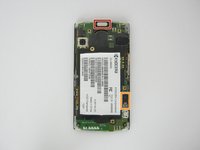
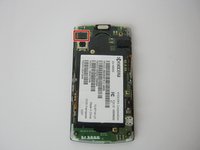
Unclip the two flex cables -- a small one located on the left side on the lower half of the motherboard, and a longer one on the right side, higher up.
-
-
-
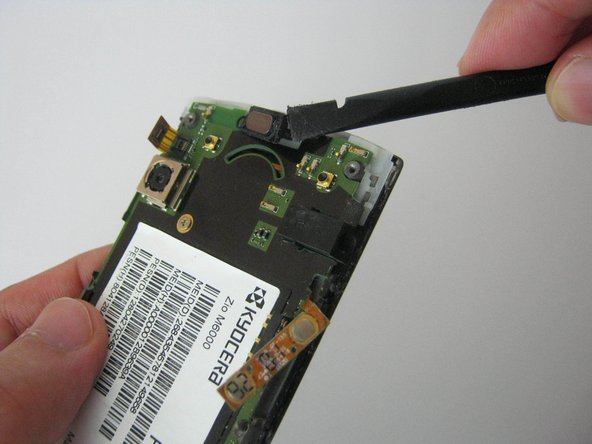
Pry out the earpiece speaker using the spudger.
-
Pry out the vibration motor using the spudger.
-
-
-
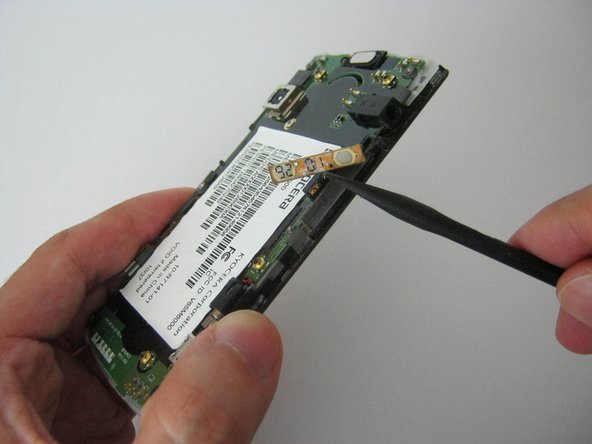
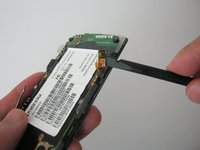
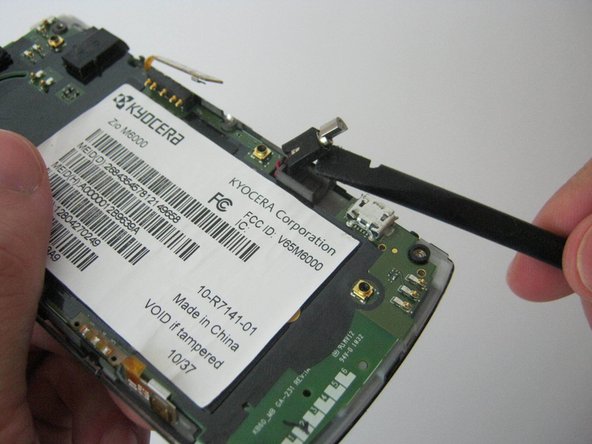
Place the flat end of the spudger underneath the digitizer connector and pry it up to disconnect it.
-
-
-
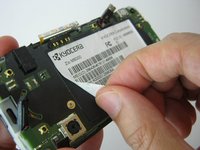
Remove the sticker to uncover the screws underneath.
-
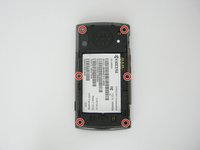
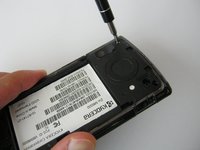
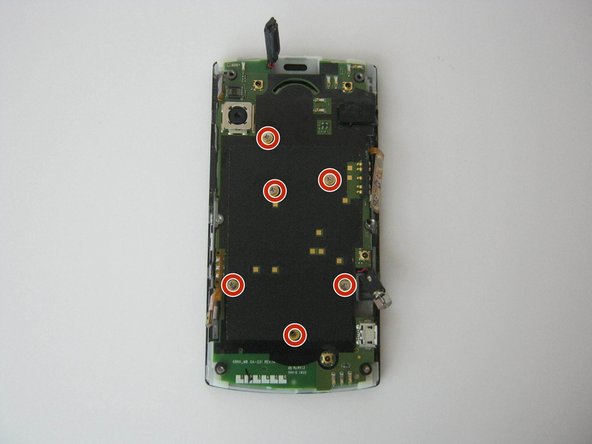
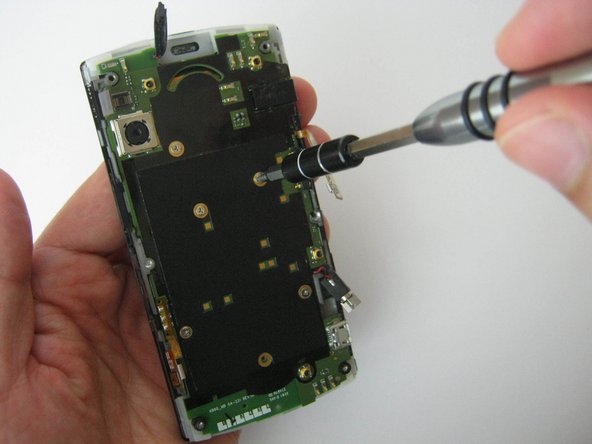
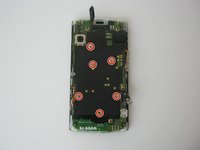
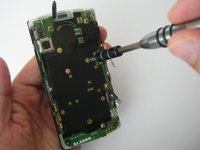
Remove the six 1.59 mm screws using a Phillips 00 screwdriver.
-
-
-
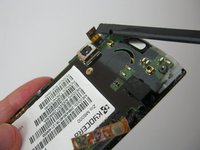
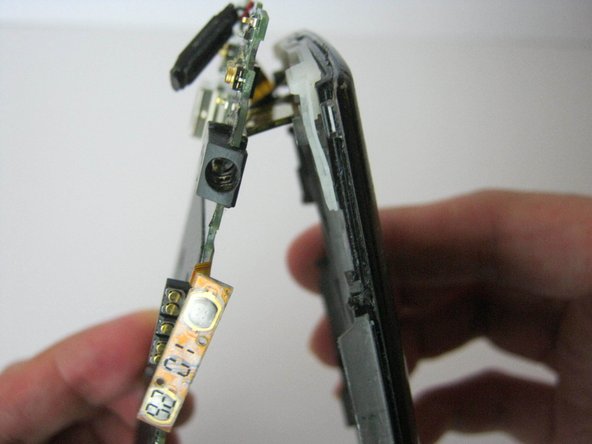
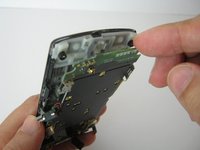
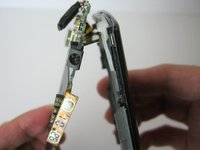
Lift the bottom portion of the motherboard away from the front panel.
-
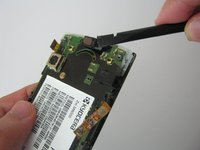
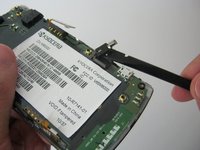
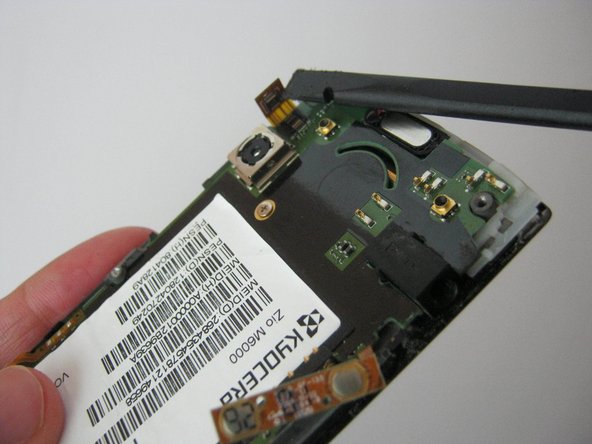
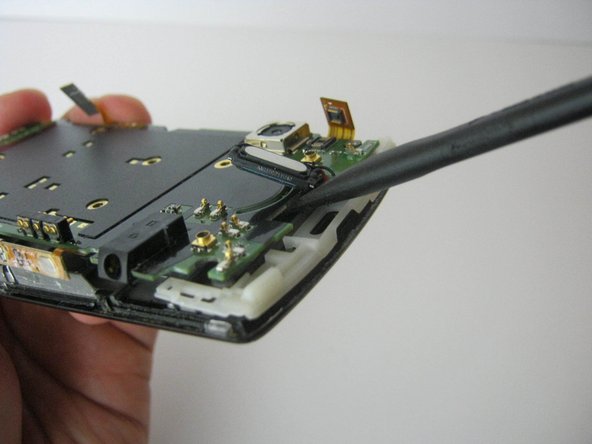
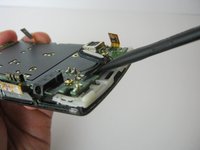
Insert the flat end of the spudger in between the panel and motherboard to unfasten the connector.
-









To reassemble your device, follow these instructions in reverse order.
Cancel: I did not complete this guide.
2 other people completed this guide.

Team

USF Sarasota-Manatee, Team 1-2, Stewart Fall 2015 Member of USF Sarasota-Manatee, Team 1-2, Stewart Fall 2015
USFSM-STEWART-F15S1G2
5 Members
180 Guides authored
