
Kyocera Hydro Vibe Trim Replacement

Phillip Newman and 2 other contributors
Last updated on May 10, 2016
Views: 1.1K
View statistics:
- Past 24 Hours:
- 3
- Past 7 Days:
- 21
- Past 30 Days:
- 96
- All Time:
- 1,119
Comments: 0
No one has left comments on this guide. Will you be first?
Go to guide commentsCompleted: 0 1
No one has marked this guide "completed." Will you be the first?
1 person has marked this guide "completed." It's you — great job!
Favorites: 2 3
2 people have favorited (and subscribed to) this guide. Will you be next?
3 people have favorited (and subscribed to) this guide — including you!
Introduction
Go to step 1 ↓If the trim becomes damaged, it may require replacement or repair. This guide will show you how to replace or repair the trim on your device.
What you need
Tools


-
-
-
Look for a small indentation on the bottom of the phone.
-
Insert the plastic opening tool into the indentation and lift off the back casing.
 Ask FixBot
-
-
-
The large white component is the battery. Look for a small indentation under the arrow that says "LIFT."
-
Place the plastic opening tool in the indentation and lift the battery out of the socket.
-
-
-
-
-
-
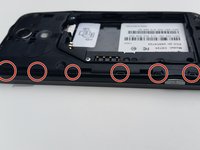
Locate the screws holding the trim which are the four side screws on each corner.
-
Remove each screw with a Phillips screw driver #J00. The screws are 5mm Phillips.
-
-
-
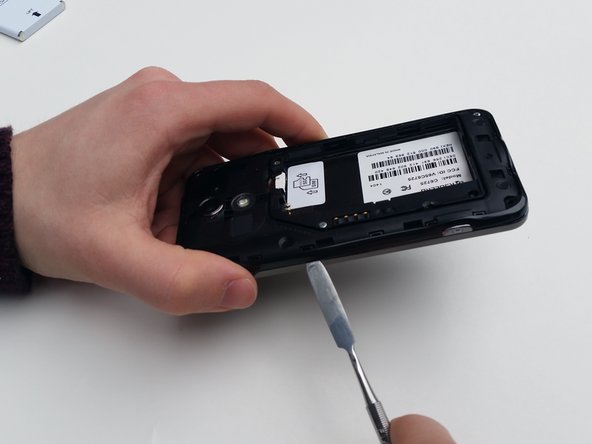
Locate the clasps holding the trim in place.
-
You will need to insert the metal spudger through the bottom of the trim and slowly push upwards to release the clasps.
-
-



To reassemble your device, follow these instructions in reverse order.

Team

University of Kentucky Louisville, Team 1-5, Matravers Spring 2016 Member of University of Kentucky Louisville, Team 1-5, Matravers Spring 2016
LOUISVILLE-MATRAVERS-S16S1G5
3 Members
72 Guides authored
