
Koosh Vortex Tornado Loading Spring Replacement

Lingbin Meng and 4 other contributors
Last updated on Dec 29, 2022
Views: 1.4K
View statistics:
- Past 24 Hours:
- 3
- Past 7 Days:
- 21
- Past 30 Days:
- 113
- All Time:
- 1,386
Comments: 0
No one has left comments on this guide. Will you be first?
Go to guide commentsCompleted: 0 1
No one has marked this guide "completed." Will you be the first?
1 person has marked this guide "completed." It's you — great job!
Favorites: 0 1
No one has favorited (and subscribed to) this guide. Will you be the first?
1 person has favorited (and subscribed to) this guide — and that's you!
Introduction
Go to step 1 ↓If your Koosh Vortex Tornado is not shooting as far as you would like, use this guide to replace the loading spring inside of the toy gun. The loading spring is used in the firing mechanism by priming the spring with the priming handle and releasing the spring using the trigger, pushing the projectile out at high speed.
Before using this guide, make sure that you have a replacement spring ready. The resistance of the spring is up to you. You can either replace the spring with the same spring but only newer, or choose to upgrade to a stronger spring that can shoot farther, but it can risk breaking the toy gun.
What you need
Tools


-
-
-
Remove the fourteen 15 mm Phillips #1 screws on the side of the body.
 Ask FixBot
-
-
-
Pull the halves of the toy gun apart to show the inside. Set the left half aside (all of the inside components are on the right half).
-
-
-
Using a spudger, unhook the barrel shield's spring from the right half of the toy gun. One side should still be connected to the shield barrel shield.
-
-
-
-
-
Slide the barrel shield and shield slide off of the gun and set aside.
-
-
-
-
-
Use a Phillips #1 screwdriver to unscrew the two 12 mm long washer head screws from the yellow loading bar lever.
-
-
-
-
Use a Phillips #1 Screwdriver to unscrew the six 10 mm long screws from the central firing assembly.
-
Use Phillips #1 Screwdriver to unscrew the four 9 mm long screws from the central firing assembly.
-
-
-
Pull the shell of the central firing assembly aside off (contains the loading spring).
-
-
-
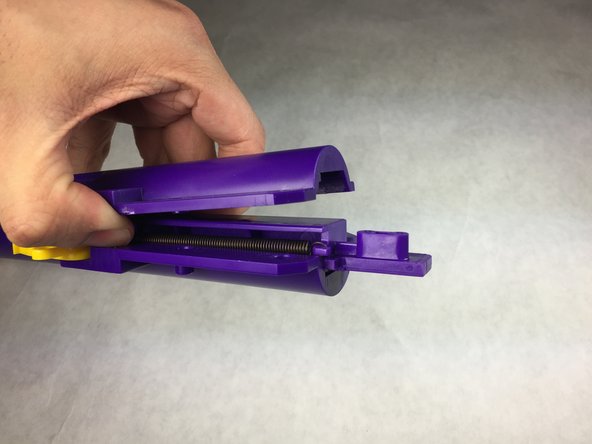
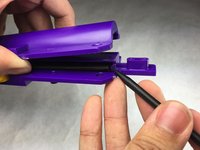
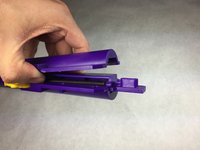
Open the back side of the central firing assembly apart to expose the loading spring. Remove it, and change it with your desired spring.
-
-


To reassemble your device, follow these instructions in reverse order.

Team

IUPUI, Team 2-4, Harley Spring 2016 Member of IUPUI, Team 2-4, Harley Spring 2016
IUPUI-HARLEY-S16S2G4
4 Members
36 Guides authored
