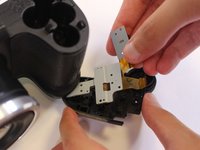
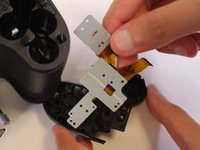
Free Shipping on Domestic Orders $75+

Kodak PixPro AZ251 Shutter Button Replacement

What you need

  1. Kodak PixPro AZ251 Shutter Button Replacement, Batteries: step 1, image 1 of 2 Kodak PixPro AZ251 Shutter Button Replacement, Batteries: step 1, image 2 of 2
    • Slide switch to open lock position.

    Ask FixBot

    Add Comment

  2. Kodak PixPro AZ251 Shutter Button Replacement: step 2, image 1 of 2 Kodak PixPro AZ251 Shutter Button Replacement: step 2, image 2 of 2
    • Press down on the battery cover and slide outwards to open.

    Ask FixBot
    Add Comment

  3. Kodak PixPro AZ251 Shutter Button Replacement: step 3, image 1 of 1
    • Remove the batteries.

    Ask FixBot
    Add Comment

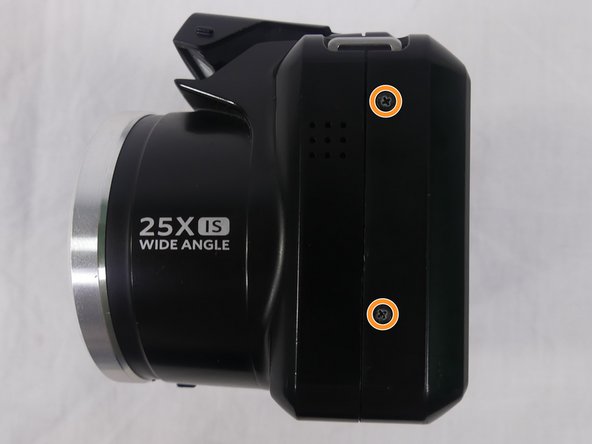
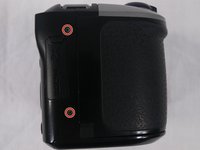
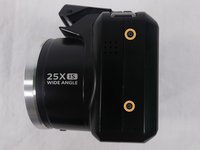
  4. Kodak PixPro AZ251 Shutter Button Replacement, Back Cover: step 4, image 1 of 3 Kodak PixPro AZ251 Shutter Button Replacement, Back Cover: step 4, image 2 of 3 Kodak PixPro AZ251 Shutter Button Replacement, Back Cover: step 4, image 3 of 3
    • Remove a total of four 5mm JIS #000 screws from around the camera:

    • Two screws from the right side.

    • Two screws from the left side.

    Ask FixBot

    Add Comment

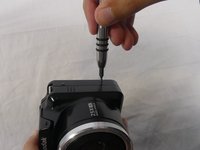
  5. Kodak PixPro AZ251 Shutter Button Replacement: step 5, image 1 of 1
    • Remove the single 5mm Phillips #00 screw from the bottom.

    Ask FixBot
    Add Comment

  6. Kodak PixPro AZ251 Shutter Button Replacement: step 6, image 1 of 2 Kodak PixPro AZ251 Shutter Button Replacement: step 6, image 2 of 2
    • Open the flash module.

    • Remove the two 6mm JIS #00 screws found inside of the flash housing.

    Ask FixBot
    Add Comment

  7. Kodak PixPro AZ251 Shutter Button Replacement: step 7, image 1 of 3 Kodak PixPro AZ251 Shutter Button Replacement: step 7, image 2 of 3 Kodak PixPro AZ251 Shutter Button Replacement: step 7, image 3 of 3
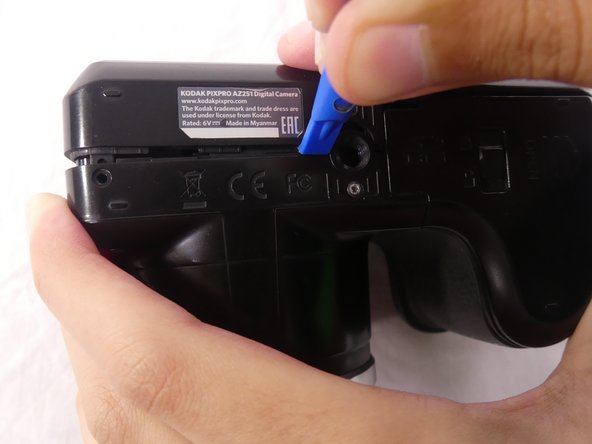
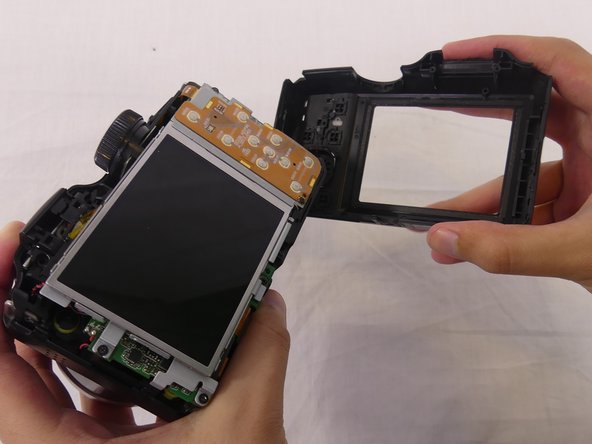
    • Use a plastic opening tool to pry apart both halves of the camera.

    • Remove the back panel.

    Ask FixBot
    Add Comment

  8. Kodak PixPro AZ251 Shutter Button Replacement, LCD Screen: step 8, image 1 of 2 Kodak PixPro AZ251 Shutter Button Replacement, LCD Screen: step 8, image 2 of 2
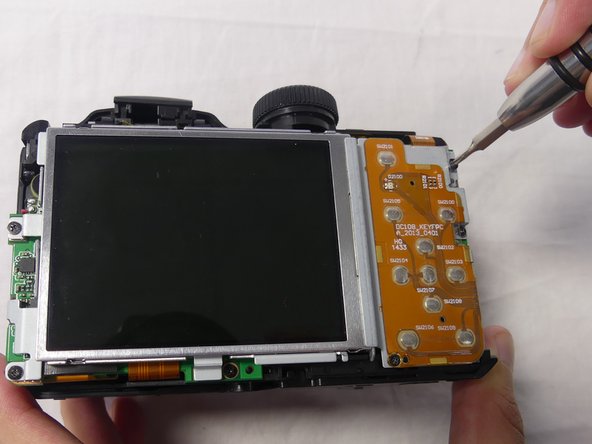
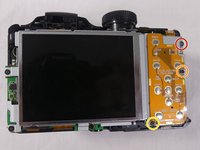
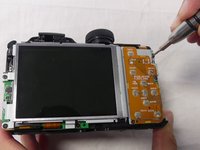
    • Remove these three JIS #000 screws from the control board:

    • 5mm screw.

    • 4mm screw.

    • 2mm screw.

    Ask FixBot

    Add Comment

  9. Kodak PixPro AZ251 Shutter Button Replacement: step 9, image 1 of 1
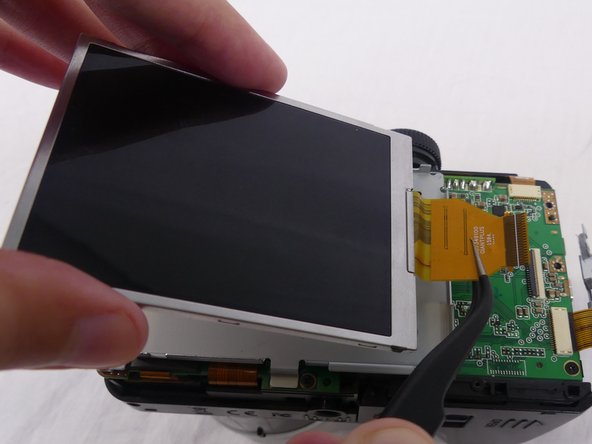
    • Pull the small metal switch plate to the side.

    Ask FixBot
    Add Comment

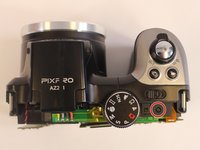
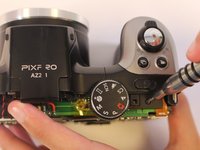
  10. Kodak PixPro AZ251 Shutter Button Replacement: step 10, image 1 of 2 Kodak PixPro AZ251 Shutter Button Replacement: step 10, image 2 of 2
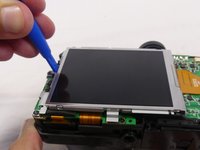
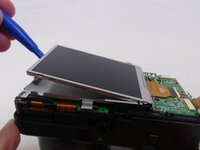
    • Pry the LCD screen out of the metal housing plate with a plastic opening tool.

    Ask FixBot
    Add Comment
  11. Kodak PixPro AZ251 Shutter Button Replacement: step 11, image 1 of 2 Kodak PixPro AZ251 Shutter Button Replacement: step 11, image 2 of 2
    • Use a spudger to flip up the retaining flap on the display ribbon cable ZIF socket.

    • Pull the orange cable out of the socket.

    Ask FixBot

    Add Comment

  12. Kodak PixPro AZ251 Shutter Button Replacement, Shutter Button: step 12, image 1 of 2 Kodak PixPro AZ251 Shutter Button Replacement, Shutter Button: step 12, image 2 of 2
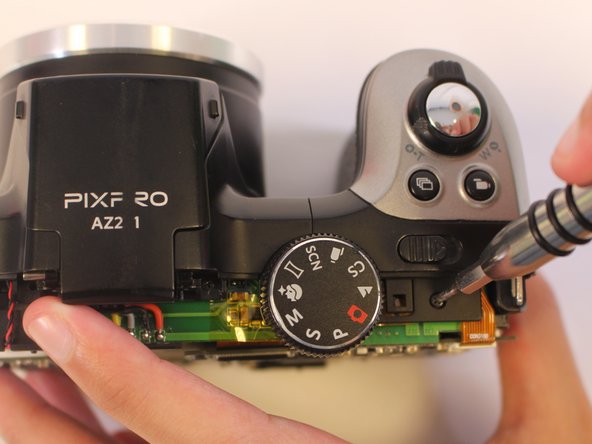
    • Remove one 4mm JIS #000 screw from the top of the camera.

    Ask FixBot

    Add Comment

  13. Kodak PixPro AZ251 Shutter Button Replacement: step 13, image 1 of 2 Kodak PixPro AZ251 Shutter Button Replacement: step 13, image 2 of 2
    Tool used on this step:
    Tweezers
    $4.99
    Buy
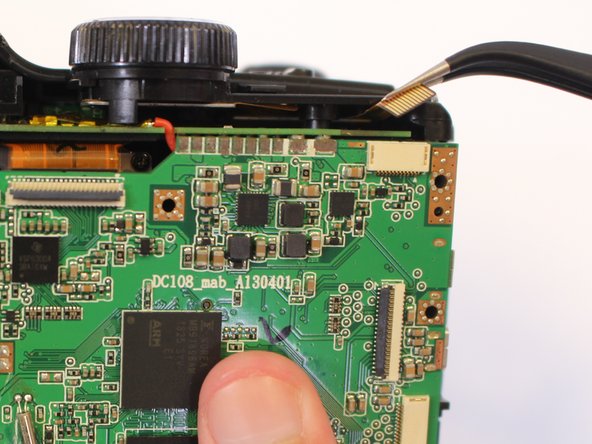
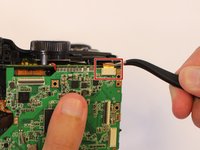
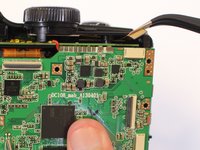
    • Using tweezers, disconnect the orange cable connection at the top of the motherboard.

    Ask FixBot

    Add Comment

  14. Kodak PixPro AZ251 Shutter Button Replacement: step 14, image 1 of 2 Kodak PixPro AZ251 Shutter Button Replacement: step 14, image 2 of 2
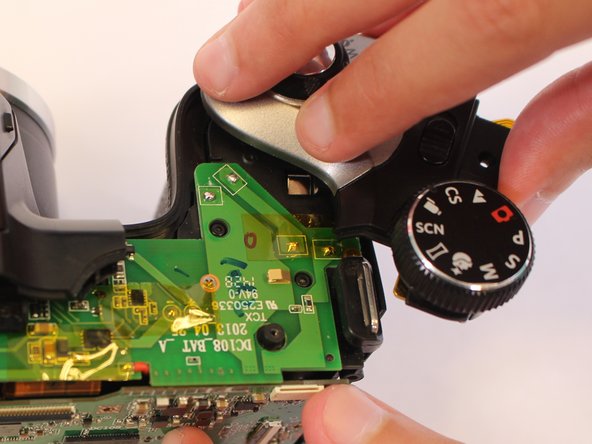
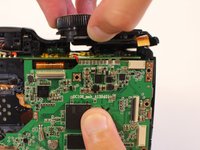
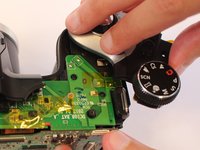
    • Pull the mode dial up and off of the camera.

    • Rotate carefully to avoid breaking the screw attaching the top side cover to the main body of the camera.

    Ask FixBot

    Add Comment

  15. Kodak PixPro AZ251 Shutter Button Replacement: step 15, image 1 of 2 Kodak PixPro AZ251 Shutter Button Replacement: step 15, image 2 of 2
    • Turn camera upside down.

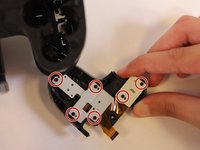
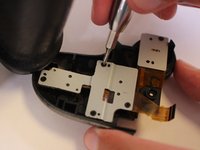
    • Remove the six 2mm JIS #000 screws from the metal base of the shutter button.

    Ask FixBot

    Add Comment

  16. Kodak PixPro AZ251 Shutter Button Replacement: step 16, image 1 of 2 Kodak PixPro AZ251 Shutter Button Replacement: step 16, image 2 of 2
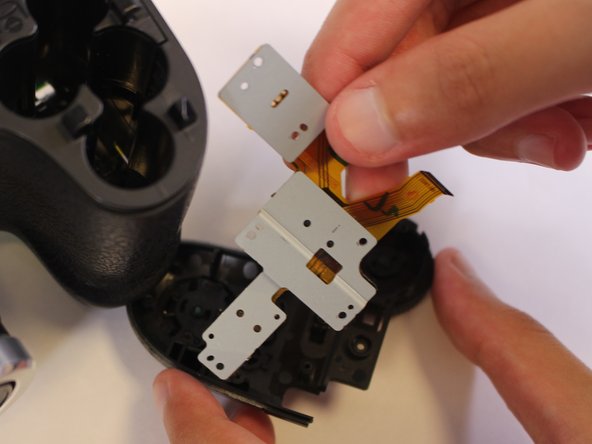
    • Remove the metal base and ribbon cables.

    Ask FixBot

    Add Comment

  17. Kodak PixPro AZ251 Shutter Button Replacement: step 17, image 1 of 1
    • While holding the shutter button in place, remove the two 4mm JIS #000 screws from the base.

    Ask FixBot

    Add Comment

  18. Kodak PixPro AZ251 Shutter Button Replacement: step 18, image 1 of 1
    • Remove the plastic base of the shutter button using tweezers by pulling it straight upward.

    Ask FixBot

    Add Comment

  19. Kodak PixPro AZ251 Shutter Button Replacement: step 19, image 1 of 1
    • Remove the shutter button by pulling it out from the bottom side of the top cover.

    Ask FixBot

    Add Comment

Conclusion

To reassemble your device, follow these instructions in reverse order.

Cancel: I did not complete this guide.

Rachel Llewellyn

Member since: 02/22/18

509 Reputation

3 Guides authored

Team

USF Tampa, Team S1-G1, Cagle Spring 2018 Member of USF Tampa, Team S1-G1, Cagle Spring 2018

USFT-CAGLE-S18S1G1

4 Members

7 Guides authored

0 Guide Comments

Add Comment

View Statistics:

Past 24 Hours: 1

Past 7 Days: 8

Past 30 Days: 41

All Time: 1,355