Free Shipping on Domestic Orders $75+

Kodak Easyshare C183 Lens Assembly Replacement

What you need

  1. Kodak Easyshare C183 Lens Assembly Replacement, Lens: step 1, image 1 of 3 Kodak Easyshare C183 Lens Assembly Replacement, Lens: step 1, image 2 of 3 Kodak Easyshare C183 Lens Assembly Replacement, Lens: step 1, image 3 of 3
    • Remove the batteries, memory card and wrist strap, if so equipped.

    • Remove the three Phillips screws on the bottom.

    • Remove the two Phillips screws on the right hand side.

    Ask FixBot

    Add Comment

  2. Kodak Easyshare C183 Lens Assembly Replacement: step 2, image 1 of 3 Kodak Easyshare C183 Lens Assembly Replacement: step 2, image 2 of 3 Kodak Easyshare C183 Lens Assembly Replacement: step 2, image 3 of 3
    • Remove the two screws on the left hand side.

    • Nicely enough, all the screws are the same size. No need to keep them separated.

    • Start splitting the case from the battery holder. You can use an opening tool or just your fingernails.

    Ask FixBot

    Add Comment

  3. Kodak Easyshare C183 Lens Assembly Replacement: step 3, image 1 of 3 Kodak Easyshare C183 Lens Assembly Replacement: step 3, image 2 of 3 Kodak Easyshare C183 Lens Assembly Replacement: step 3, image 3 of 3
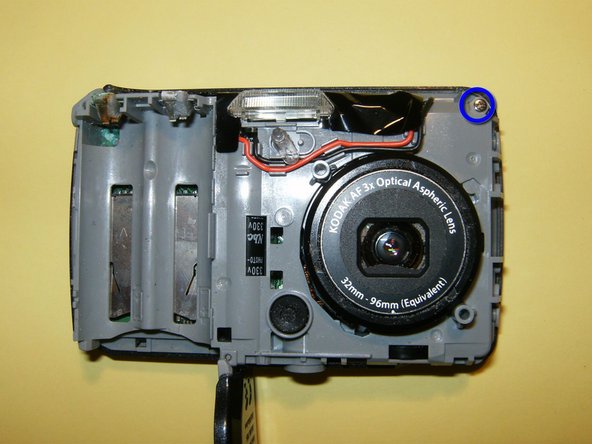
    • The camera's front half will come off first.

    • Remove the one screw on the top left of the camera. It this holds the back case on to the midframe.

    • Remove the back case.

    Ask FixBot

    Add Comment

  4. Kodak Easyshare C183 Lens Assembly Replacement: step 4, image 1 of 3 Kodak Easyshare C183 Lens Assembly Replacement: step 4, image 2 of 3 Kodak Easyshare C183 Lens Assembly Replacement: step 4, image 3 of 3
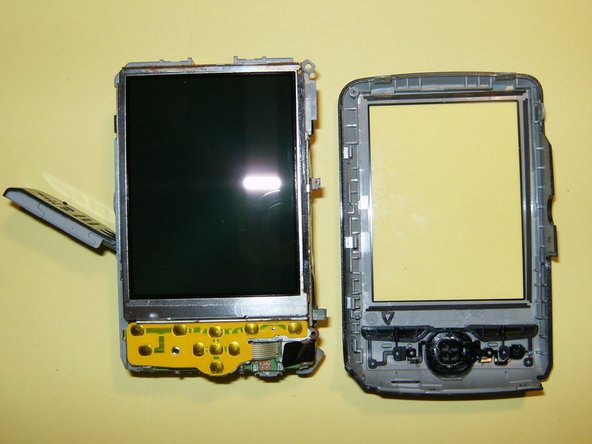
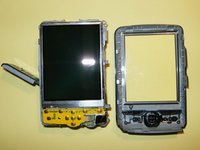
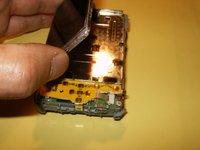
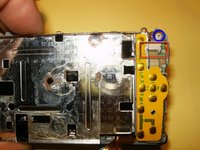
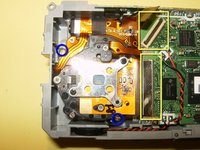
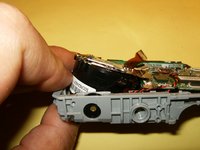
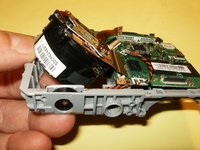
    • Gently move the LCD out of the holder. DO NOT TRY TO REMOVE THE LCD. Just fold it over.

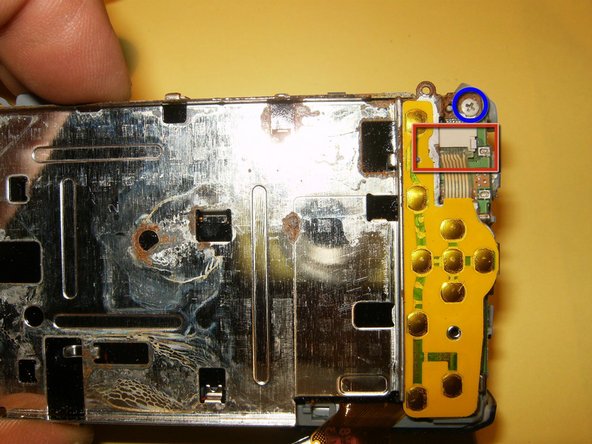
    • Remove the one screw on the top corner of the holder.

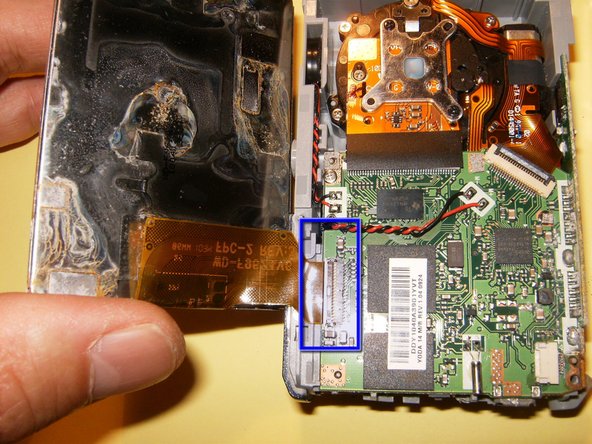
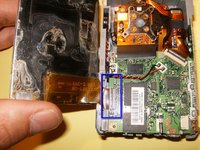
    • Remove the ribbon cable from its connector. It is just pushed in. there are not clips to move. Gently pull it straight down.

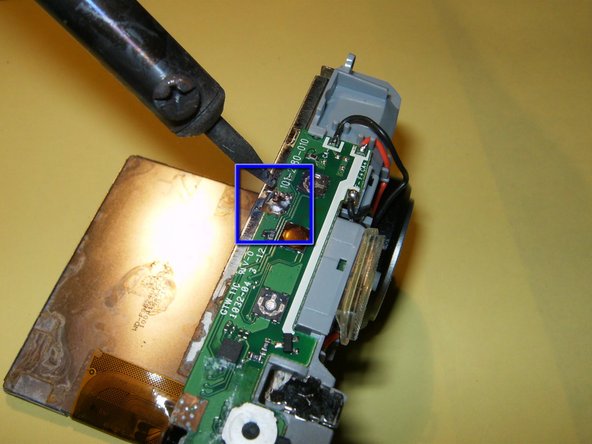
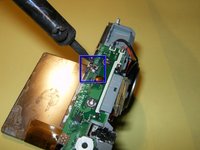
    • Remove the solder that connects the LCD holder to the top logic board.

    Ask FixBot

    Add Comment

  5. Kodak Easyshare C183 Lens Assembly Replacement: step 5, image 1 of 3 Kodak Easyshare C183 Lens Assembly Replacement: step 5, image 2 of 3 Kodak Easyshare C183 Lens Assembly Replacement: step 5, image 3 of 3
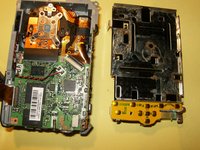
    • The LCD holding board and the switches are removed as one unit.

    • Open the clip on the LCD ribbon cable connector. Use your fingernails to gently pull it toward the top of the camera.

    • Remove the LCD.

    Ask FixBot

    Add Comment

  6. Kodak Easyshare C183 Lens Assembly Replacement: step 6, image 1 of 3 Kodak Easyshare C183 Lens Assembly Replacement: step 6, image 2 of 3 Kodak Easyshare C183 Lens Assembly Replacement: step 6, image 3 of 3
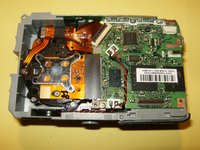
    • Open the connectors for the CCD and the lens. Both use a clip that hold the cable is places. Move those gently into the opposite direction of the cables. this will free the cable.

    • Remove the two screws that hold the lens in place.

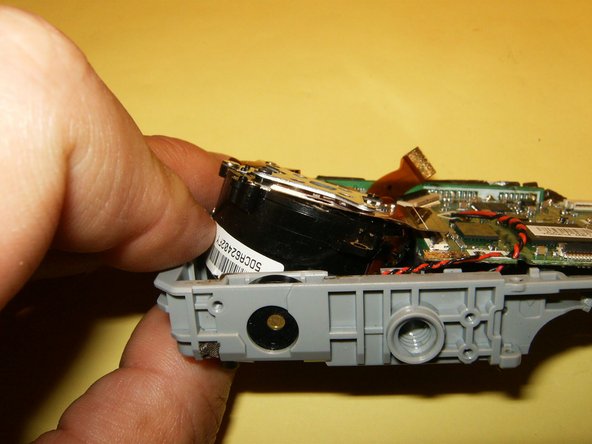
    • With the screws and the cables removed, use your fingers and push the lens upward and angled out of the midframe.

    Ask FixBot

    Add Comment

  7. Kodak Easyshare C183 Lens Assembly Replacement: step 7, image 1 of 1
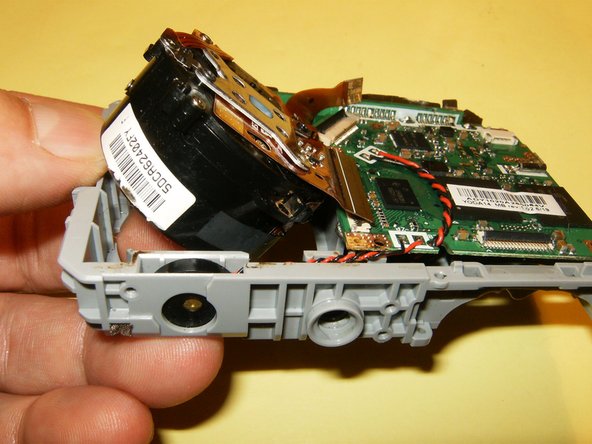
    • This is what your final result should look like. the lens is now free from the midframe and a new lens can be easily installed.

    Ask FixBot

    Add Comment

Conclusion

To reassemble your device, follow these instructions in reverse order.

Cancel: I did not complete this guide.

2 other people completed this guide.

oldturkey03

Member since: 09/29/10

856,162 Reputation

123 Guides authored

3 Guide Comments

ممنون از اطلاعات تان

hamid kaker - Reply Share

خواهش میکنم. امیدوارم کمک کرده باشد.

oldturkey03 - Reply Share

More I have this camera but I don't know what went wrong, so what went wrong, it is not on camera.

Mohd Ayaz - Reply Share

Add Comment

View Statistics:

Past 24 Hours: 4

Past 7 Days: 15

Past 30 Days: 89

All Time: 2,649