Free Shipping on Domestic Orders $75+

Kodak EasyShare M381 Screen Replacement

What you need

  1. Kodak EasyShare M381 Screen Replacement, Battery: step 1, image 1 of 2 Kodak EasyShare M381 Screen Replacement, Battery: step 1, image 2 of 2
    • First, press in and slide forward the battery latch as indicated by the arrow.

    Ask FixBot

    Add Comment

  2. Kodak EasyShare M381 Screen Replacement: step 2, image 1 of 1
    • Press down on battery until you hear a click and release it. Battery should easily slide out.

    Ask FixBot

    Add Comment

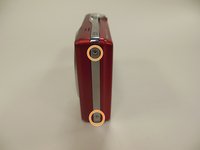
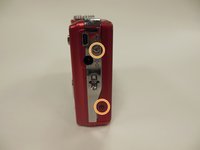
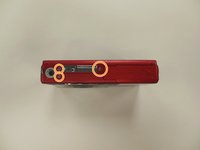
  3. Kodak EasyShare M381 Screen Replacement, Back Panel Frame: step 3, image 1 of 3 Kodak EasyShare M381 Screen Replacement, Back Panel Frame: step 3, image 2 of 3 Kodak EasyShare M381 Screen Replacement, Back Panel Frame: step 3, image 3 of 3
    • Remove the 3.9 mm frame screws using a Phillips #00 screwdriver.

    • Using a magnetized surface to keep from losing screws may be very helpful.

    Ask FixBot

    Add Comment

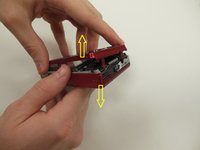
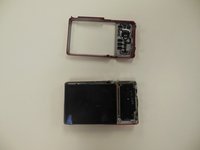
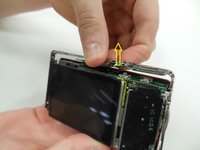
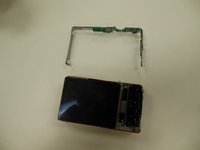
  4. Kodak EasyShare M381 Screen Replacement: step 4, image 1 of 2 Kodak EasyShare M381 Screen Replacement: step 4, image 2 of 2
    • Using both hands, carefully pull the frame apart from the camera.

    Ask FixBot

    Add Comment

  5. Kodak EasyShare M381 Screen Replacement, Screen: step 5, image 1 of 1
    • Remove the two 3.85 mm screws on the bottom right of the camera, as indicated.

    Ask FixBot

    Add Comment

  6. Kodak EasyShare M381 Screen Replacement: step 6, image 1 of 1
    • Remove dial button located on top of camera, by gently pulling up.

    Ask FixBot

    Add Comment

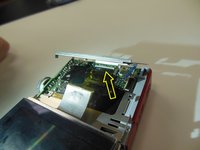
  7. Kodak EasyShare M381 Screen Replacement: step 7, image 1 of 2 Kodak EasyShare M381 Screen Replacement: step 7, image 2 of 2
    • Starting at one side, carefully work the chrome frame off of the camera itself.

    • Be careful not to disturb the shutter or flash buttons on top of the camera.

    Ask FixBot

    Add Comment

  8. Kodak EasyShare M381 Screen Replacement: step 8, image 1 of 1
    • On the right side of the camera, locate and remove the two 3.25 mm screws as highlighted.

    Ask FixBot

    Add Comment

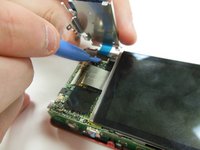
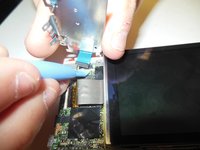
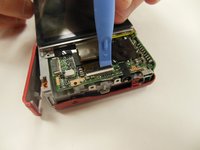
  9. Kodak EasyShare M381 Screen Replacement: step 9, image 1 of 3 Kodak EasyShare M381 Screen Replacement: step 9, image 2 of 3 Kodak EasyShare M381 Screen Replacement: step 9, image 3 of 3
    • Carefully lift the motherboard panel up, pulling towards the left. Make sure you do not rip the blue ribbon.

    • Using a plastic opening tool, gently lift up on the ribbon fastener until it is in an upright position.

    • Slide panel away from camera.

    Ask FixBot

    Add Comment

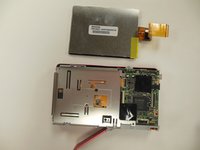
  10. Kodak EasyShare M381 Screen Replacement: step 10, image 1 of 2 Kodak EasyShare M381 Screen Replacement: step 10, image 2 of 2
    • Using a plastic opening tool, gently lift ribbon clamp as indicated to remove the screen ribbon from the motherboard.

    • Screen should now be detached. Gently lift it away from the base of the camera.

    Ask FixBot

    Add Comment

Conclusion

To reassemble your device, follow these instructions in reverse order.

Cancel: I did not complete this guide.

0 Guide Comments

Add Comment

View Statistics:

Past 24 Hours: 0

Past 7 Days: 3

Past 30 Days: 34

All Time: 885