
Kodak EasyShare LS743 Capacitor Replacement

Elizabeth Loui and 9 other contributors
Last updated on May 7, 2024
Views: 3K
View statistics:
- Past 24 Hours:
- 2
- Past 7 Days:
- 23
- Past 30 Days:
- 100
- All Time:
- 2,956
Comments: 0
No one has left comments on this guide. Will you be first?
Go to guide commentsCompleted: 1 2
1 person has marked this guide "completed." Will you be next?
2 people have marked this guide "completed." Including you — great job!
Favorites: 1 2
1 person has favorited (and subscribed to) this guide. Will you be next?
2 people have favorited (and subscribed to) this guide — including you!
Better Introduction
Improve this guide by completing or revising its introduction.
Introduction
Go to step 1 ↓This will teach you how to remove the capacitor in your Kodak EasyShare LS743.
What you need
Tools


-
-
-
Slide the orange latch sideways to eject the battery.
-
Remove the battery from the battery slot.
-
-
-
-
Using a Phillips #00 screwdriver, remove two 5.39 mm screws next to the battery slot.
-
Remove the metal piece holding down the lanyard, then remove the lanyard.
-
-
-
Using a Phillips #00 screwdriver, remove seven screws located on the outside case of the camera.
-
One 6.25 mm screw is located on the top right corner, right to the "OK" button.
-
Four 4.45 mm screws are on the bottom of the camera.
-
Two 2.95 mm screws are on the left side of the camera, above the USB port.
-
-
-
-
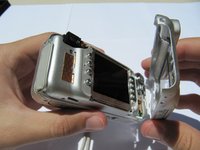
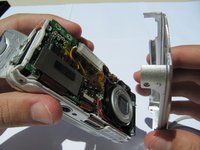
Carefully remove the rear camera casing.
-
Carefully remove the front camera casing.
-
-
-
-
Tool used on this step:Tweezers$4.99
-
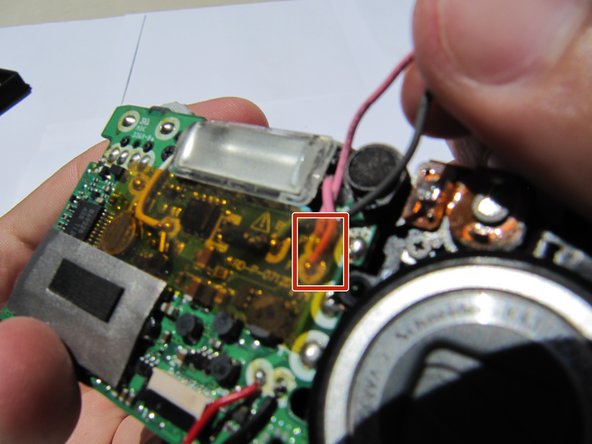
Connect the two capacitor wires briefly with a pair of metal tweezers to discharge the capacitor. You may see a small spark.
-
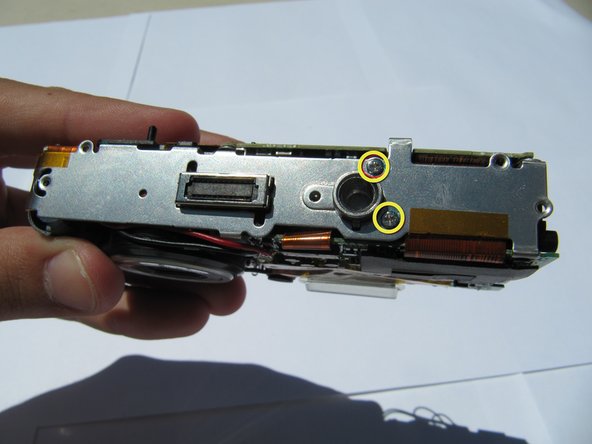
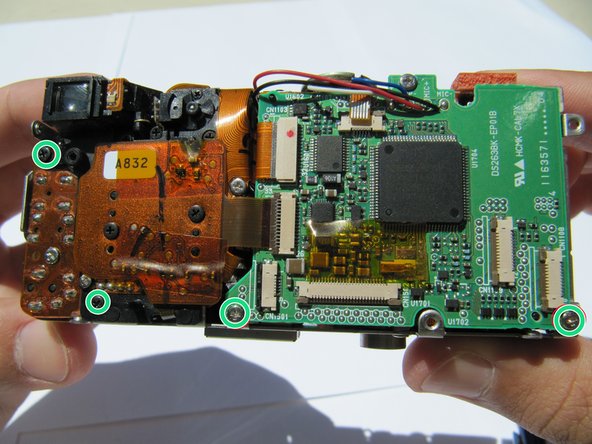
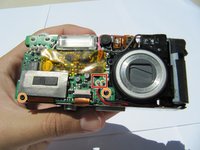
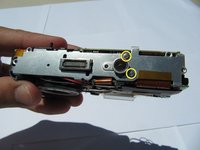
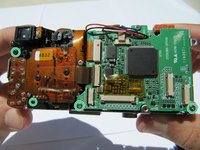
Remove eight screws using a Phillips #00 screwdriver.
-
Two (4.31 mm) screws are in the front of the camera.
-
Two (3.30 mm) screws are located in the bottom of the camera.
-
Four (3 x 3.33 mm and 1 x 4.34 mm) screws are in the back of the camera.
-
-
-
Pull the black latch outward slightly to release the orange flex cable.
-
Carefully disconnect the orange flex cable.
-
-
-
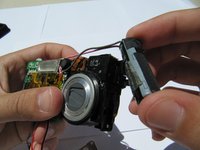
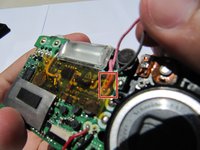
Hold the camera firmly and gently remove the capacitor (attached by adhesive) by wiggling it loose.
-
Desolder the pink and black wire and remove both of them.
-
-

 Ask FixBot





To reassemble your device, follow these instructions in reverse order.
Cancel: I did not complete this guide.
One other person completed this guide.

Team

Cal Poly, Team 2-8, Johann Summer 2010 Member of Cal Poly, Team 2-8, Johann Summer 2010
CPSU-JOHANN-R10S2G8
5 Members
96 Guides authored
