Free Shipping on Domestic Orders $75+

KitchenAid KSB5CR Motor Replacement

What you need

  1. KitchenAid KSB5CR Motor Replacement, Removing the Back Panel Part 1: step 1, image 1 of 3 KitchenAid KSB5CR Motor Replacement, Removing the Back Panel Part 1: step 1, image 2 of 3 KitchenAid KSB5CR Motor Replacement, Removing the Back Panel Part 1: step 1, image 3 of 3
    • Remove the glass container and place the blender upside down on a solid surface.

    • Remove the four rubber feet using the needle nose pliers.

    • Remove the four #7.5 Phillips 25mm screws that were located underneath the rubber feet using the Phillips #2 screwdriver.

    Ask FixBot
  2. KitchenAid KSB5CR Motor Replacement, Removing the Back Panel Part 2: step 2, image 1 of 1
    • Lift the back panel up, sliding it along the power cord.

    Ask FixBot
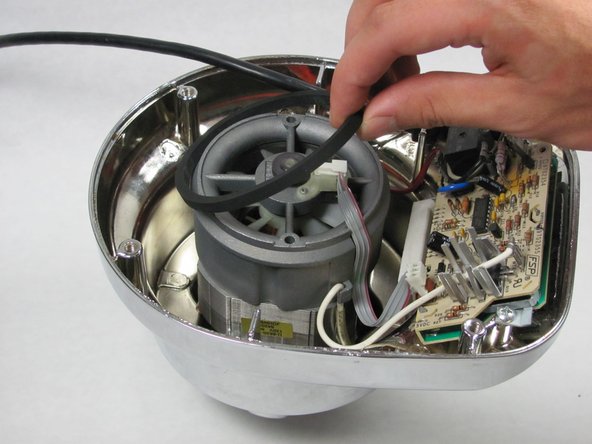
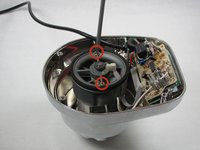
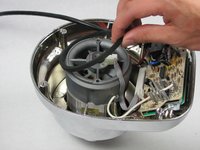
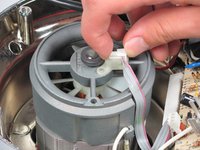
  3. KitchenAid KSB5CR Motor Replacement, Removing the Fan Chassis Part 1: step 3, image 1 of 3 KitchenAid KSB5CR Motor Replacement, Removing the Fan Chassis Part 1: step 3, image 2 of 3 KitchenAid KSB5CR Motor Replacement, Removing the Fan Chassis Part 1: step 3, image 3 of 3
    • Remove the two #5 Phillips 95 mm machine screws using the Phillips #2 screwdriver.

    • Remove the rubber O-ring by lifting it up.

    • Remove the ribbon cable from the chassis by lifting it up.

    Ask FixBot
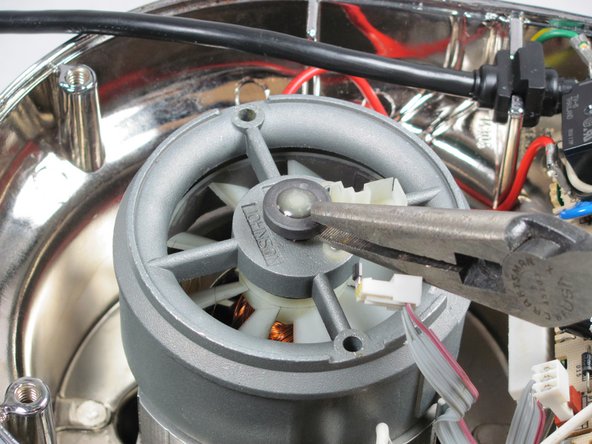
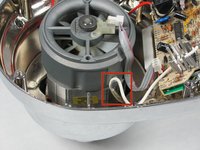
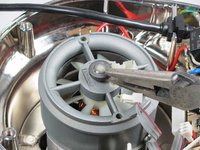
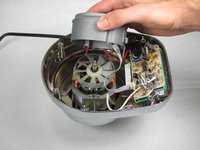
  4. KitchenAid KSB5CR Motor Replacement, Removing the Fan Chassis Part 2: step 4, image 1 of 3 KitchenAid KSB5CR Motor Replacement, Removing the Fan Chassis Part 2: step 4, image 2 of 3 KitchenAid KSB5CR Motor Replacement, Removing the Fan Chassis Part 2: step 4, image 3 of 3
    • Unhook the white wire that is looped around the peg by pulling it out of the clip.

    • Repeat this process with the red wire on the other side of the chassis.

    • Remove the end cap using the 8" needle nose pliers.

    • Pull up the fan chassis.

    Ask FixBot
  5. KitchenAid KSB5CR Motor Replacement, Removing the Fan: step 5, image 1 of 1
    • Remove the fan by lifting it upwards.

    • This step is difficult and requires force. Use of both hands is recommended.

    Ask FixBot
  6. KitchenAid KSB5CR Motor Replacement, Removing the Metal Cap: step 6, image 1 of 1
    • Use the needle nose pliers to turn the coupling clockwise to loosen it.

    Ask FixBot
  7. KitchenAid KSB5CR Motor Replacement, Removing the Screws: step 7, image 1 of 1
    • Rotate the blender 90 degrees clockwise.

    • Remove the two #8 Phillips 12 mm screws using the Phillips #2 screwdriver.

    Ask FixBot
  8. KitchenAid KSB5CR Motor Replacement, Detatching the Wire: step 8, image 1 of 1
    • Slide the knife in the metal loop holding the insulation before the white copper wire, and wiggle the knife back and forth until it loosens.

    • Pull the wire out from the metal loop that you loosened.

    Ask FixBot
  9. KitchenAid KSB5CR Motor Replacement, Removing the Motor: step 9, image 1 of 1
    • Lift the motor up out of the chassis.

    Ask FixBot
Conclusion

To reassemble your device, follow these instructions in reverse order.

One other person completed this guide.

Cameron Geehr

Member since: 09/28/14

745 Reputation

6 Guides authored

Team

Cal Poly, Team 12-5, Forte Fall 2014 Member of Cal Poly, Team 12-5, Forte Fall 2014

CPSU-FORTE-F14S12G5

5 Members

6 Guides authored

0 Guide Comments

Add Comment

View Statistics:

Past 24 Hours: 3

Past 7 Days: 14

Past 30 Days: 37

All Time: 4,716