Introduction
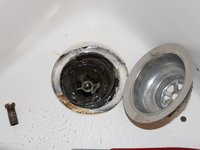
It's normal for the pieces of your sink to degrade over time, and sometimes these degradations cause leaks beneath your sink. A kitchen sink basket is a typical component that needs to be replaced due to cracks, leaks, or wear. If you have leaks under your sink that originate from the top part of the drain pipe that connects to the sink basin, you may need to replace your sink’s basket strainer, as this is the interface between the drain and sink. This tutorial will guide you on how to replace your old basket strainer with a new one.
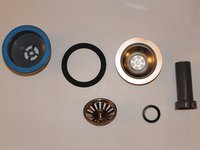
What you need
-
-
Shut off the hot and cold water supply valves under the sink.
-
Turn the handles clockwise and make sure the water is off before moving on.
 Ask FixBot
-
-
-
Loosen the trap adapter nut under the sink.
-
Use the pliers and turn counterclockwise to loosen the nut.
-
-
-
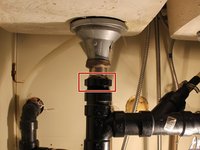
Loosen the tailpiece nut under the basket strainer.
-
Use the pliers and turn counterclockwise to loosen the nut.
-
-
-
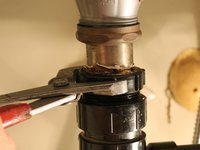
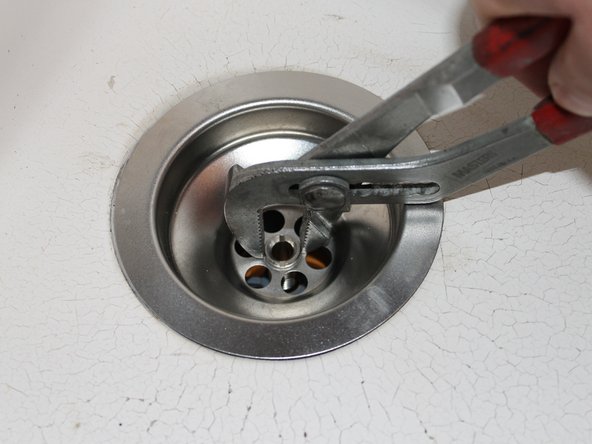
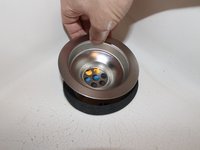
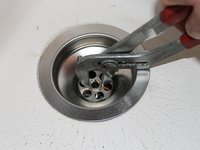
Loosen the nut of the basket strainer.
-
Use the pliers and turn counterclockwise to loosen the nut.
-
-
-
-
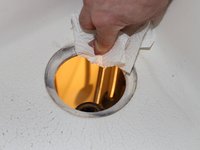
Remove the tailpiece from the trap adaptor by lifting it out.
-
Keep the trap adapter nut and the nylon slip washer aside.
-
-
-
Install the tailpiece into the trap adaptor with the tailpiece washer inserted on top.
-
-
-
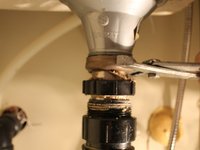
Align the upper strainer to the basket under the sink and tighten it with the nut supplied.
-
Use the pliers and turn clockwise to tighten the nut.
-
-
-
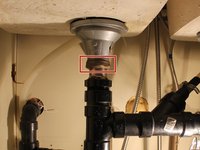
Tighten the tailpiece nut to the basket.
-
Use the pliers and turn clockwise to tighten the nut.
-
-
-
Tighten the trap adaptor nut.
-
Use the pliers and turn clockwise to tighten the nut.
-


Team

York University, Team F-6, Woodhouse Fall 2021 Member of York University, Team F-6, Woodhouse Fall 2021
YORK-WOODHOUSE-F21SFG6
1 Member
12 Guides authored