Introduction
If you can only rely on your Kinivo ZX100 Mini Portable Speaker for its sounds and not the bright colors being produced by its LED indicator, then you may be in need of a replacement.
LED indicators are light emitting devices that have the ability to produce colorful light while saving power and space. Use this guide if you have an appeal for aesthetics and you want your LED indicator to shine bright. This way, you can fully benefit from your Kinivo ZX100 Mini Portable Speaker.
Step 6 requires soldering. Soldering—especially if one is unfamiliar with it—can be toxic and dangerous. It is important that you take appropriate precautions before taking part in this repair.
Make sure to delicately handle the electrical board and heat the soldering iron before you begin.
What you need
-
-
Open the circular portion at the top of the speaker by twisting it until it reaches the maximum possible height.
 Ask FixBot
-
-
-
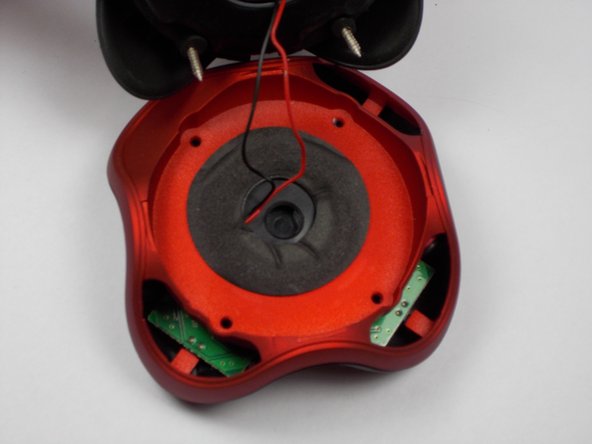
Separate the resonator portion from the base of device to reveal the middle separator of the enclosure. The enclosure will now be in two pieces.
-
Hold the resonator portion of the enclosure gently aside to make sure there is no tension on the black and red wires coming from the bottom portion of the device.
-
-
-
-
Separate the very bottom portion of the enclosure (marked in red) by pulling vertically on the red portion of the enclosure (marked in orange).
-
Gently set the very bottom portion and the resonator section aside once they have both been separated.
-
Remove the circuit board with your hands by lifting and sliding the board away from the LED indicator.
-
-
-
LED Locating
-
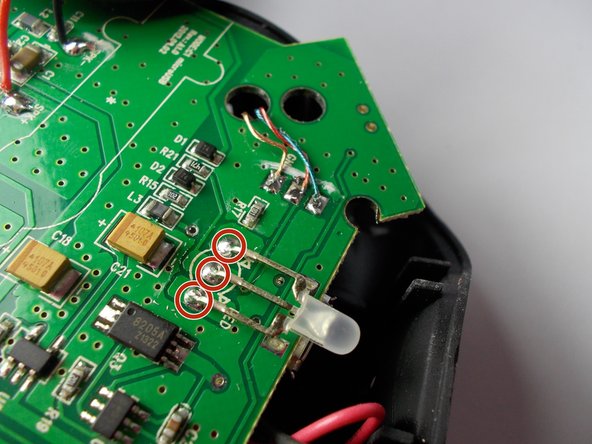
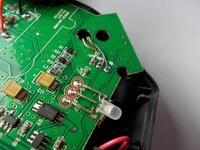
Locate the three, metal prongs found near the edge of the circuit board. They are found directly behind the LED light.
-
-
Tool used on this step:Tweezers$4.99
-
Prong Removal
-
Remove a single prong by pulling it directly up from the circuit board using tweezers.
-
Repeat the previous until all three prongs have been removed.
-
-
-
Replacement
-
Obtain a new LED component from a manufacturer.
-
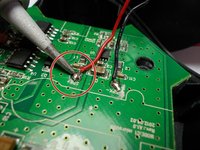
Perform the steps in reverse order to reconnect the new LED to the circuit board.
-







To reassemble your device, follow these instructions in reverse order.
Cancel: I did not complete this guide.
2 other people completed this guide.

Team

UMass Dartmouth, Team 1-5, Shastany Spring 2015 Member of UMass Dartmouth, Team 1-5, Shastany Spring 2015
UMASSD-SHASTANY-S15S1G5
4 Members
4 Guides authored
