Free Shipping on Domestic Orders $75+

Kindle Fire HD 2013 Motherboard Replacement

What you need

    1. Kindle Fire HD 2013 Motherboard Replacement, Motherboard: step 1, image 1 of 3 Kindle Fire HD 2013 Motherboard Replacement, Motherboard: step 1, image 2 of 3 Kindle Fire HD 2013 Motherboard Replacement, Motherboard: step 1, image 3 of 3
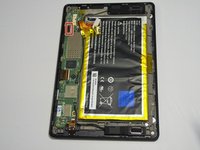
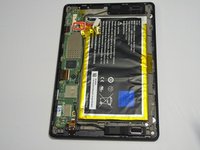
      • Open up the device by using a plastic opening tool in order to avoid damaging the device.

      • To do so, find the seam along the outer edge of the device and use the plastic tool to pry the back panel up. Doing so may take some force and patience.

      Ask FixBot

      Add Comment

    2. Kindle Fire HD 2013 Motherboard Replacement: step 2, image 1 of 2 Kindle Fire HD 2013 Motherboard Replacement: step 2, image 2 of 2
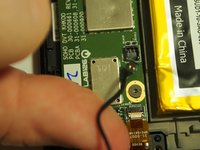
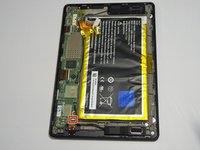
      • Locate the battery's power ribbon.

      • Use the nylon spudger to disconnect the ribbon from the mother board.

      Ask FixBot

      Add Comment

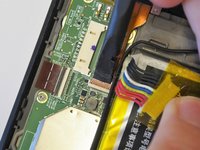
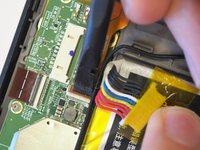
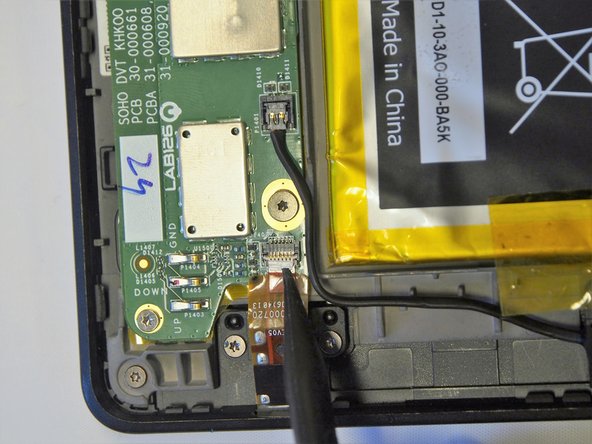
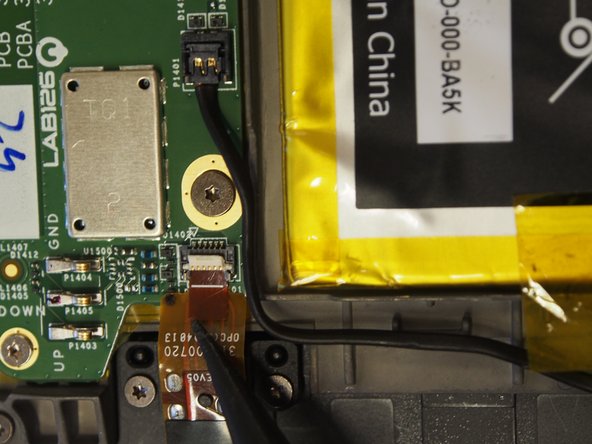
    3. Kindle Fire HD 2013 Motherboard Replacement: step 3, image 1 of 3 Kindle Fire HD 2013 Motherboard Replacement: step 3, image 2 of 3 Kindle Fire HD 2013 Motherboard Replacement: step 3, image 3 of 3
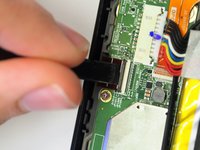
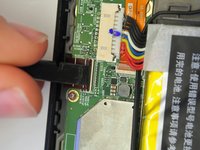
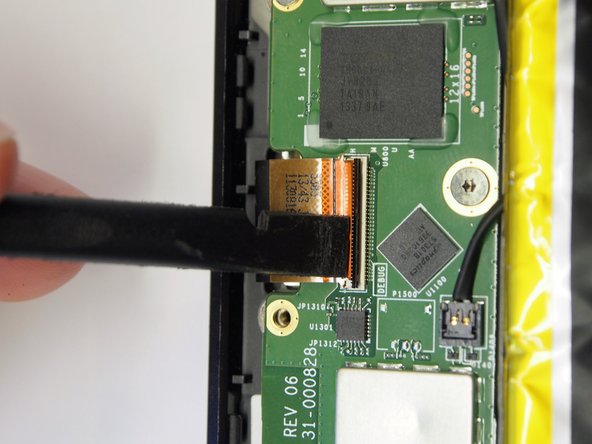
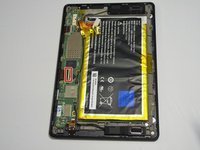
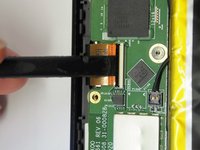
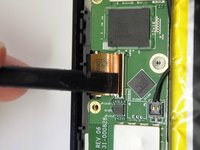
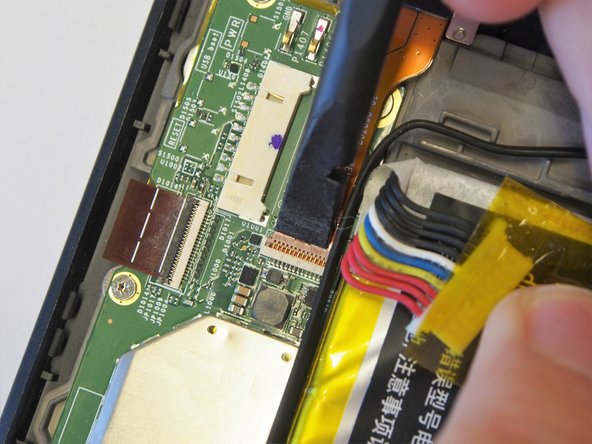
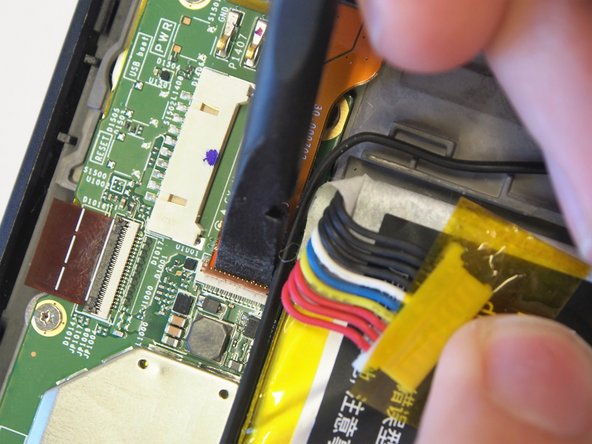
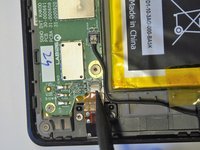
      • Identify the ribbon at the top left of the tablet.

      • Use a nylon spudger to lift the black tab holding the ribbon.

      Ask FixBot

      Add Comment

    4. Kindle Fire HD 2013 Motherboard Replacement: step 4, image 1 of 1
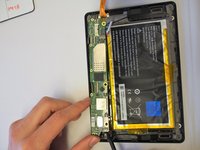
      • Pull the ribbon out of the motherboard.

      Ask FixBot

      Add Comment

    5. Kindle Fire HD 2013 Motherboard Replacement: step 5, image 1 of 3 Kindle Fire HD 2013 Motherboard Replacement: step 5, image 2 of 3 Kindle Fire HD 2013 Motherboard Replacement: step 5, image 3 of 3
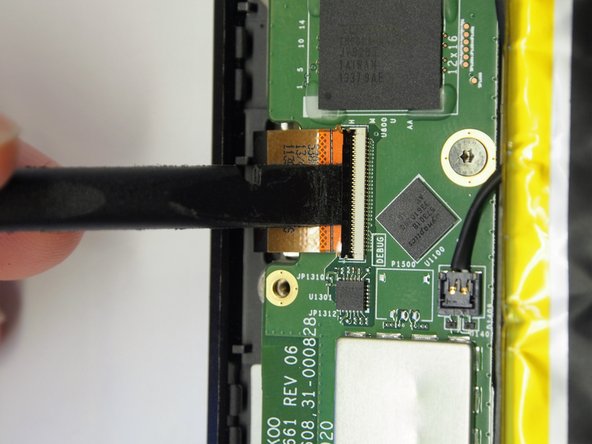
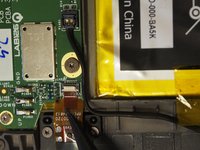
      • Identify the ribbon located at the center left of the motherboard.

      • Using the black spudger, lift up the black tab holding it in place.

      Ask FixBot

      Add Comment

    6. Kindle Fire HD 2013 Motherboard Replacement: step 6, image 1 of 1
      • Pull the ribbon out of the motherboard.

      Ask FixBot

      Add Comment

    7. Kindle Fire HD 2013 Motherboard Replacement: step 7, image 1 of 3 Kindle Fire HD 2013 Motherboard Replacement: step 7, image 2 of 3 Kindle Fire HD 2013 Motherboard Replacement: step 7, image 3 of 3
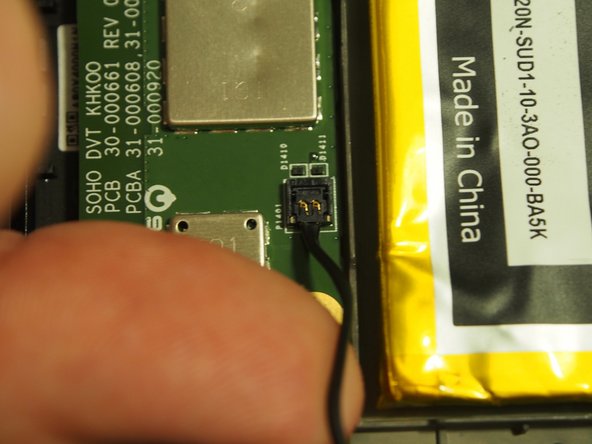
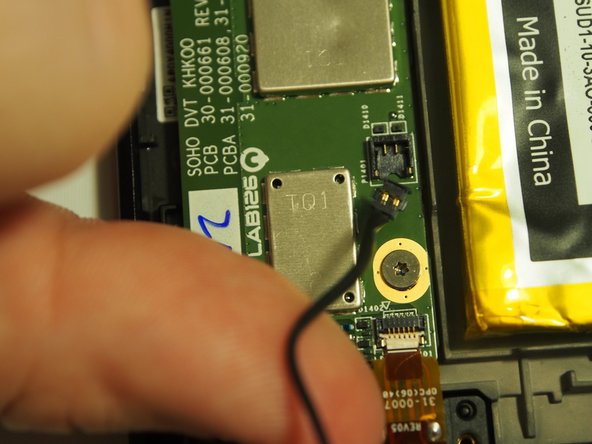
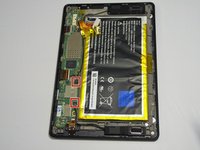
      • Identify the 2 black contacts for the speakers.

      • Pull straight up near the connection point and the wire will come disconnect easily.

      Ask FixBot

      Add Comment

    8. Kindle Fire HD 2013 Motherboard Replacement: step 8, image 1 of 3 Kindle Fire HD 2013 Motherboard Replacement: step 8, image 2 of 3 Kindle Fire HD 2013 Motherboard Replacement: step 8, image 3 of 3
      • Identify the ribbon for the USB port at the top of the motherboard.

      • Pull up the gold tab holding it in place with the nylon spudger.

      • Pull out the ribbon from the motherboard.

      Ask FixBot

      Add Comment

    9. Kindle Fire HD 2013 Motherboard Replacement: step 9, image 1 of 3 Kindle Fire HD 2013 Motherboard Replacement: step 9, image 2 of 3 Kindle Fire HD 2013 Motherboard Replacement: step 9, image 3 of 3
      • Identify the ribbon at the bottom of the motherboard for the headphone jack.

      • Using the nylon spudger, lift up the white tab holding the ribbon in place.

      Ask FixBot

      Add Comment

    10. Kindle Fire HD 2013 Motherboard Replacement: step 10, image 1 of 1
      • Pull out the ribbon from the motherboard.

      Ask FixBot

      Add Comment

    11. Kindle Fire HD 2013 Motherboard Replacement: step 11, image 1 of 1
      • Remove the screws holding the motherboard in place.

      • There are (5) 3mm T4 Torx screws along the outer edge.

      • Additionally, remove (3) 2mm T4 Torx screws along the edge near the battery.

      Ask FixBot

      Add Comment

    12. Kindle Fire HD 2013 Motherboard Replacement: step 12, image 1 of 2 Kindle Fire HD 2013 Motherboard Replacement: step 12, image 2 of 2
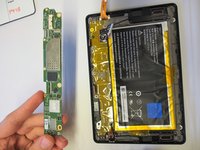
      • Using the nylon spudger, gently pull up on the motherboard and pull it out of the tablet. The mother board should now be disconnected completely.

      Ask FixBot

      Add Comment

Conclusion

To reassemble your device, follow these instructions in reverse order.

Cancel: I did not complete this guide.

aaa

Member since: 10/06/16

745 Reputation

5 Guides authored

Team

USF Tampa, Team 2-3, Sullivan Fall 2016 Member of USF Tampa, Team 2-3, Sullivan Fall 2016

USFT-SULLIVAN-F16S2G3

4 Members

45 Guides authored

0 Guide Comments

Add Comment

View Statistics:

Past 24 Hours: 0

Past 7 Days: 8

Past 30 Days: 44

All Time: 2,608