Free Shipping on Domestic Orders $75+

Kindle 1st Generation SD Card Reader Replacement

What you need

    1. Kindle 1st Generation SD Card Reader Replacement, Battery: step 1, image 1 of 1
      • Slide the grey plastic cover laterally off the back of the device.

      Ask FixBot

      Add Comment

    2. Kindle 1st Generation SD Card Reader Replacement: step 2, image 1 of 2 Kindle 1st Generation SD Card Reader Replacement: step 2, image 2 of 2
      • Use a plastic opening tool to lift the battery on the side closest to the edge of the device.

      • Unplug the battery from the device by pinching the white connector and pulling.

      • Do not yank the battery or try to disconnect the battery by pulling the wires.

      Ask FixBot

      Add Comment

    1. Kindle 1st Generation SD Card Reader Replacement, SD Card Reader: step 3, image 1 of 1
      • Unscrew eight (8) Phillips #00 screws (3 mm).

      Ask FixBot

      Add Comment

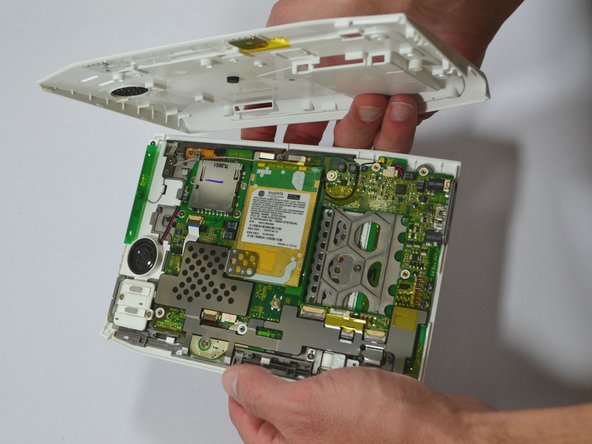
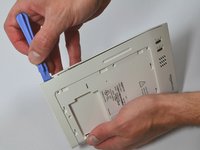
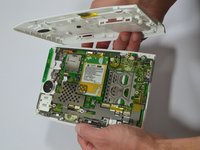
    2. Kindle 1st Generation SD Card Reader Replacement: step 4, image 1 of 2 Kindle 1st Generation SD Card Reader Replacement: step 4, image 2 of 2
      • Start at one side of the device. Use a plastic opening tool to separate the casing of the device. Slowly work your way around the entire device.

      • Avoid prying between the buttons and the device. This could cause damage to the buttons.

      Ask FixBot

      Add Comment

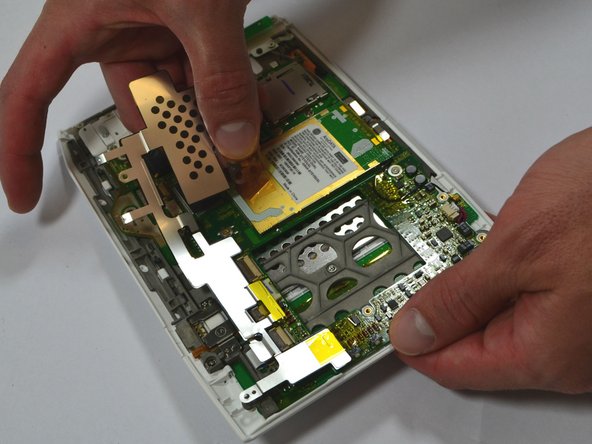
    3. Kindle 1st Generation SD Card Reader Replacement: step 5, image 1 of 2 Kindle 1st Generation SD Card Reader Replacement: step 5, image 2 of 2
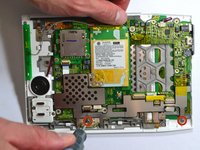
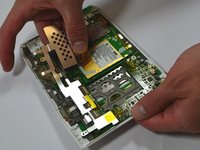
      • Unscrew the two (2) Phillips #00 screws (3 mm) which fasten the metal casing shield.

      • Slowly remove the metal casing shield by lifting it and carefully peeling up the tape.

      Ask FixBot

      Add Comment

    4. Kindle 1st Generation SD Card Reader Replacement: step 6, image 1 of 1
      • Remove the four (4) Phillips #00 screws (3 mm) which fasten the SD Card Reader.

      Ask FixBot

      Add Comment

    5. Kindle 1st Generation SD Card Reader Replacement: step 7, image 1 of 2 Kindle 1st Generation SD Card Reader Replacement: step 7, image 2 of 2
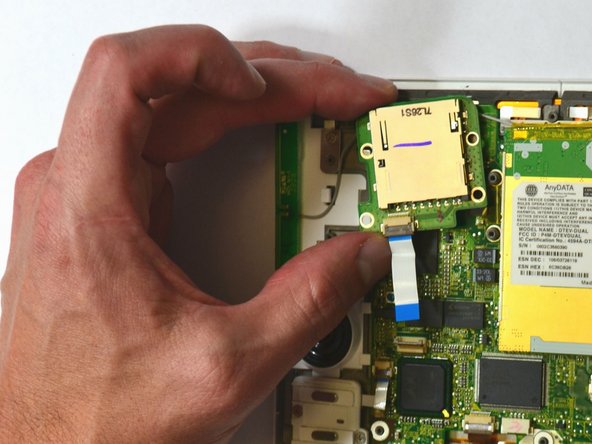
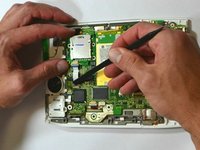
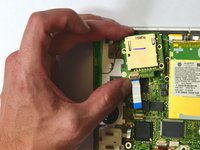
      • Lift the flap attaching the blue and white ribbon cable to the motherboard by lifting it vertically with a spudger.

      • The flap is connected via a hinge. Once you lift the flap, it will stay up and the cable will be lose. Remember to snap it back down during reassembly.

      • Carefully lift the SD Card Reader vertically from the motherboard.

      Ask FixBot

      Add Comment

Conclusion

To reassemble your device, follow these instructions in reverse order.

Cancel: I did not complete this guide.

2 other people completed this guide.

0 Guide Comments

Add Comment

View Statistics:

Past 24 Hours: 0

Past 7 Days: 7

Past 30 Days: 38

All Time: 2,311