
Kindle 10 LED Status Light Replacement

hzheng2 and one other contributor
Last updated on Jan 6, 2025
Views: 643
View statistics:
- Past 24 Hours:
- 2
- Past 7 Days:
- 18
- Past 30 Days:
- 82
- All Time:
- 643
Comments: 1
1 comment on steps.
Completed: 0 1
No one has marked this guide "completed." Will you be the first?
1 person has marked this guide "completed." It's you — great job!
Favorites: 0 1
No one has favorited (and subscribed to) this guide. Will you be the first?
1 person has favorited (and subscribed to) this guide — and that's you!
Introduction
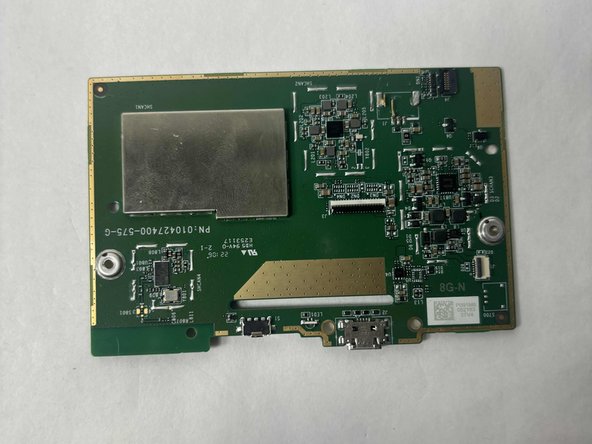
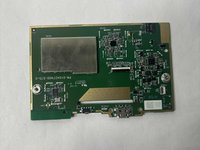
Go to step 1 ↓The LED light on the Kindle 10 is a sturdy and efficient piece of technology connected to the motherboard that indicates different statuses: a blinking orange for charging and continuously lit when charged. It is not expected to need replacement for its filament should last over 100 years. There may be issues with the light if the Kindle is functional but the light does not react to actions such as charging or powering off. If its soldering points become disconnected or the filament does burn out, we can replace this light.
What you need
Parts
-
LED BulbsAffiliate linkAvailable for sale on Amazon
It should have soldering joints to the left and right, not below it. It should be 3.0mm and lay flat, like in the picture.
Tools
-
-
Spudger4.9
-
-


-
-
-
Gently use a metal spudger to pry, twist, and lift the bezel away from the display.
 Ask FixBot
-
-
-
-
-
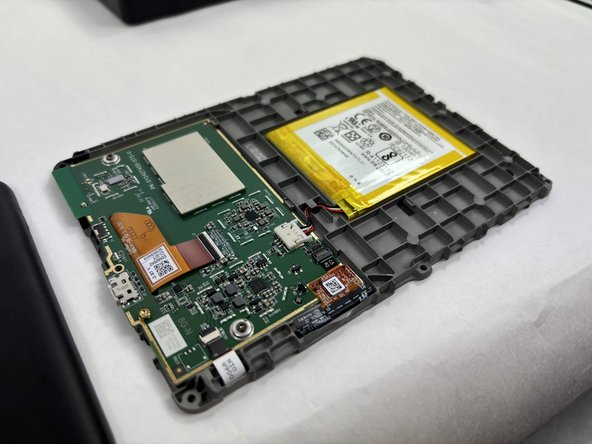
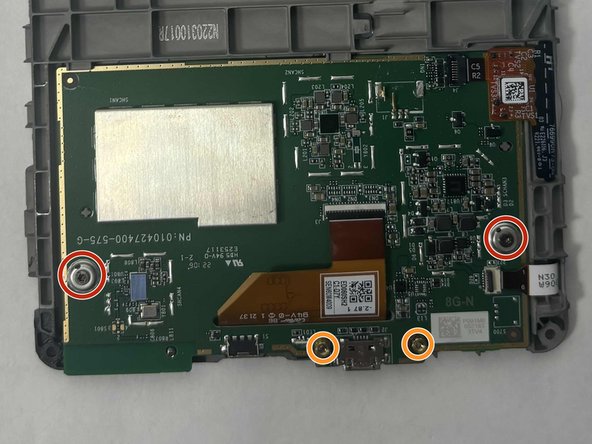
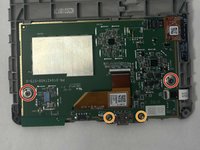
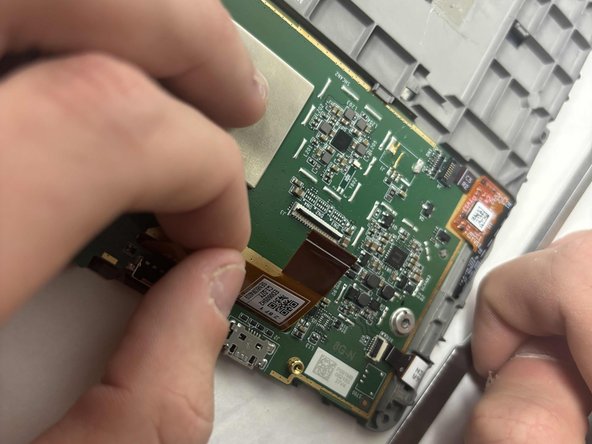
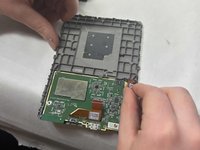
Remove the two outer silver screws with a T5 Torx screwdriver.
-
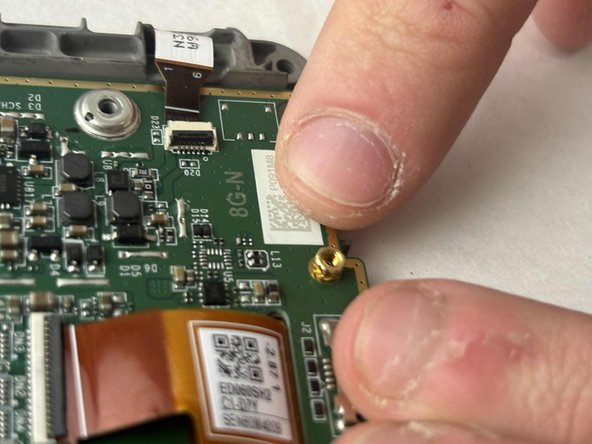
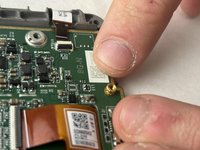
Use your fingers to remove the two gold screws in the middle.
-
-
-
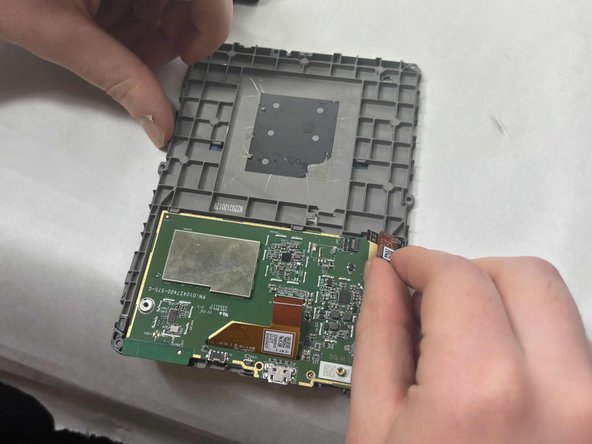
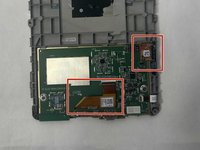
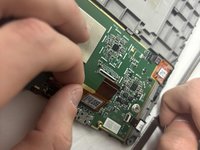
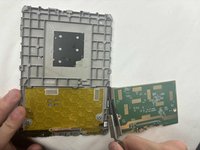
Disconnect the two orange clear plastic ribbons on the upper right and center.
-
-
-
-
-
-
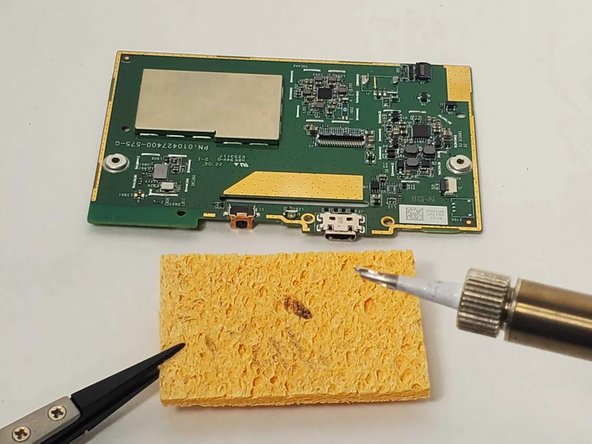
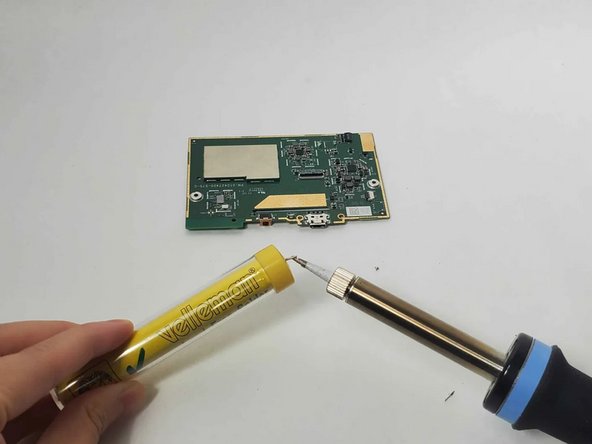
Turn on the soldering iron.
-
Clean the tip after the old solder has melted by dragging it across a sponge.
-
Prime the soldering iron by touching its tip with a dab of lead-free wire. Your soldering iron is ready when the solder readily melts.
-
-
-
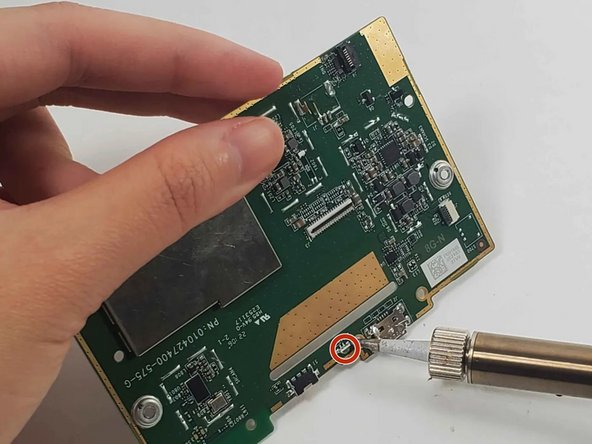
Touch the soldering iron's tip to the two joints on the front and back of the LED for 5 seconds, or longer if it is not melted.
-
Use tweezers to pull out the LED once it is loosened.
-
-
-
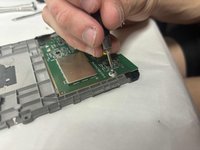
Align your new replacement LED in the correct location.
-
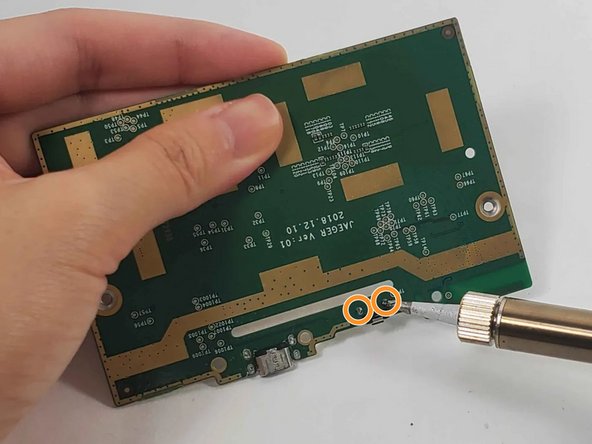
Pull the wires on each side of the new LED through the holes in the circuit where the LED was previously.
-
Solder its joints in the back. Be sure the soldering joints create a concave tent shape indicating a strong connection.
-
-













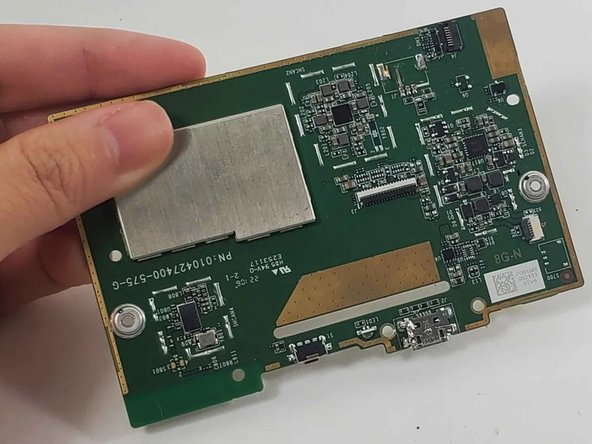

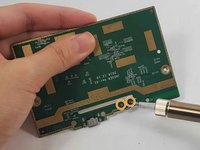

To reassemble your device, follow these instructions in reverse order.

Team

UMass Dartmouth, Team 1-2, Konn Fall 2024 Member of UMass Dartmouth, Team 1-2, Konn Fall 2024
UMASSD-KONN-F24S1G2
3 Members
60 Guides authored
