Introduction
If your Kidde/FireX i4618AC smoke alarm is chirping once every 30–60 seconds, or if it has been six months since the last battery change, it is time to replace the 9‑volt battery.
A working smoke alarm is essential for early fire detection. Most alarms chirp regularly when the battery is low, signaling that a replacement is needed. Even if the alarm isn’t chirping, replacing the battery every six months helps ensure reliable operation.
Before beginning, make sure you have a 9‑volt alkaline battery (Duracell, Energizer, or equivalent) on hand. This guide shows how to replace the battery in a Kidde/FireX i4618AC, though similar steps apply to many other front‑loading Kidde models.
This repair will likely require climbing a ladder or using a step stool to reach the smoke detector. Be very careful when working on a ladder or stool to avoid falls.
What you need
-
-
-
Place a step stool or chair directly under the smoke alarm to safely reach the unit.
 Ask FixBot
-
-
-
Slide the battery cover on the front side of the unit outward until it is fully open.
-
-
-
Remove the old 9‑volt battery from the compartment and set it aside for proper disposal.
-
-
-
-
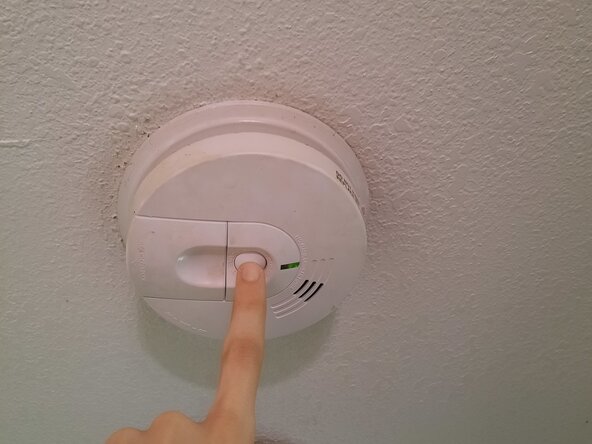
Gently press the detector to confirm it’s sitting flush against the mounting plate.
-
-


To reassemble your device, follow these instructions in reverse order. Take your e-waste to an R2 or e-Stewards certified recycler.

Team

CSU Los Angeles, Team 7-10, Grodsky Spring 2026 Member of CSU Los Angeles, Team 7-10, Grodsky Spring 2026
CSULA-GRODSKY-S26S7G10
1 Member
12 Guides authored
