Free Shipping on Domestic Orders $75+

Keurig K10 MINI PLUS Handle Replacement

What you need

    1. Keurig K10 MINI PLUS Handle Replacement, Top Needle: step 1, image 1 of 2 Keurig K10 MINI PLUS Handle Replacement, Top Needle: step 1, image 2 of 2
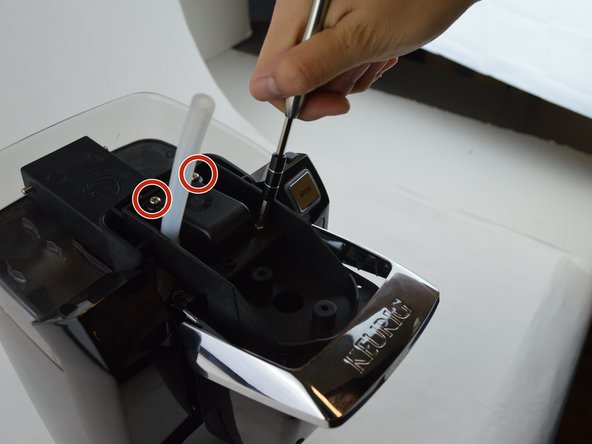
      • Remove two 9 mm Phillips #1 screws.

      • Avoid the top needle if at all possible. The needle may cut you and/or penetrate your skin.

      • The screws are located on the top of where the K-Cup would be.

      Ask FixBot

      Add Comment

    2. Keurig K10 MINI PLUS Handle Replacement: step 2, image 1 of 3 Keurig K10 MINI PLUS Handle Replacement: step 2, image 2 of 3 Keurig K10 MINI PLUS Handle Replacement: step 2, image 3 of 3
      • Once you remove the screws, the top cover should come out.

      • The back of the cover is held in place by two locking tabs. To remove the cover, pull it back slightly and it should come free.

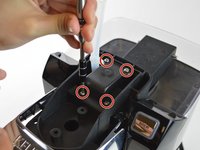
      • You will then want to remove these screws which are the same size.

      • The needle is sharp, so be careful.

      Ask FixBot

      Add Comment

    3. Keurig K10 MINI PLUS Handle Replacement: step 3, image 1 of 1
      • Once you get those removed, you are going to want to pull on the hose until it pops off.

      • Once the hose comes off, the needle will fall out by itself.

      • Be careful when picking up the needle as the needle is sharp.

      Ask FixBot

      Add Comment

    1. Keurig K10 MINI PLUS Handle Replacement, Handle: step 4, image 1 of 1
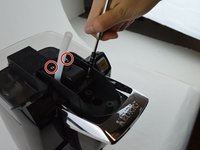
      • Remove the two Phillips #1 screws.

      • The top needle is intact and there, so be careful when in this area.

      Ask FixBot

      Add Comment

    2. Keurig K10 MINI PLUS Handle Replacement: step 5, image 1 of 2 Keurig K10 MINI PLUS Handle Replacement: step 5, image 2 of 2
      • Next, after the removal of the hose on the top by simply pulling it off, remove the following four Phillips #1 screws.

      Ask FixBot

      Add Comment

    3. Keurig K10 MINI PLUS Handle Replacement: step 6, image 1 of 1
      • Once you take off the screws, this part of the handle will come off.

      Ask FixBot

      Add Comment

    4. Keurig K10 MINI PLUS Handle Replacement: step 7, image 1 of 1
      • To pull this part off, pull inwards with the these tabs located on both sides of the handle assembly.

      Ask FixBot

      Add Comment

    5. Keurig K10 MINI PLUS Handle Replacement: step 8, image 1 of 3 Keurig K10 MINI PLUS Handle Replacement: step 8, image 2 of 3 Keurig K10 MINI PLUS Handle Replacement: step 8, image 3 of 3
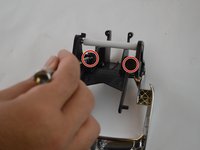
      • Next, remove these two Phillips #1 screws to allow the release of the actual handle from the frame.

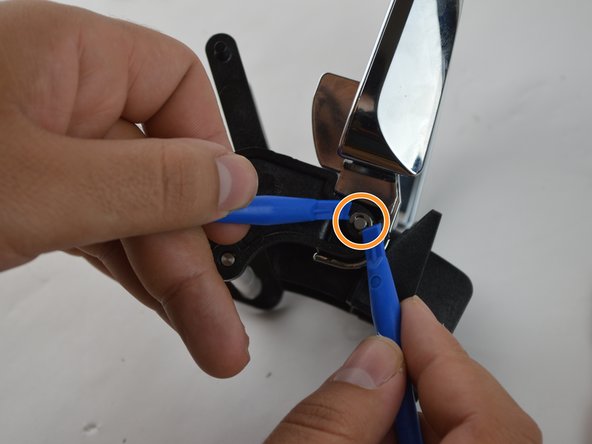
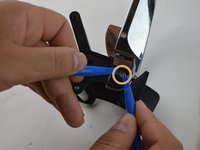
      • For the O rings, we used the plastic prying tools. Just keep in mind that you might want to hold one side of the O ring down while trying to pry off the other side with the other.

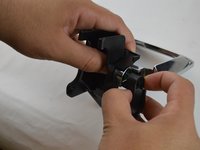
      • Once you get the O rings on both sides out, you can pull the handle by pulling on each side.

      Ask FixBot

      Add Comment

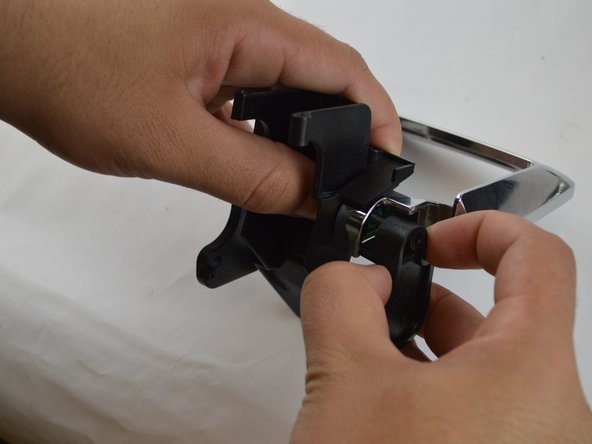
    6. Keurig K10 MINI PLUS Handle Replacement: step 9, image 1 of 1
      • Once you pull both sides, the handle will come off as shown.

      Ask FixBot

      Add Comment

Conclusion

To reassemble your device, follow these instructions in reverse order.

Cancel: I did not complete this guide.

Roberto Maldonado

Member since: 02/04/16

395 Reputation

1 Guide authored

0 Guide Comments

Add Comment

View Statistics:

Past 24 Hours: 3

Past 7 Days: 9

Past 30 Days: 45

All Time: 3,005