Free Shipping on Domestic Orders $75+

Kenwood DNX571HD Radio Antenna Connection Replacement

What you need

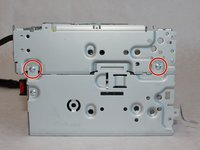
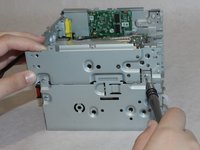
  1. Kenwood DNX571HD Radio Antenna Connection Replacement, CD/DVD Drive: step 1, image 1 of 2 Kenwood DNX571HD Radio Antenna Connection Replacement, CD/DVD Drive: step 1, image 2 of 2
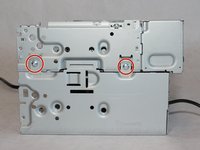
    • Unscrew the four 3.5mm side screws with a Phillips #1 screwdriver.

    • There are two screws per side.

    Ask FixBot

    Add Comment

  2. Kenwood DNX571HD Radio Antenna Connection Replacement: step 2, image 1 of 3 Kenwood DNX571HD Radio Antenna Connection Replacement: step 2, image 2 of 3 Kenwood DNX571HD Radio Antenna Connection Replacement: step 2, image 3 of 3
    • Use a spudger to unhook the plastic clips on the sides and top of the front panel. There are two clips on each side and one clip on the top.

    • Place the spudger between the plastic tab and the metal case and gently lift the spudger away from the case.

    Ask FixBot

    Add Comment

  3. Kenwood DNX571HD Radio Antenna Connection Replacement: step 3, image 1 of 1
    • Pull the top of the front panel out and down to remove front panel.

    • Remove the front panel gently so as not to damage the ribbon cables behind it.

    Ask FixBot

    Add Comment

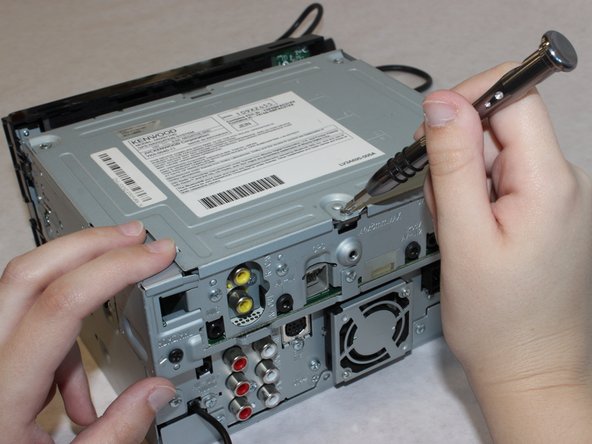
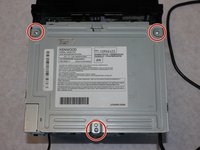
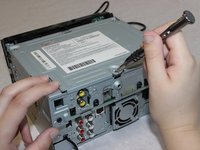
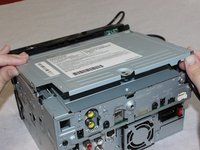
  4. Kenwood DNX571HD Radio Antenna Connection Replacement: step 4, image 1 of 3 Kenwood DNX571HD Radio Antenna Connection Replacement: step 4, image 2 of 3 Kenwood DNX571HD Radio Antenna Connection Replacement: step 4, image 3 of 3
    • Unscrew the three 5mm screws from the top of the device using a Phillips #1 screwdriver.

    • Lift up to remove the top casing.

    Ask FixBot

    Add Comment

  5. Kenwood DNX571HD Radio Antenna Connection Replacement: step 5, image 1 of 1
    • Lift the CD drive carefully to expose the attached cable underneath.

    Ask FixBot

    Add Comment

  6. Kenwood DNX571HD Radio Antenna Connection Replacement: step 6, image 1 of 2 Kenwood DNX571HD Radio Antenna Connection Replacement: step 6, image 2 of 2
    • Flip up the black clasp with a spudger to disconnect the large white ribbon cable connecting the CD drive to the board underneath.

    Ask FixBot

    Add Comment

  7. Kenwood DNX571HD Radio Antenna Connection Replacement, Cooling Fan: step 7, image 1 of 1
    Tool used on this step:
    Tweezers
    $4.99
    Buy
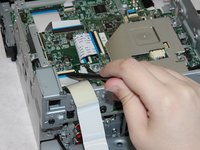
    • Carefully unplug the fan power cord with the tweezers.

    Ask FixBot

    Add Comment

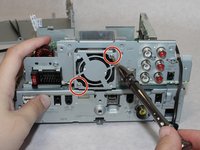
  8. Kenwood DNX571HD Radio Antenna Connection Replacement: step 8, image 1 of 2 Kenwood DNX571HD Radio Antenna Connection Replacement: step 8, image 2 of 2
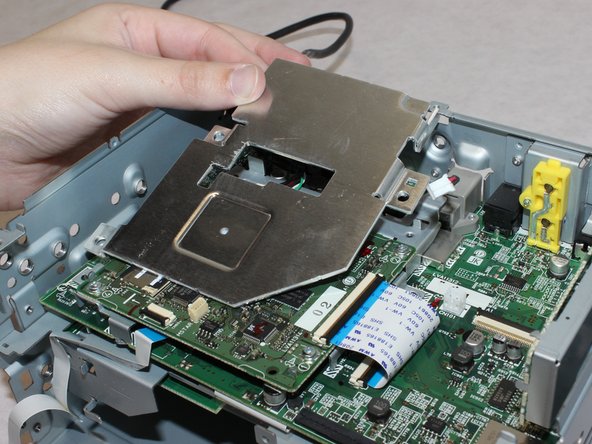
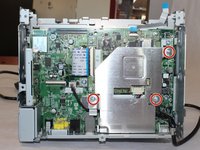
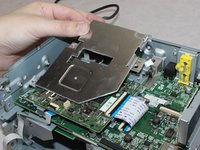
    • Unscrew the three 5mm length screws with the Phillips #1 screwdriver.

    • Remove the metal plate

    • Removing the plate will damage the heat sink compound. This will need to be replaced during reassembly.

    Ask FixBot

    Add Comment

  9. Kenwood DNX571HD Radio Antenna Connection Replacement: step 9, image 1 of 2 Kenwood DNX571HD Radio Antenna Connection Replacement: step 9, image 2 of 2
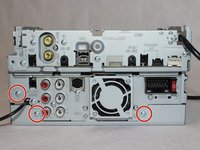
    • Unscrew the three 5.5mm long screws with a Phillips #1 screwdriver.

    Ask FixBot

    Add Comment

  10. Kenwood DNX571HD Radio Antenna Connection Replacement: step 10, image 1 of 3 Kenwood DNX571HD Radio Antenna Connection Replacement: step 10, image 2 of 3 Kenwood DNX571HD Radio Antenna Connection Replacement: step 10, image 3 of 3
    • Remove the four 5.5mm screws with the Phillips #1 screwdriver.

    Ask FixBot

    Add Comment

  11. Kenwood DNX571HD Radio Antenna Connection Replacement: step 11, image 1 of 1
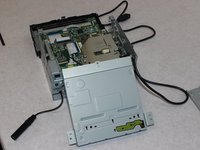
    • Lift the top part of the unit up from the lower chassis.

    Ask FixBot

    Add Comment

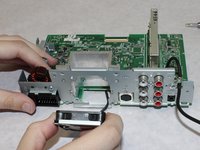
  12. Kenwood DNX571HD Radio Antenna Connection Replacement: step 12, image 1 of 2 Kenwood DNX571HD Radio Antenna Connection Replacement: step 12, image 2 of 2
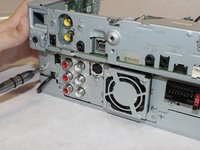
    • Remove the two 13mm long screws with a Phillips #1 screwdriver.

    • Gently thread the power cable through the circuit boards to separate the fan from the body of the stereo.

    Ask FixBot

    Add Comment

  13. Kenwood DNX571HD Radio Antenna Connection Replacement, Radio Antenna Connection: step 13, image 1 of 1
    • Desolder and remove the radio antenna from the motherboard.

    • The radio antenna is a thru-hole-mounted device. You must apply heat to each soldered pin individually and pull them out of the holes while the solder is molten.

    • The solder material, pins, and any surrounding material will get VERY hot while melting the connections. Do not touch any metal parts during the desoldering process and give the device time to cool off once you’re finished. It may also be good to take breaks so that the electronics aren’t kept hot for extended periods of time.

    Ask FixBot

    Add Comment

Conclusion

To reassemble your device, follow these instructions in reverse order.

Cancel: I did not complete this guide.

Wendy Zaballos

Member since: 09/17/18

976 Reputation

6 Guides authored

0 Guide Comments

Add Comment

View Statistics:

Past 24 Hours: 0

Past 7 Days: 4

Past 30 Days: 35

All Time: 2,256